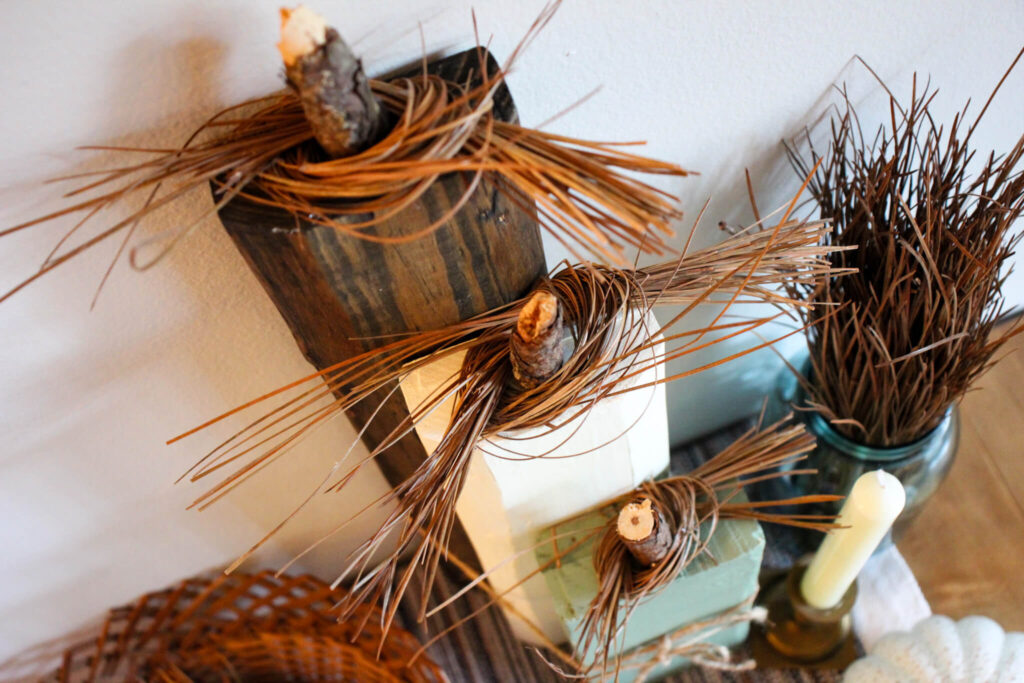
Rustic DIY wooden pumpkins are easy to make and use scrap wood, making them super inexpensive and a great way to re-purpose materials!
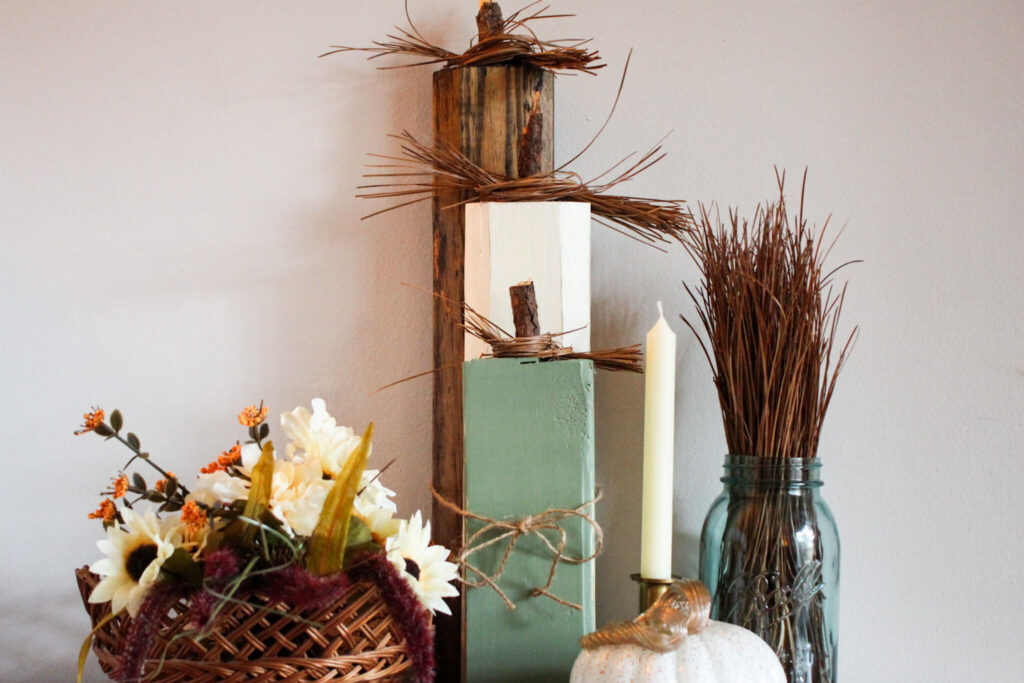
I don’t know about you, but I love re-purposing materials. It’s a fun and creative way to put things to good use that otherwise have no use. These DIY wooden pumpkins use scrap 2 x 4s from my blanket ladder project, as well as paint and other materials that can either be foraged for or you may already have on hand, making this project virtually free. These DIY wooden pumpkins only takes a few hours to make, can be totally customized to your liking and work great either inside or outside! Now, let’s get to creating beautiful fall decor for your home!
PIN FOR LATER!
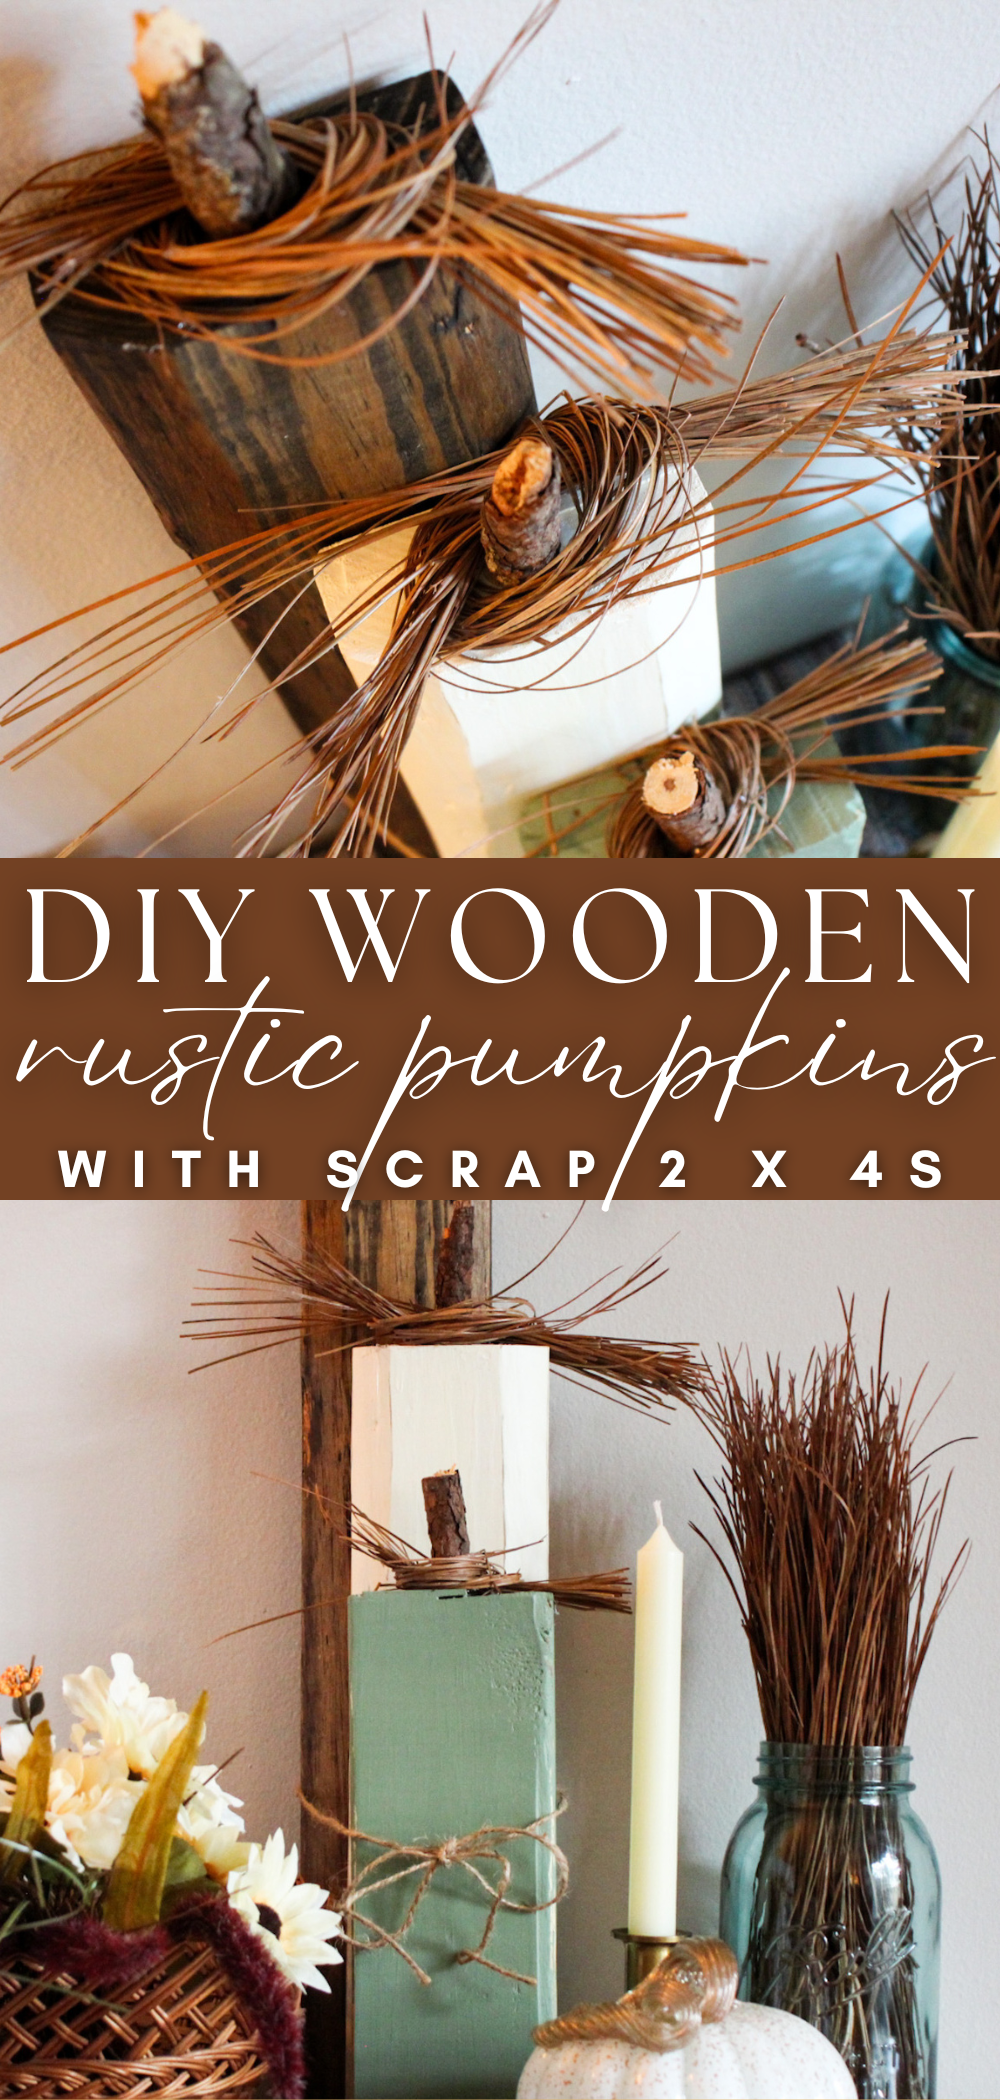
VIDEO TUTORIAL
The following may contain affiliate links, which means I may receive a commission, at no extra cost to you, if you make a purchase through a link. Please see our full disclosure here for further information.
TOOLS YOU MAY NEED
- Saw
- Paint brushes
- Rag or paper towel
MATERIALS YOU MAY NEED
- Sand paper
- Paint and/or stain of choice
- Wood glue and hot glue
- Ribbon or twine
- Cut limb or dowel for the stem
- Spray Sealant
HOW TO MAKE DIY WOODEN PUMPKINS WITH SCRAP 2 X 4s
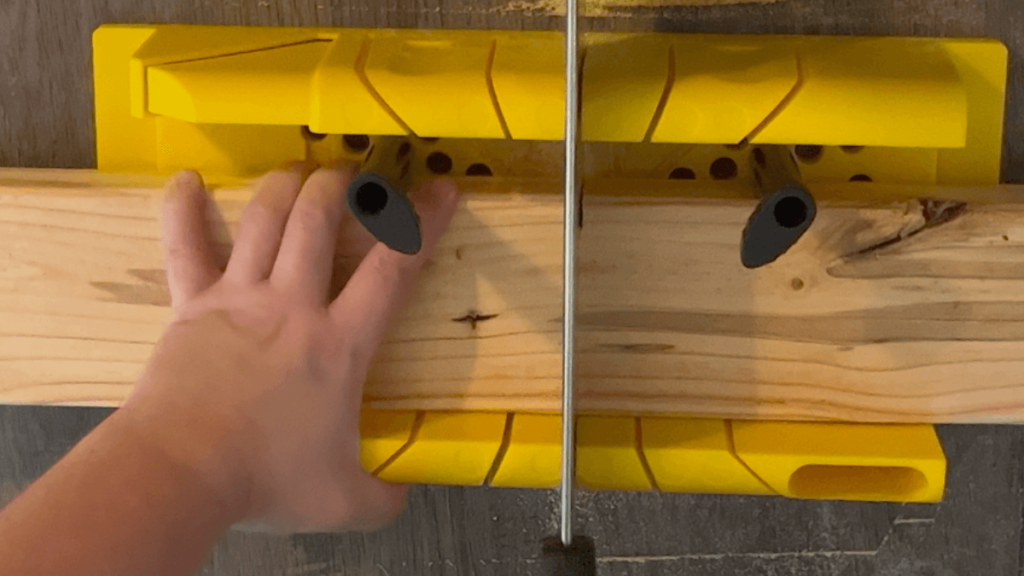
Cut down the 2 x 4s to various sizes. I cut mine to 18″, 14″ and 10.”
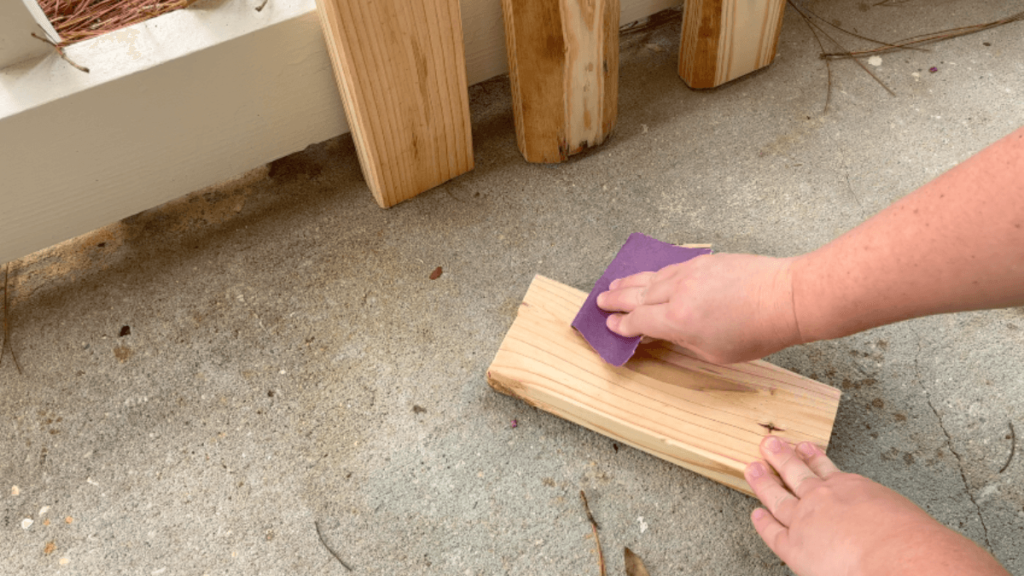
Sand the boards smooth using 220 grit sand paper.
Wipe the 2 x 4s clean, then paint or stain them. Apply subsequent coats as needed


Once the paint and/or stain is dry, use sand paper to distress each board, then wipe it down and spray a clear coat over top to protect it.


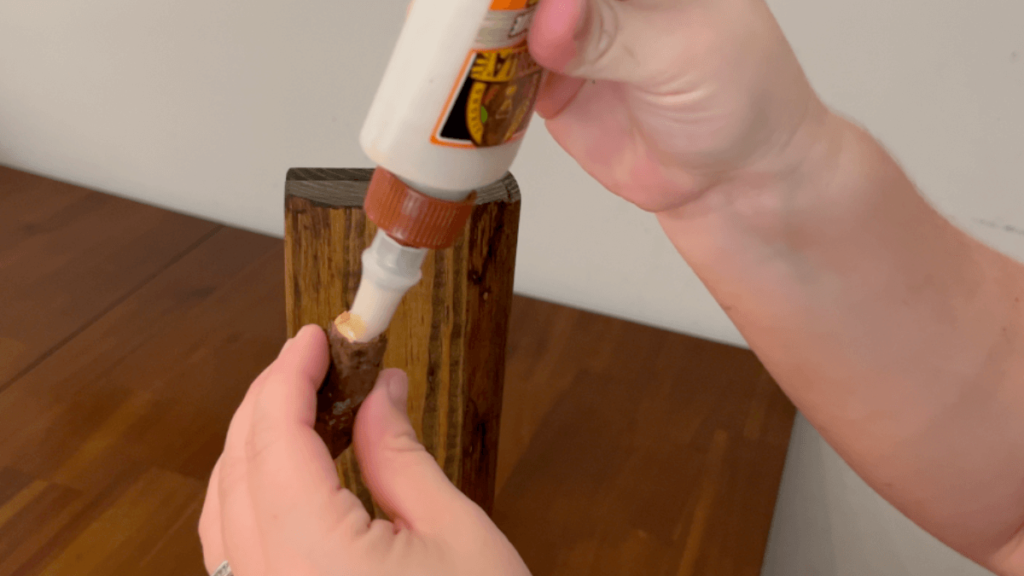
Cut a stick or dowel to size, then glue it to the top of each board and allow them to dry completely.
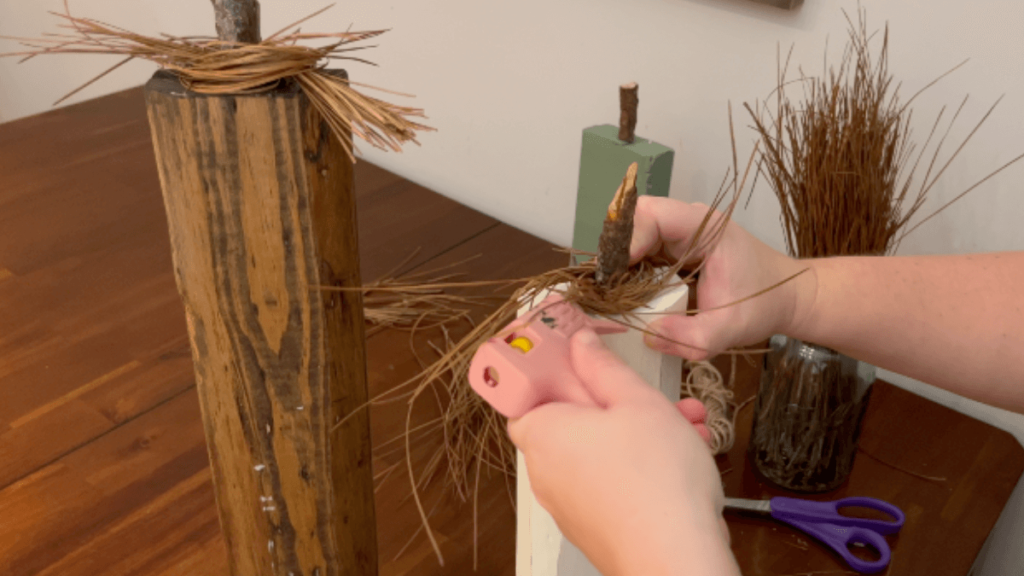
Arrange and attach ribbon, raffia, dried pine needles, etc. to the stem to decorate.
NOTES
- Spray a sealant on the boards, especially if they’ll be used as outside fall decor.
- These wooden pumpkins can also be made using 4 x 4s and give more of a square look.
- Be sure the bottoms of the 2 x 4s are level so they stand easily.
- Forage for thicker sticks to use as the stem or use wooden dowels.
- You can use hot glue or wood glue to attach the “stems” to the wooden pumpkins.

DIY Wooden Pumpkins
Rustic DIY wooden pumpkins are easy to make and use scrap wood, making them super inexpensive and a great way to re-purpose materials!
Materials
- Sand paper
- Paint and/or stain of choice
- Wood glue and hot glue
- Ribbon or twine
- Cut limb or dowel for the stem
- Spray Sealant
Tools
- Saw
- Paint brushes
- Rag or paper towel
Instructions
- Cut down the 2 x 4s to various sizes. I cut mine to 18″, 14″ and 10.”
- Sand the boards smooth using 220 grit sand paper.
- Wipe the 2 x 4s clean, then paint or stain them. Apply subsequent coats as needed.
- Once the paint and/or stain is dry, use sand paper to distress each board, then wipe it down and spray a clear coat over top to protect it.
- Cut a stick or dowel to size, then glue it to the top of each board and allow them to dry completely.
- Arrange and attach ribbon, raffia, dried pine needles, etc. to the stem to decorate.
Notes
- Spray a sealant on the boards, especially if they’ll be used as outside fall decor.
- These wooden pumpkins can also be made using 4 x 4s and give more of a square look.
- Be sure the bottoms of the 2 x 4s are level so they stand easily.
- Forage for thicker sticks to use as the stem or use wooden dowels.
- You can use hot glue or wood glue to attach the “stems” to the wooden pumpkins.
LOOKING FOR MORE FALL DIY PROJECT IDEAS?
Looking for more fall DIY project ideas like this? Check these out:
- No Sew Fabric Pumpkins
- How to Build a Wooden Blanket Ladder
- How to Make a Homemade Hearth Broom
- DIY Acorn Fall Decor
Did you give this Rustic DIY wooden pumpkin tutorial a try? If you did, I’d love to see how it turned out! Tag me on Instagram (@thesimplehomeplace) to show me your own recreation of this recipe!


Leave a Reply