Growing your garden from seed can be intimidating, but it’s not as hard as you may think. Learn how to start seeds indoors now for a beautiful garden this summer!
2020 had me rethinking a lot of things in my life, including the food that my family and I eat. With threats of shortages and increase in food prices, I started to think about what it would take to grow a portion of our food. The problem was that we lived in an apartment with only a small amount of outdoor space. I thought, “How can we grow food when we have no place to grow it?” So, I started doing research. Boy, was I amazed by what I discovered. Did you know you can grow a whole bunch of food in containers?! Well I didn’t.
Now, I’m the kind of person that gets really excited about a topic, then dives in and learns as much as I possibly can, plans and then executes. I don’t usually make decisions quickly because I’m not a big risk taker. So, I spent the whole winter of 2020 researching and learning about gardening, including how to start seeds indoors, how to grow in containers and so much more. Fast forward to March of 2021 and we were ready to begin our container garden. The first step was our starting seeds. Because it was our first year, we didn’t go too crazy. We decided to grow a few types of tomatoes, cucumbers, peppers and a couple herbs.
We had a few set backs including my toddler dumping an entire tray of cucumber seedlings on the floor and our peppers taking a crazy amount of time to grow, but overall, we had great success growing our garden from seed and learned a whole lot along the way. So, while I’m no expert, I do feel confident sharing with you how to start seeds indoors for your garden this summer because it’s not as hard as you may think!
VIDEO
PIN FOR LATER!


WHY SHOULD I START MY OWN SEEDS?
There are several reasons why you would want to grow your garden from seed. First, it’s a cheaper option. Seeds are relatively inexpensive compared to buying started plants. Second, you have more options in terms of varieties and types of plants, including organic and non-GMO. Lastly, you can control how the plants are grown, whether that’s fully organic or without the use of harmful chemicals.
WHEN SHOULD I START SEEDS INDOORS?
I wrote a whole post about how to calculate when to start seeds indoors and you can check it out here! Here’s the Cliff’s Notes version. You first need to calculate your last frost date and your plant hardiness zone. Then you need to determine what plants you’d like to grow and obtain those seeds, as well as seed starting equipment and materials, which we’ll go over later on in the post. You then will need determine the date to start each seed. Typically it ranges anywhere between 2 to 12 weeks prior to your last frost date. On average though, it’s usually between 6-8 weeks prior to your last frost date. Check the back of your seed packets for more info on this.
This post may contain affiliate links, which means I may receive a commission, at no extra cost to you, if you make a purchase through a link. Please see our full disclosure here for further information.
WHAT EQUIPMENT DO I NEED?
You really don’t need a lot to start seeds indoors. Let’s go over the basics.
SEED STARTING TRAY OR CONTAINER
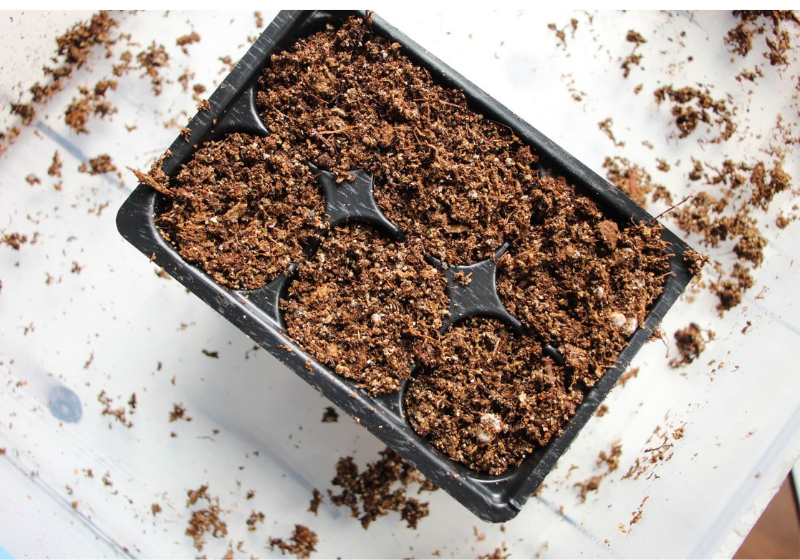
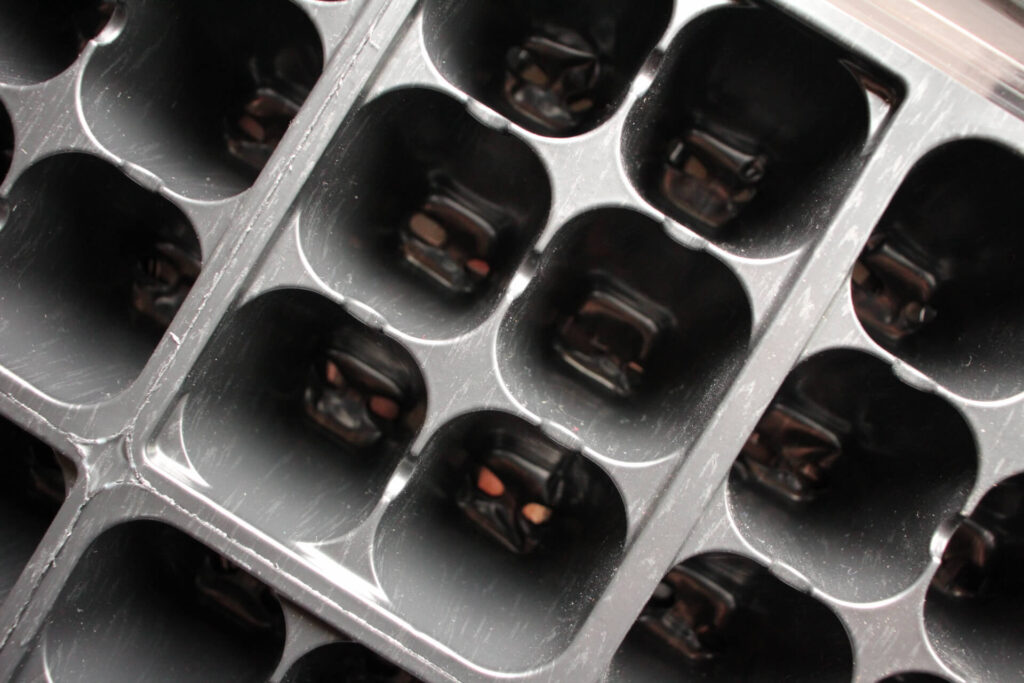
If you’ve done any research, you’ve probably seen people starting seeds in black trays, like the picture above. While that’s the most common container for starting seeds, you can really use a wide variety of containers. These include containers made of food grade materials or peat pots. Here’s a list of options that work great:
- Bottom half of a milk jug
- Yogurt containers
- Sour cream containers
- Egg cartons
- Aluminum cans
IMPORTANT: No matter what container you use, be sure it’s made of food grade or safe materials, and be sure to poke drainage holes into the bottom.
cover for the container
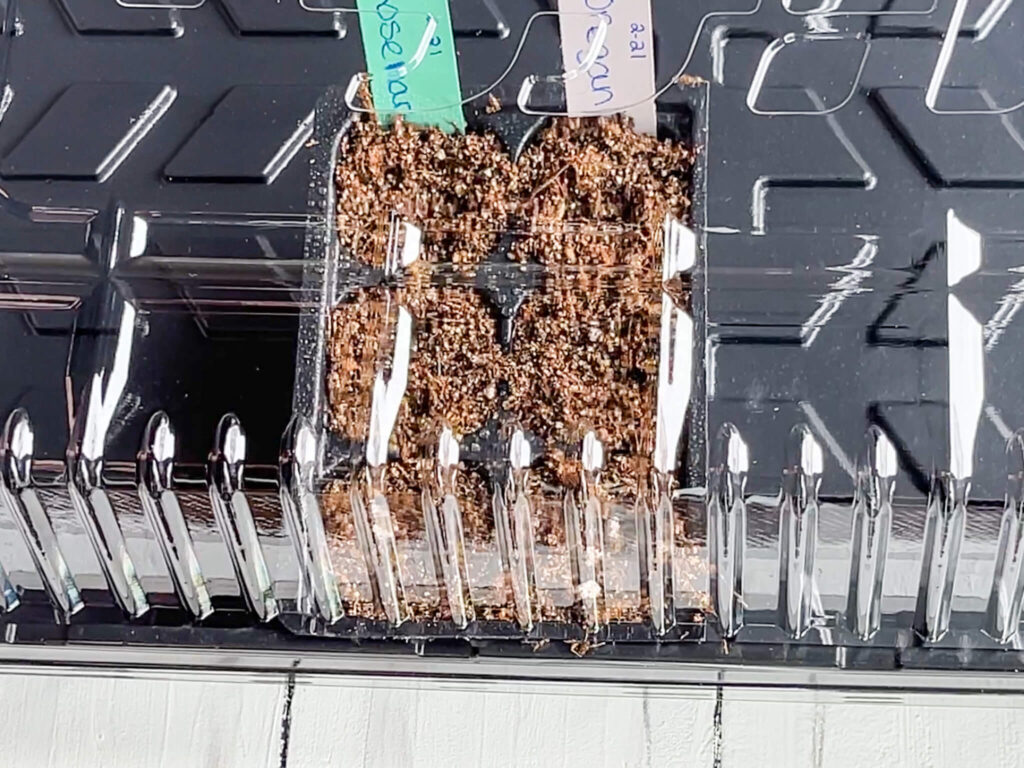
Right after you plant your seeds, you’ll want to cover the container with some sort of material to keep your soil and seeds from drying out. Most seed trays come with a plastic humidity dome that works great, but you can also use plastic wrap if you’re using other types of containers.
seed starting soil
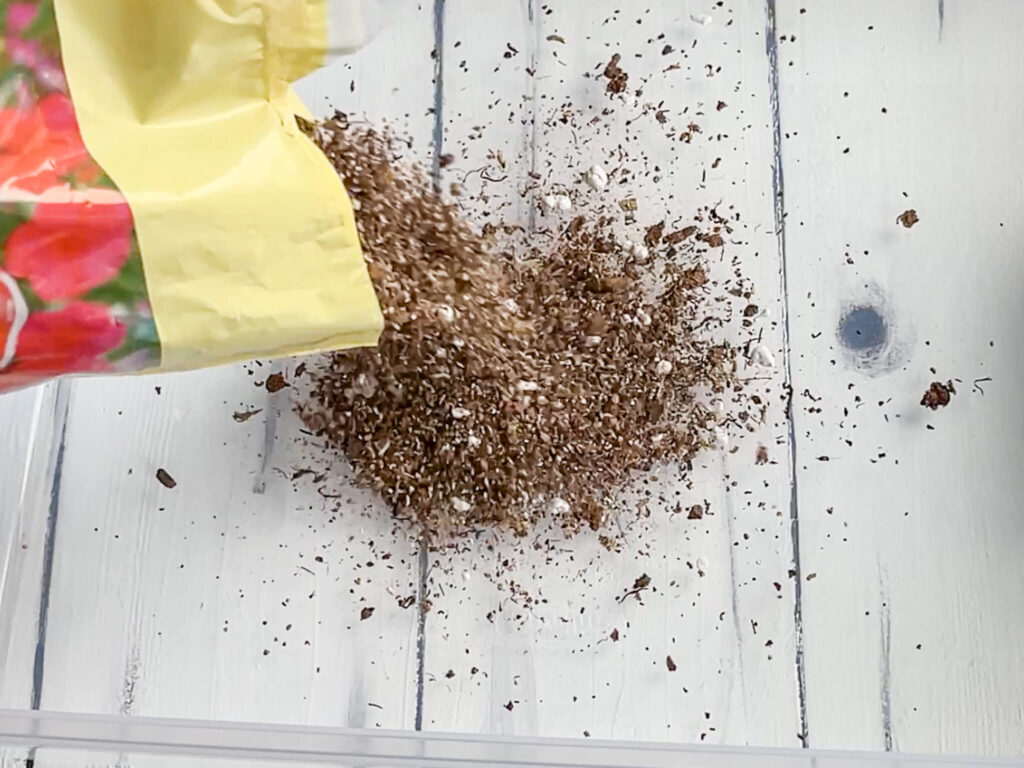
The type of soil you use to start your seeds is really important. Out of everything, this is the part you want to get right. You should not use regular garden soil or potting soil to start your seeds because it is too dense. Instead, you’ll want to use a soil mix that is specifically made for starting seeds like this. I purchase mine from Menards and it’s really inexpensive. Seed starting mix is light and airy, which allows the seedlings to push their way easily through the soil as they grow. It also contains enough nutrients for your seedlings in their first weeks of life!
spray bottle
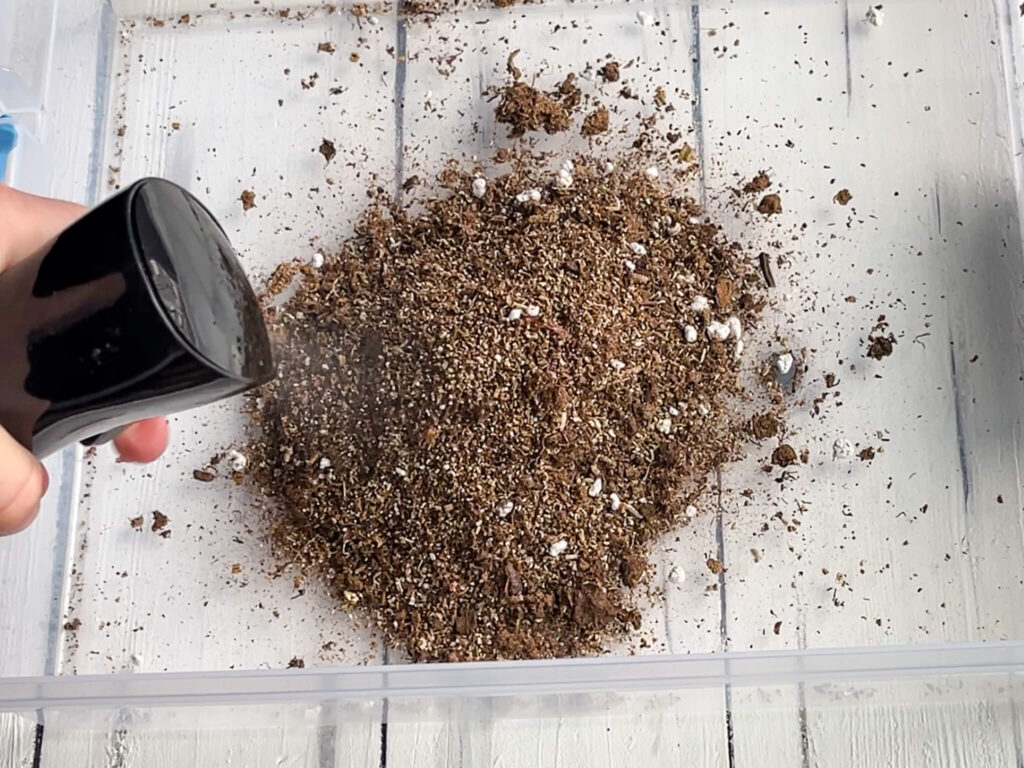
Although you can use whatever you want to water your seeds, I prefer to use a spray bottle because it helps me to control the amount of water I use. You can water too much, which can be detrimental to your seedlings, so I prefer to use a spray bottle. You can find these really anywhere.
HOW TO START SEEDS INDOORS
Once you’ve determined when to start your seeds, it’s time to get them in the soil! Here’s a general overview of how to start seeds. Obviously this can vary slightly depending on the seed, but this is process by which you will start most seeds.
prepare seed starting soil
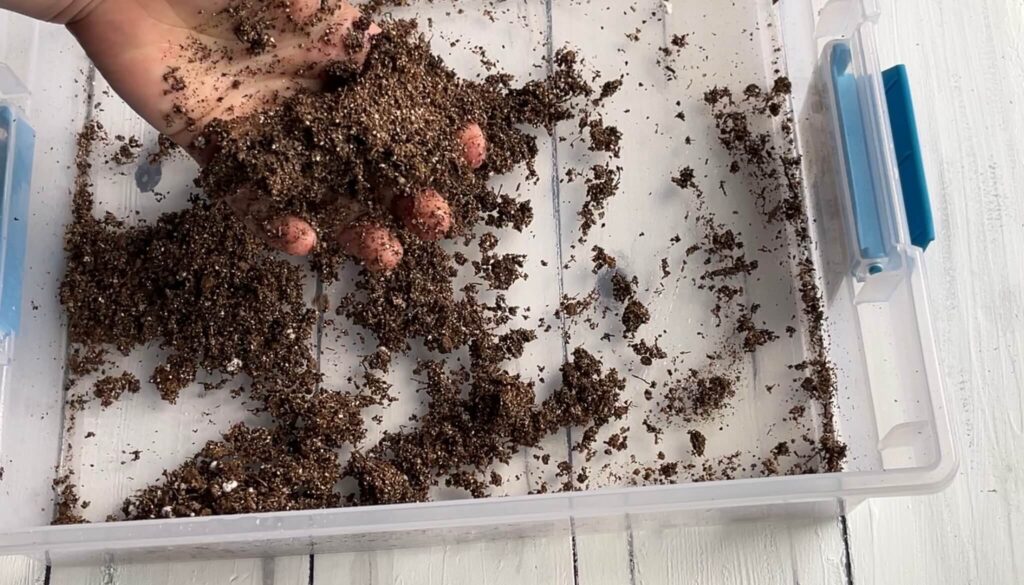
Add your seed starting soil to a clean bowl or container and begin adding water, with a spray bottle or something else, until the soil is just damp enough that you can form it into a ball. Set that aside.
prepare your seed starting container
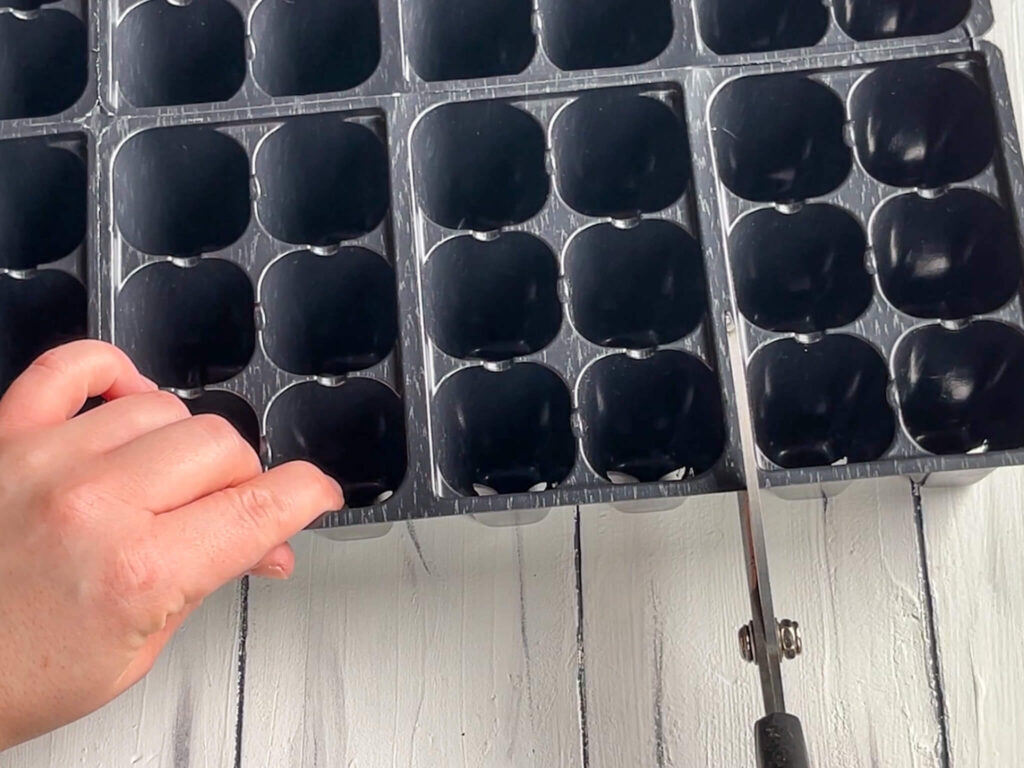
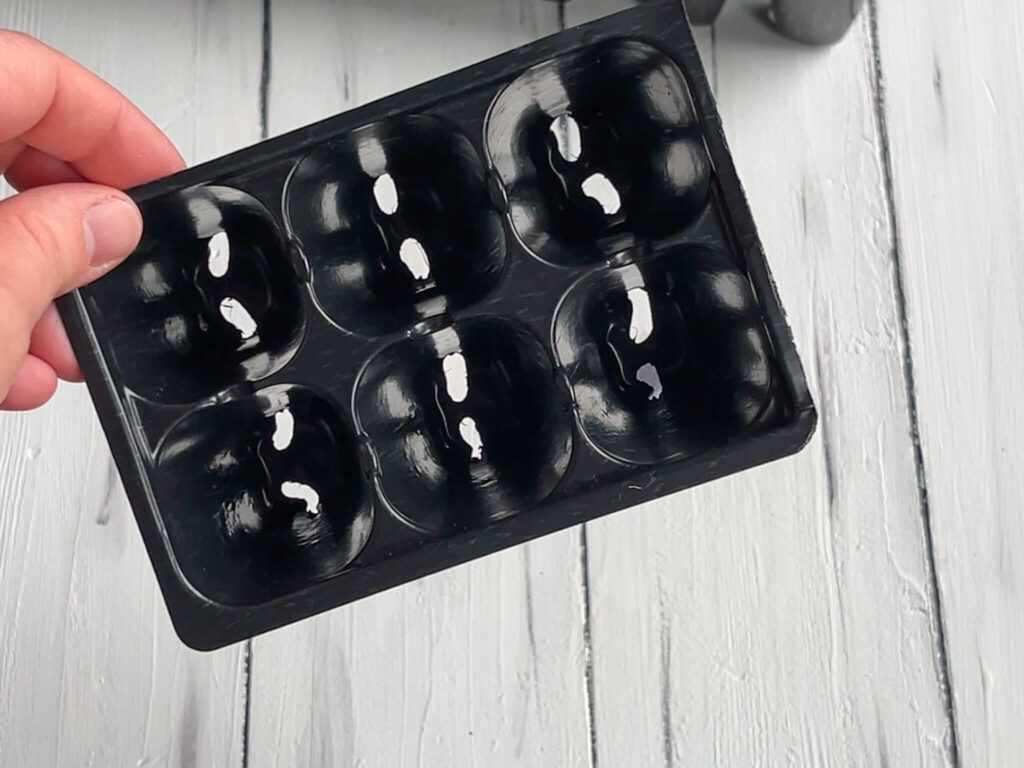
If you’re using the standard black seed starting trays, there’s nothing you need to do. However, since I start seeds at different times, I like to cut my seed trays into groups of six so that I can add them to the humidity dome once the seeds are planted and take them out once they’ve sprouted. This step is totally optional.
If you’re using another type of container like an old yogurt container, be sure to poke drainage holes in the bottom. You can use a pin or something like that to do so.
fill the containers with soil
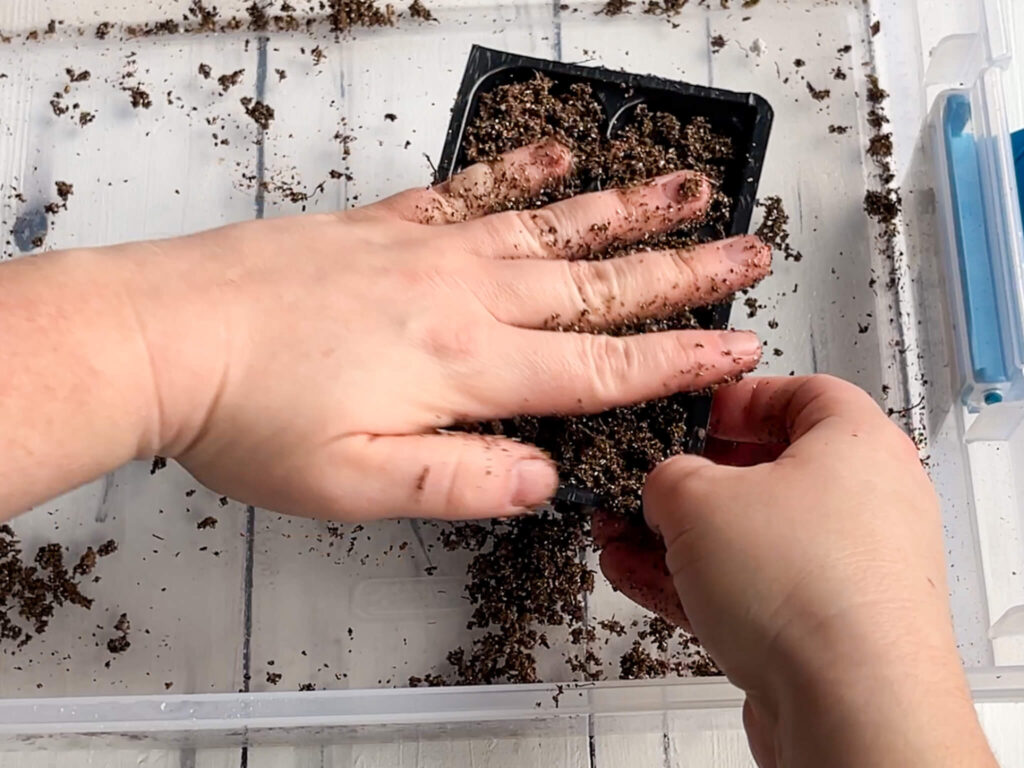
Add your damp seed starting soil to the empty containers, filling them with at least a few inches of soil.
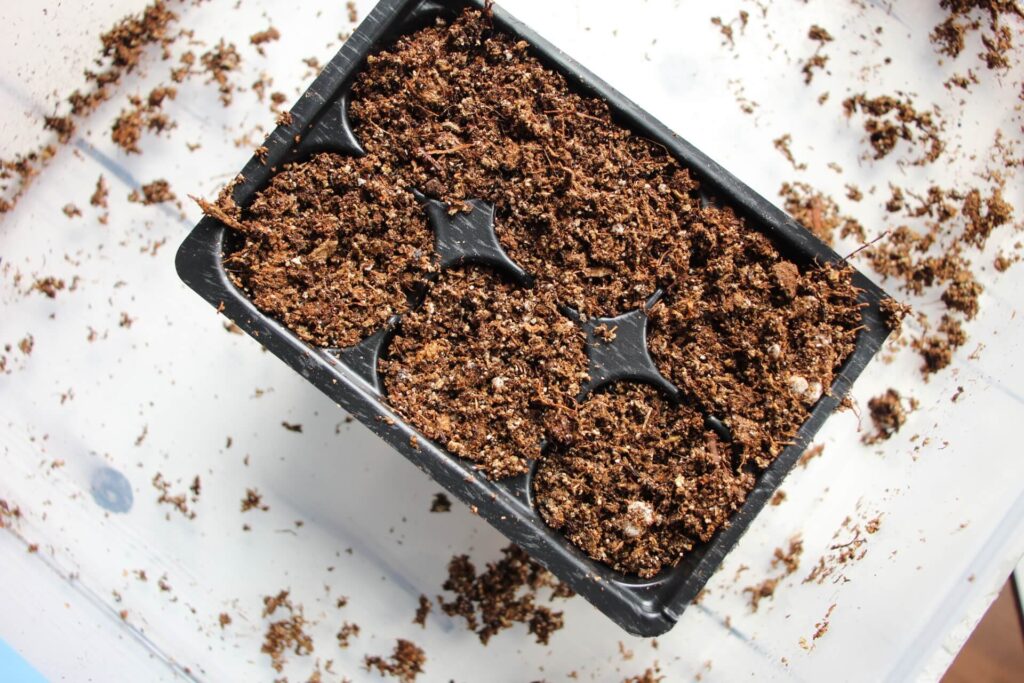
plant seeds
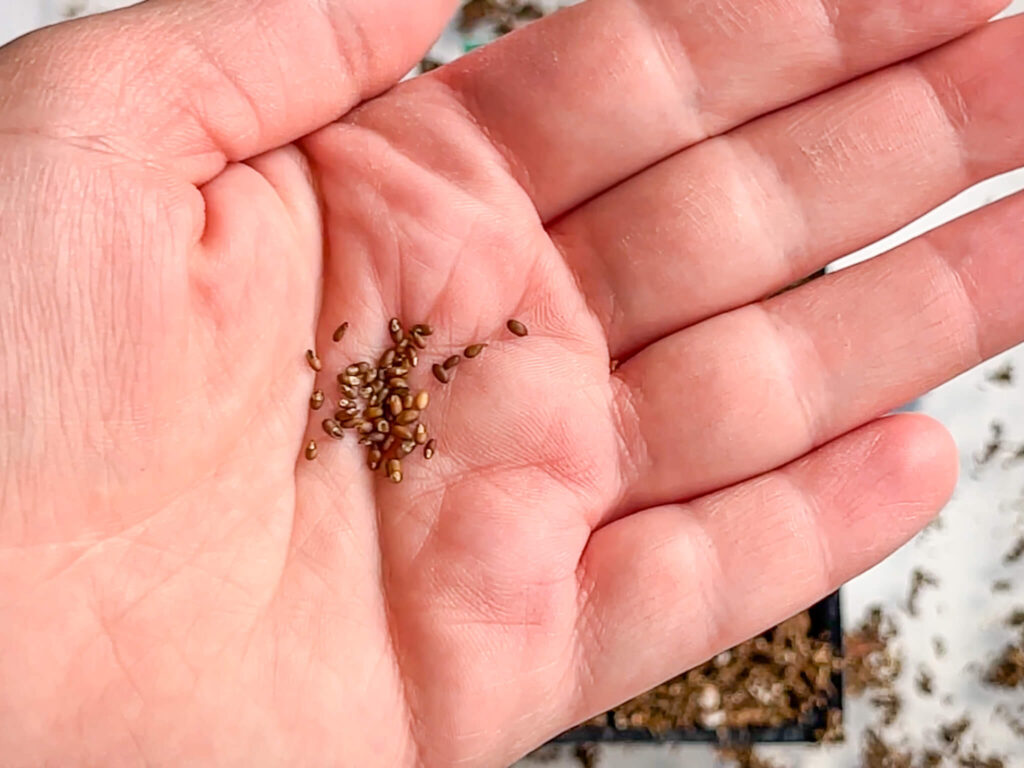
Now it’s time to plant your seeds! Plant your seeds according to the directions on the back of the seed packet. Typically, you will create a small hole with your finger, add the seeds and then cover the hole gently with soil. Some seeds need to be planted deeper, while others need to be placed on top of the soil. Again, read the back of the seed packet to determine exactly how to plant each specific seed.
label, water and cover
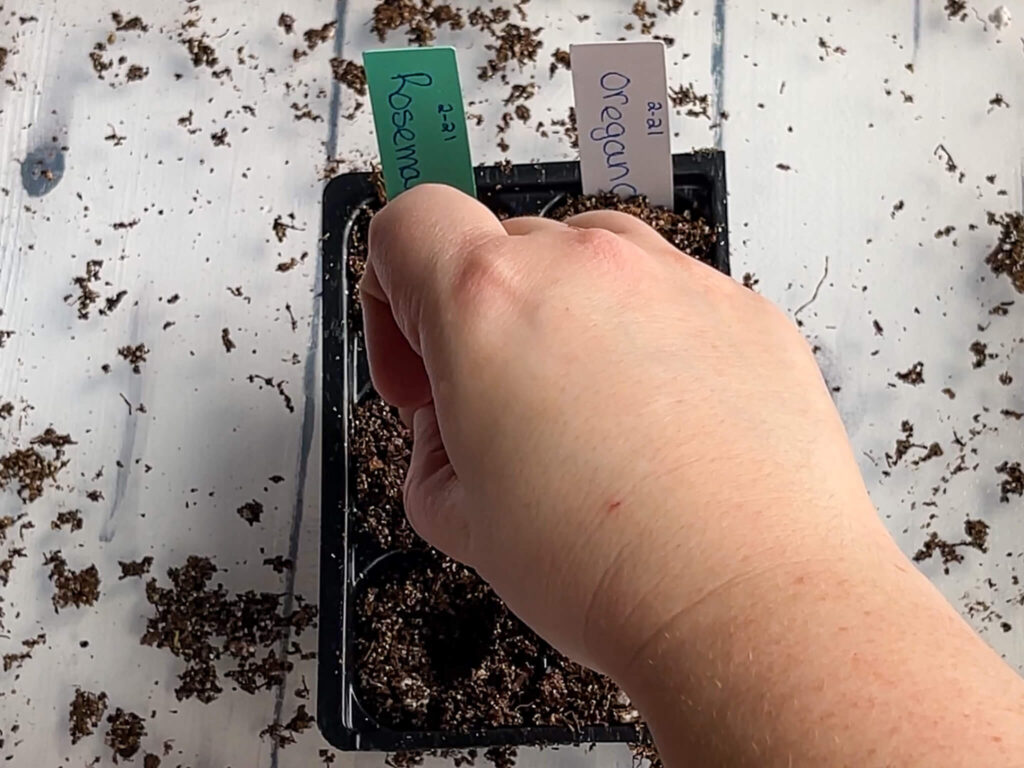
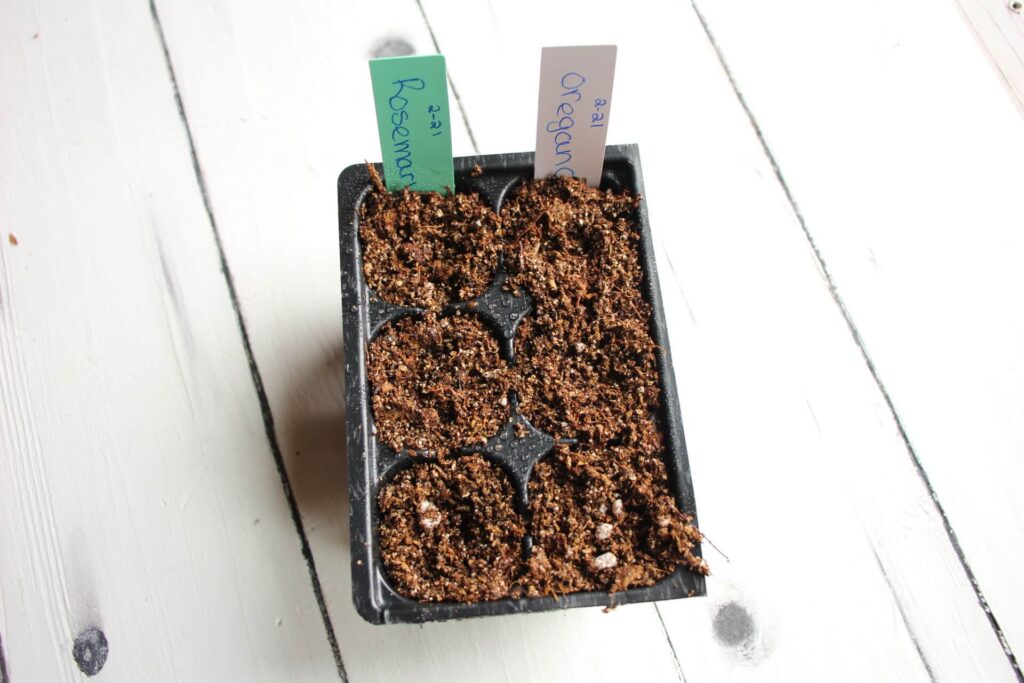
Label your trays using a plastic marker or popsicle stick, then water using a spray bottle or allowing the trays to soak in a couple inches of water for 15-20 minutes. Once they’re watered, cover them with the humidity dome or plastic wrap.
notes
- In general, plant 2-3 seeds per cell. Once the seedlings emerge, you can thin them or pull them apart.
- Some seeds need light and heat to germinate, while others need to be in a warm, dark place. I highly recommend doing research for each seed to determine what it needs.
- Water the seeds once daily. Be sure not to overwater, meaning, don’t allow there to be standing water in the seed tray. The soil should look moist.
- Remove the containers from the humidity dome once the seedlings have sprouted and place them either under a grow light or in a south facing window that gets plenty of sun.
CONCLUSION
I hope you found this post helpful and encouraging. If you are on this journey with me and planning to start seeds this year, take a picture and tag me on Instagram ! Stay tuned for how to care for seedlings. In the meantime, feel free to check out this gardening post on how to calculate when to start seeds indoors if you have any questions about that!


Leave a Reply