This small laundry room makeover just takes a few renter-friendly upgrades and makes doing laundry so much better!
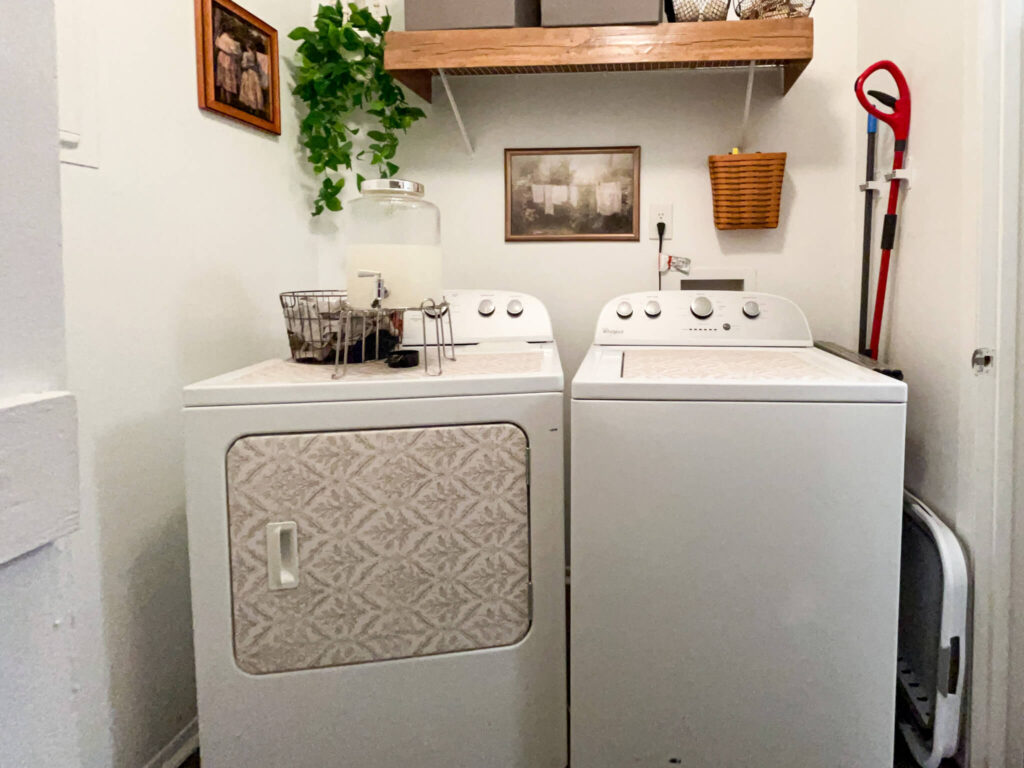
Almost every day for the last two years, I’ve looked at a super boring, unappealing laundry space in my pantry. Some might think it doesn’t matter, and in reality, it doesn’t, but when you spend the majority of your time at home, your spaces tend to get old. When I get this feeling, I know it’s time to make a change! This small laundry room makeover has been a long time coming and I’m so incredibly happy with how it turned out!
Because we rent, I was limited on what I could do, but there were also a lot of things I could do that made a world of difference. My goals for this project were to use some items I already had on hand, to keep it very budget-friendly and to use creative solutions to make a space I wanted to be in. That meant adding in some art, covering some eye sores and creating warmth in a small space. My two main areas of focus were the wire shelf and the washer and dryer. There was also a decent amount of available wall space that I wanted to utilize to create that inviting feel and look. Overall, this small laundry closet makeover came in just under $100 and I couldn’t be more happy. So, without further ado, let’s dive in!
PIN FOR LATER!
VIDEO
This post may contain affiliate links, which means I may receive a commission, at no extra cost to you, if you make a purchase through a link. Please see our full disclosure here for further information.
MATERIALS USED IN THIS SMALL LAUNDRY ROOM MAKEOVER
- Wood contact paper (wire shelves)
- Foam board (wire shelves) – Dollar Tree
- Shipping tape (wire shelves) – Dollar Tree
- Peel-and-stick wallpaper (washer & dryer)
- Picture hanging Command Strips
- Broom Command Hooks
- Faux Hanging Plant
- Collapsable Laundry Basket
Let’s Begin with the Before …
My laundry space is located at the end of my kitchen, so it’s a space I see often since I spend a good amount of time in cooking and baking. On the left side of this space is my pantry and on the right side is my laundry area. The laundry room, or laundry closet you could call it, consists of my washer and dryer and a wire shelf. It’s honesty not much different than most apartment laundry closets, but it is a pretty tight space with not a lot of room to work with. The wire shelf is set really high, especially for me, so it’s not really a great space to store everyday use items. Since we rent, moving or adjusting this shelf wasn’t an option, so I needed to work with it as it was.
The washer and dryer on the other hand were hand-me-downs from my wonderful mother-in-law that work great, but just needed a little TLC. I also wanted a more functional space, so moving some laundry supplies off the top of my dryer and finding a better way to store my mop and broom were a must. At the end of the day, I wanted a clutter free space that looked clean and beautiful.

Tackling all the Projects
Project #1: How to Cover Wire Shelves
The first thing I did was tackle covering the wire shelves. They’re the only storage space in that area and a bit of a focal point, so I wanted to make them look a bit upgraded since they were pretty basic and boring. One way I’ve seen people cover wire shelves is with wood. While this may be a great option for some, for me, it’s not. I don’t have the tools to pull off that project well and since the shelves aren’t the sturdiest, I didn’t want to add extra weight on top. The next best option was to cover them with foam poster board I got from the Dollar Tree and some pretty wood contact paper! In my research, I found another YouTuber do this and they turned out great!
Directions
Measure your wire shelves to determine the length, width and height.

First, measure and cut the foam board to fit the top of the shelf. For the top portion of my shelves, I needed a piece that was 48.5″ long and 12 inches wide. If your shelf looks like mine, you’ll need to tape two pieces of foam board together with some shipping tape.
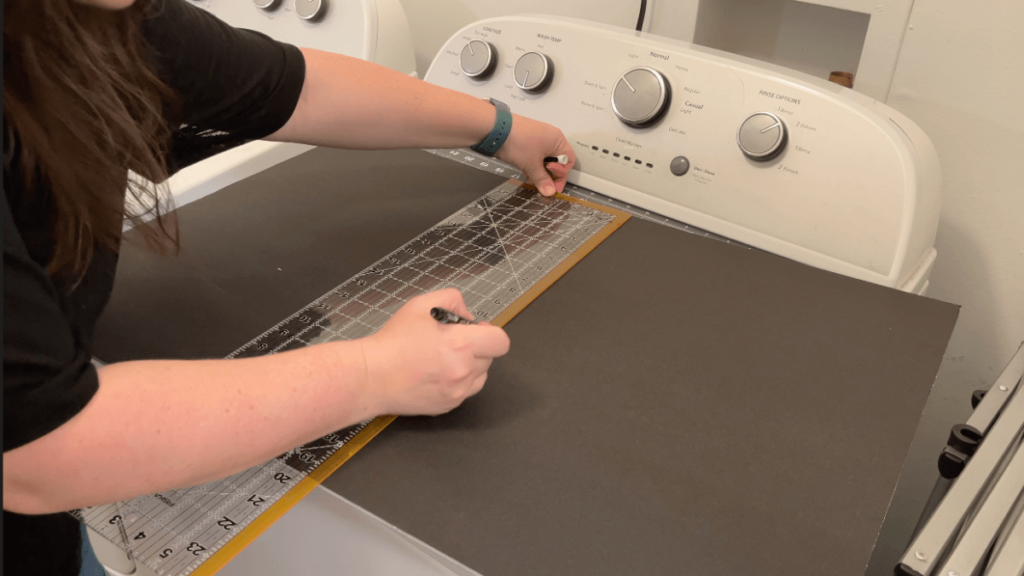
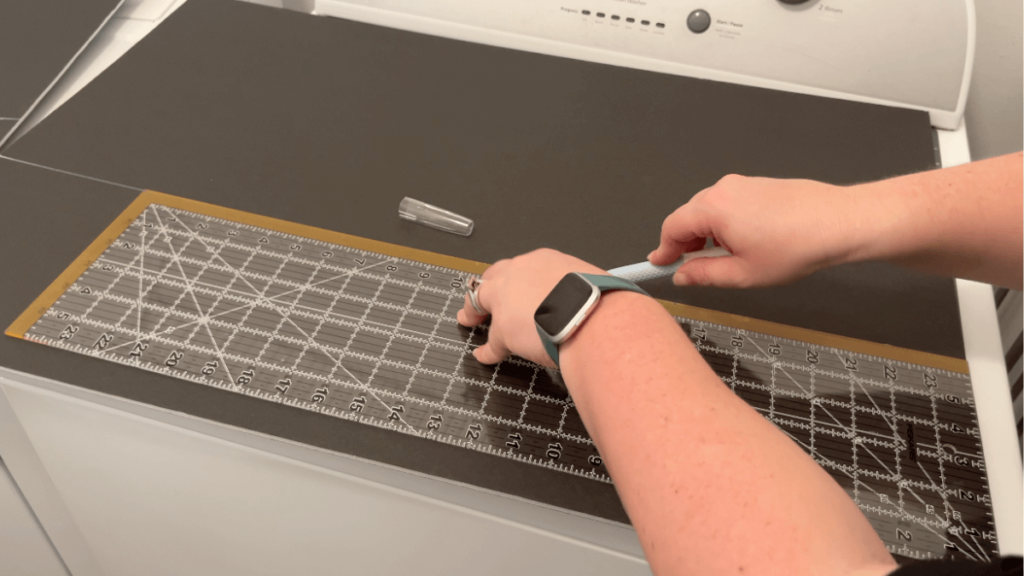
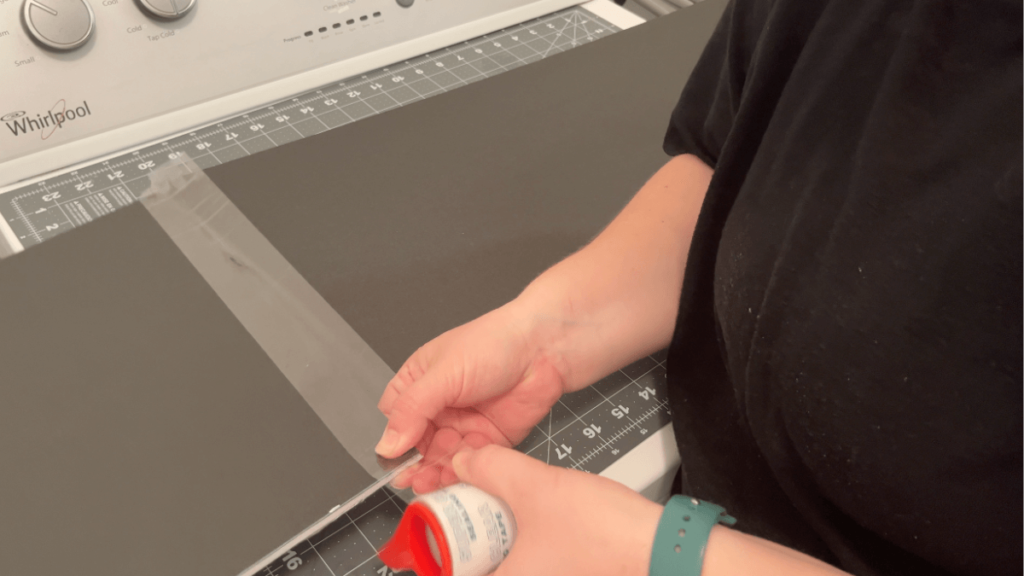
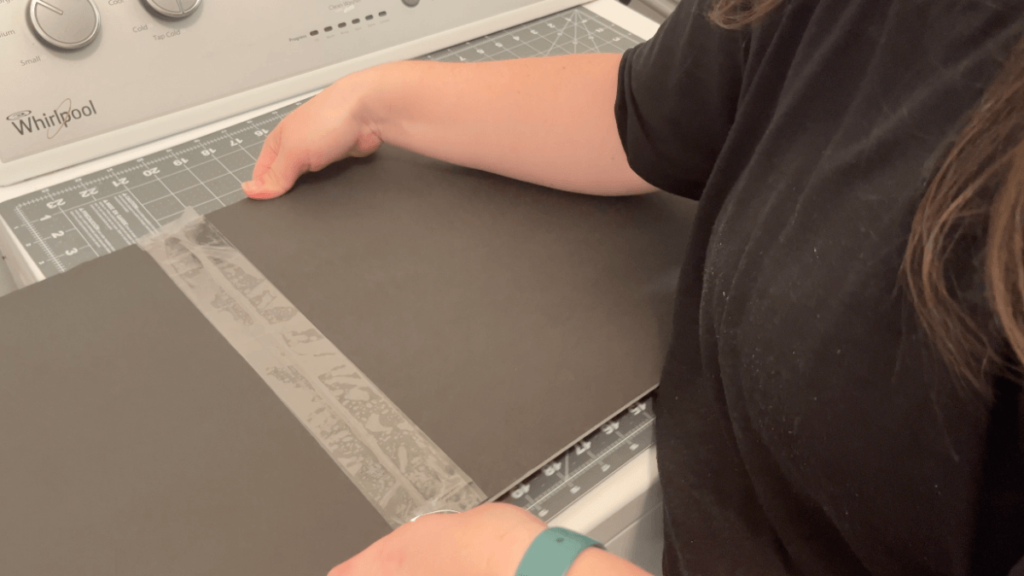
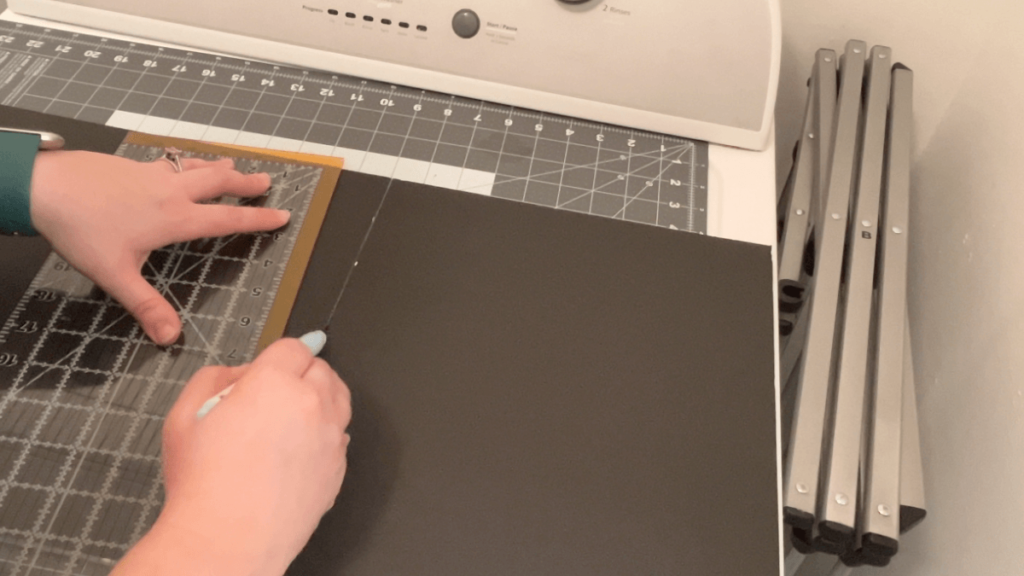
Next, measure and cut the foam board to cover the front of the shelves. I recommend adding about 2 inches extra in the width to nicely cover the front. For this I needed a pieces that was 48.5″ long by 4″ wide. Again, I taped two pieces of foam board together to achieve the length I needed.

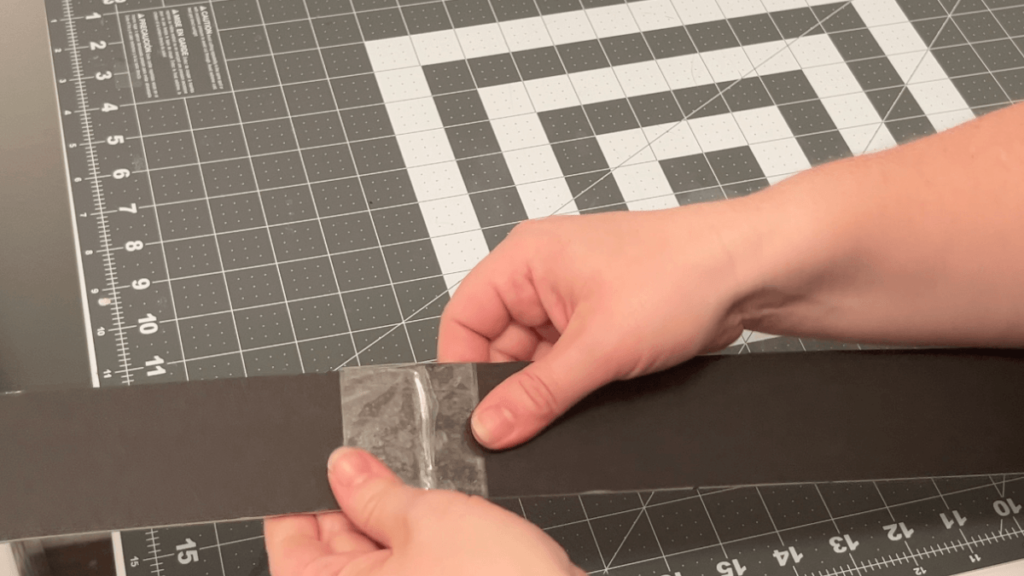
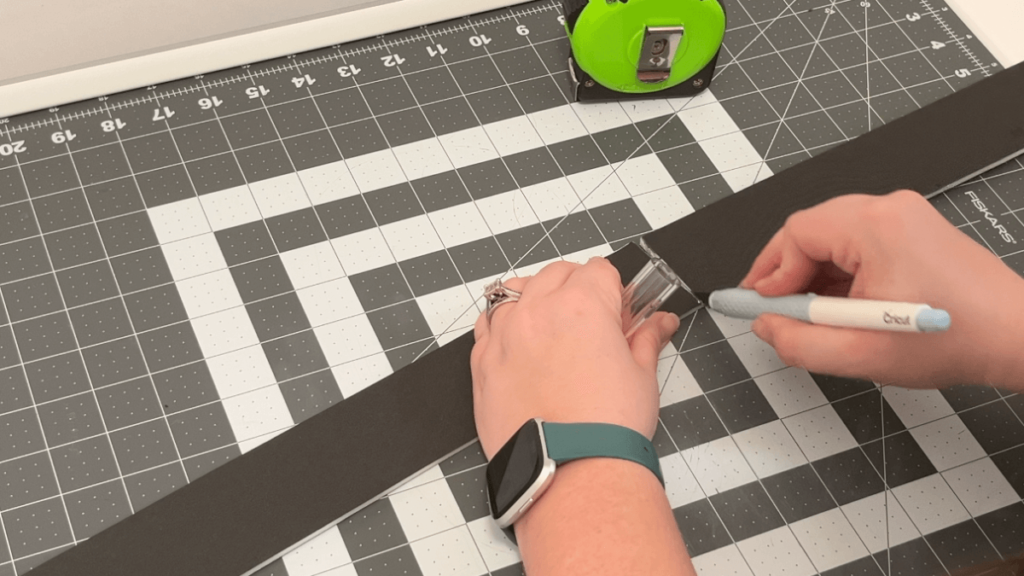
Now cut the foam board for the sides of the shelf. For this I needed two pieces that measured 12″ long by 4″ wide.
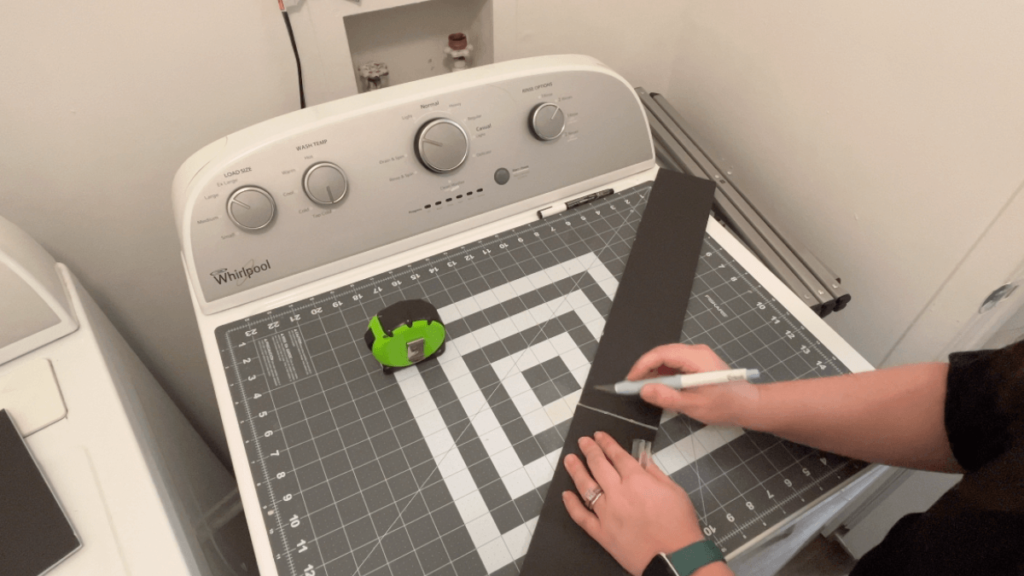
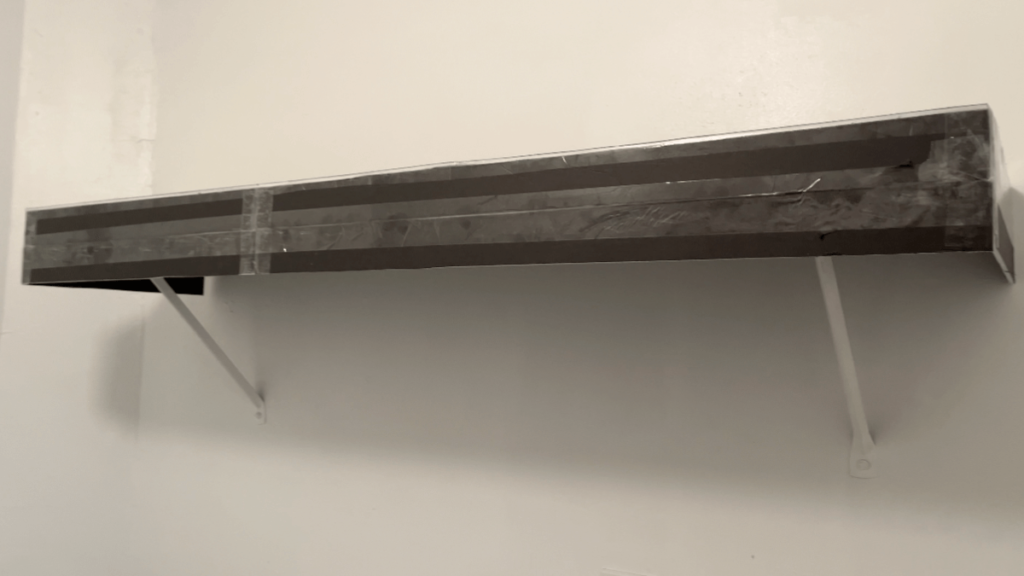
To assemble the wire shelf topper, lay the top piece on a flat surface and tape the front piece to the long side, ensuring that the pieces are flush with each other. I like to tape the inside and outside to make it sturdier.
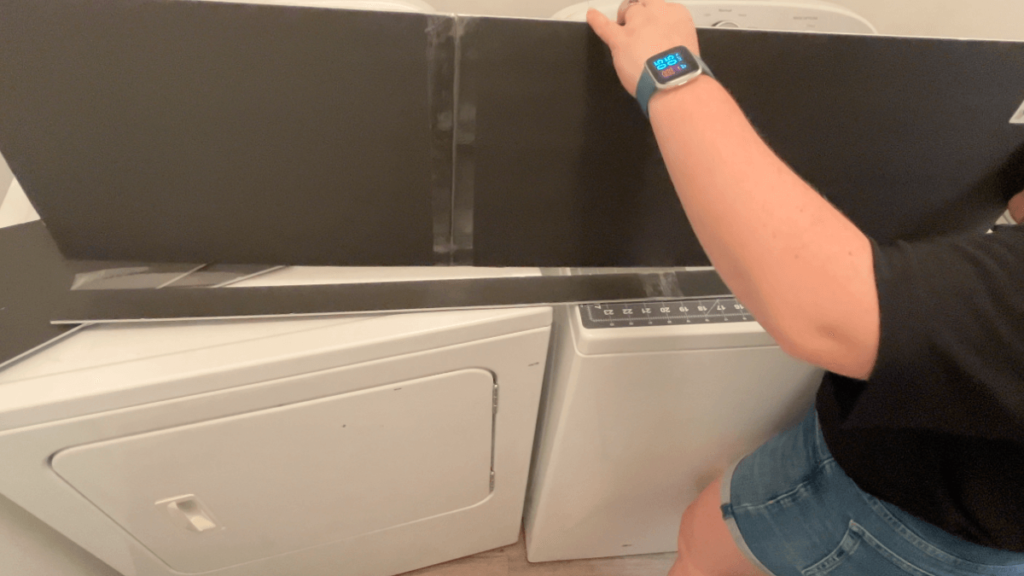
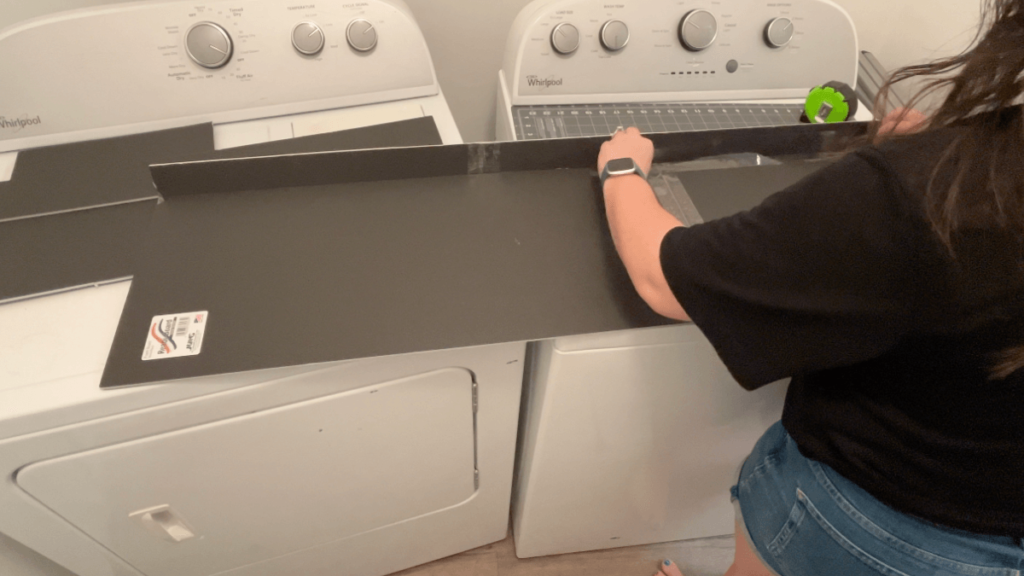
Repeat the previous step for the two side pieces.
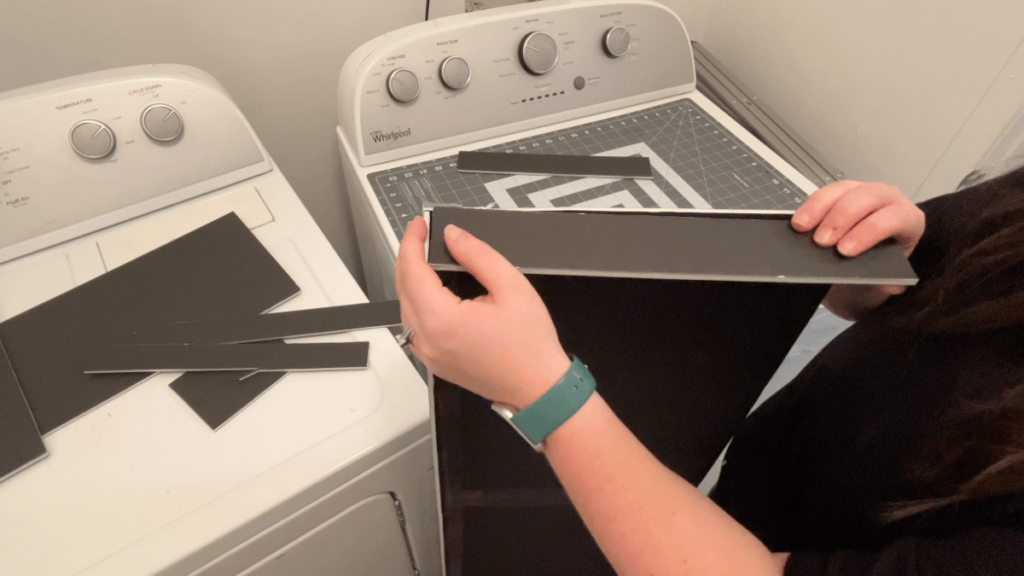
Fit your shelf topper onto the wire shelf to ensure it fits properly before moving onto the next step.
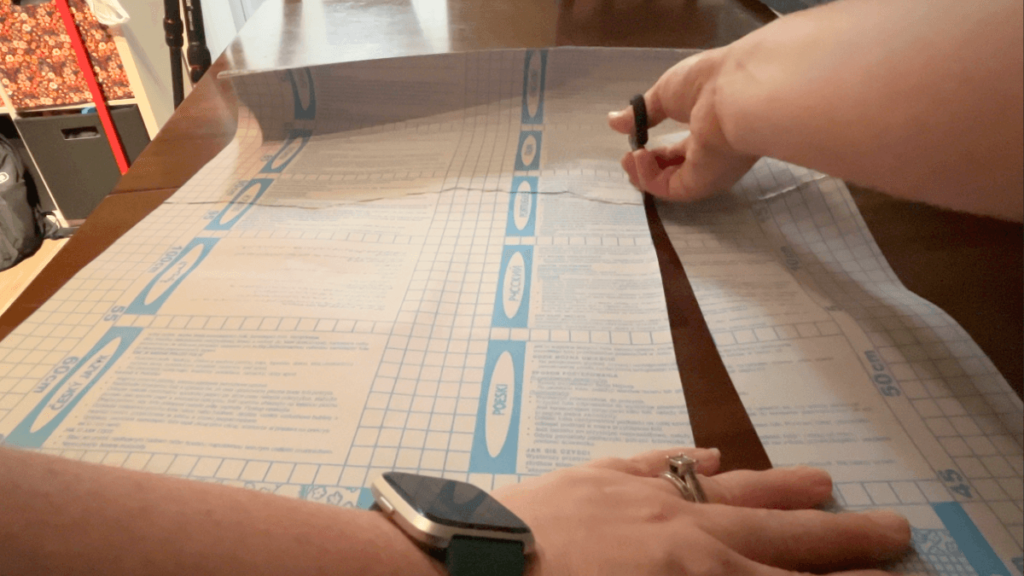
Measure and cut the contact paper, starting with the top, then moving onto the sides. The particular contact paper I used was very forgiving allows you to overlap pieces easily for a more seamless look.
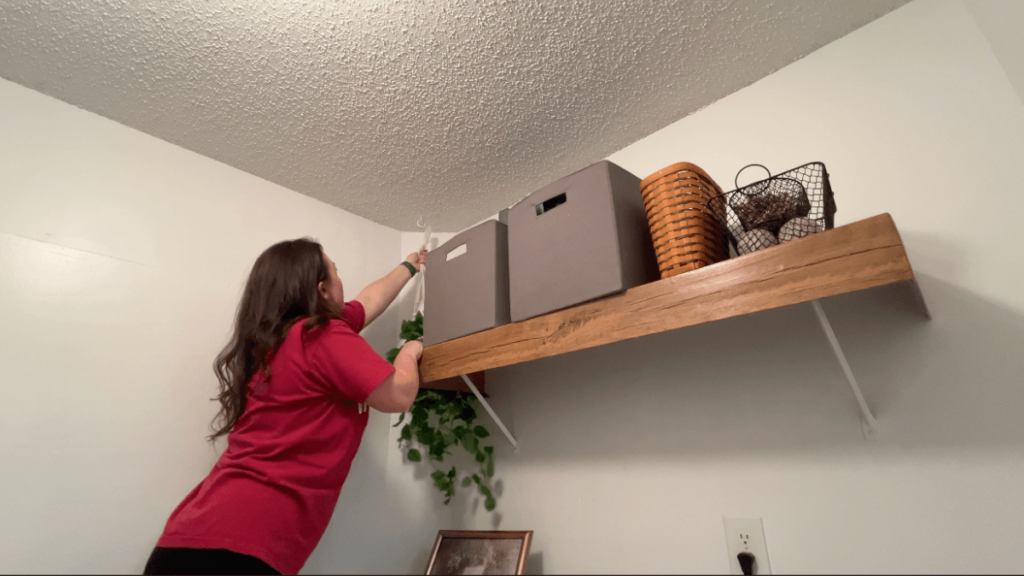
Starting with the top, slowly start applying the contact paper, being sure to smooth out any air bubbles as you go. It’s also good to leave a little extra to wrap around the edges.
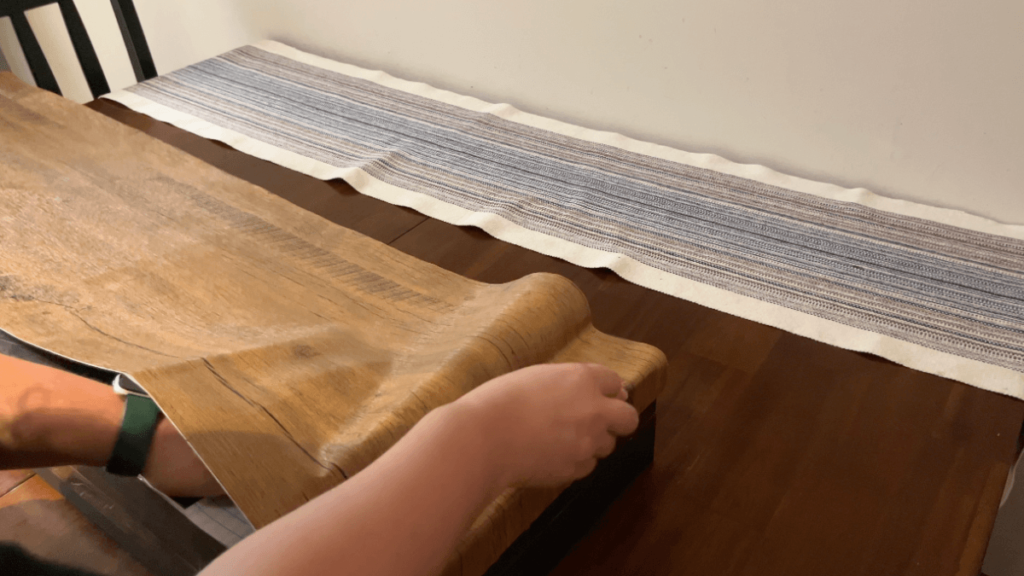
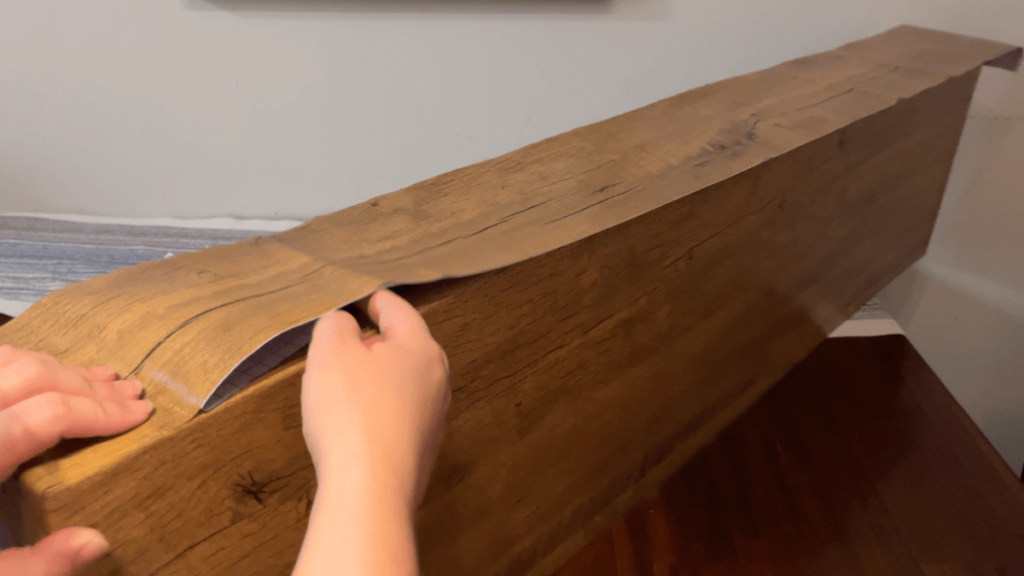
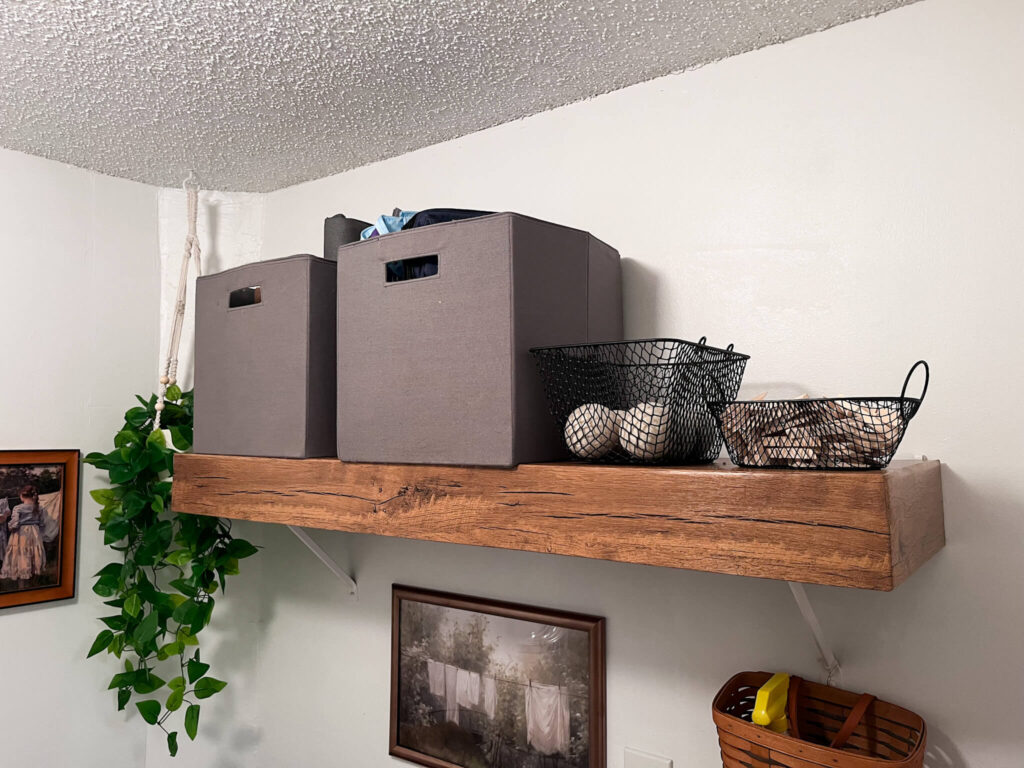
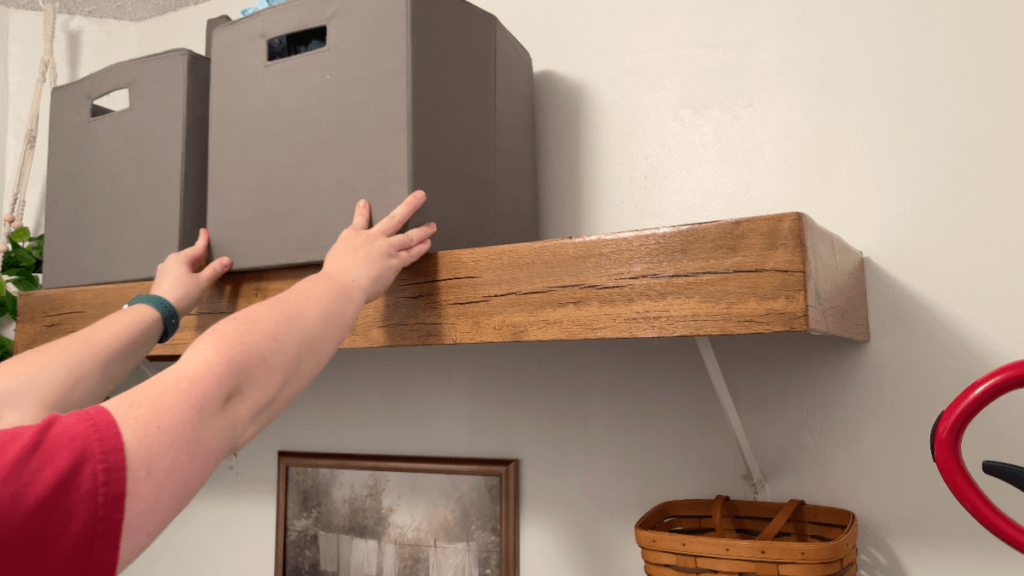
That’s it! I added my shelf topper and got to work adding decor and storage.
Project #2: How to Cover a Washer and Dryer with Contact Paper
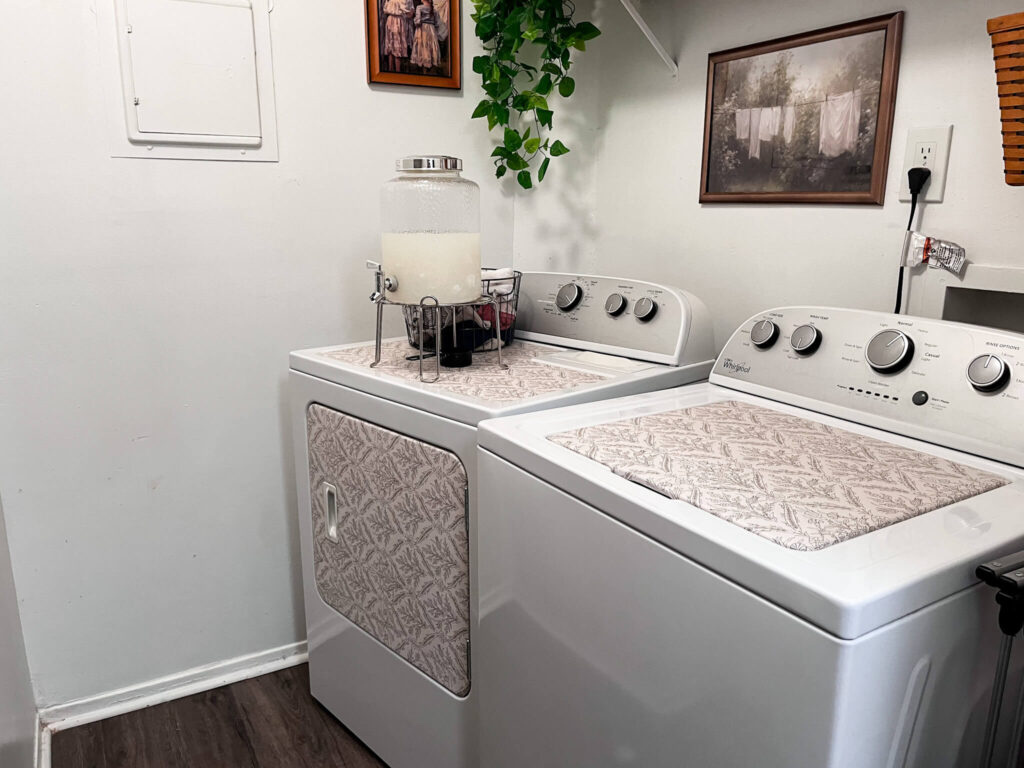
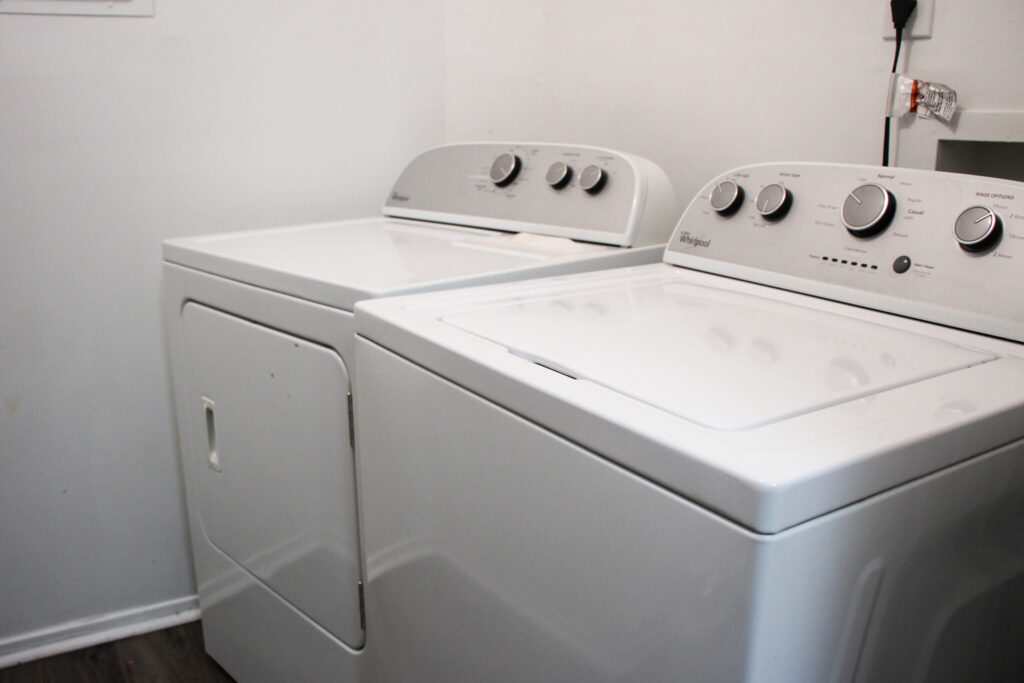
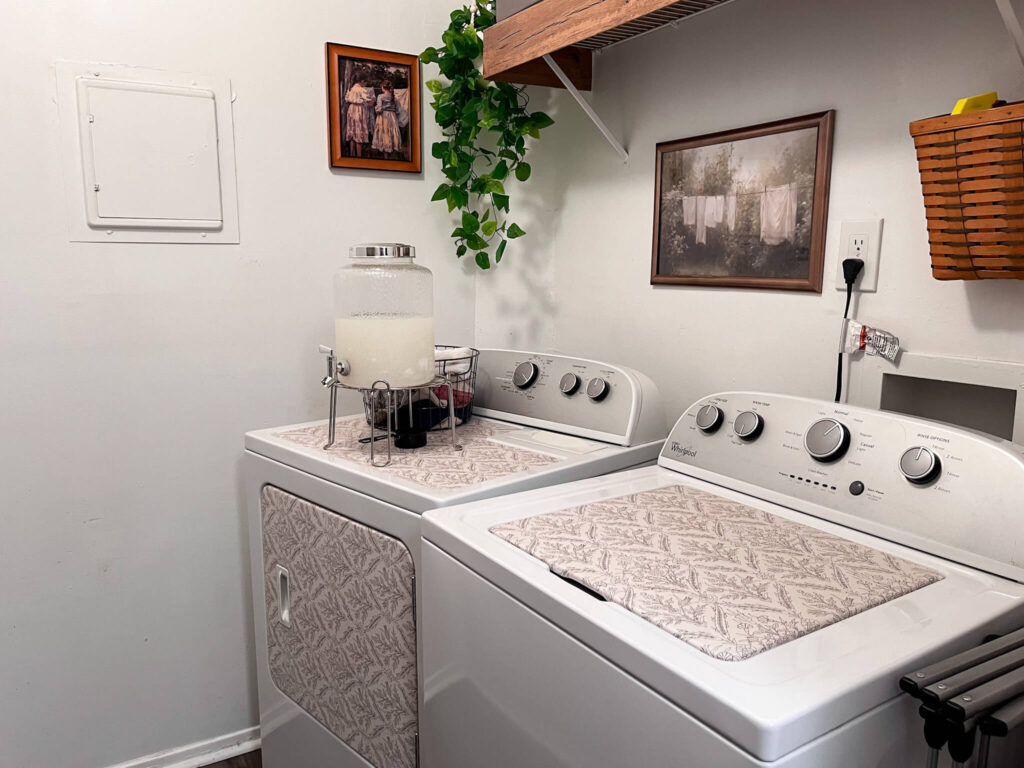
The next project I wanted to tackle was to cover my washing machine and dryer with contact paper. The reason for this was twofold. First, I wanted to jazz up my machines a bit, but second was that they are old and starting to rust and show a decent amount of wear. Since we rent and painting wasn’t exactly ideal, covering them with contact paper was a budget-friendly and simple way to update them. I’ve outlined the entire process in this post if you want to learn more!
Project #3: Updating some Thrifted Decor with Spray Paint
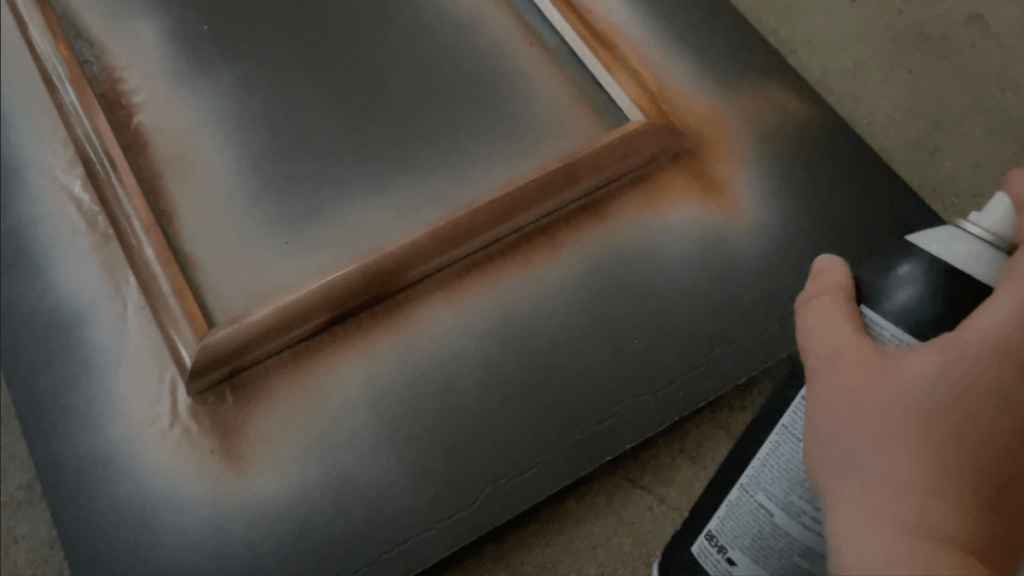
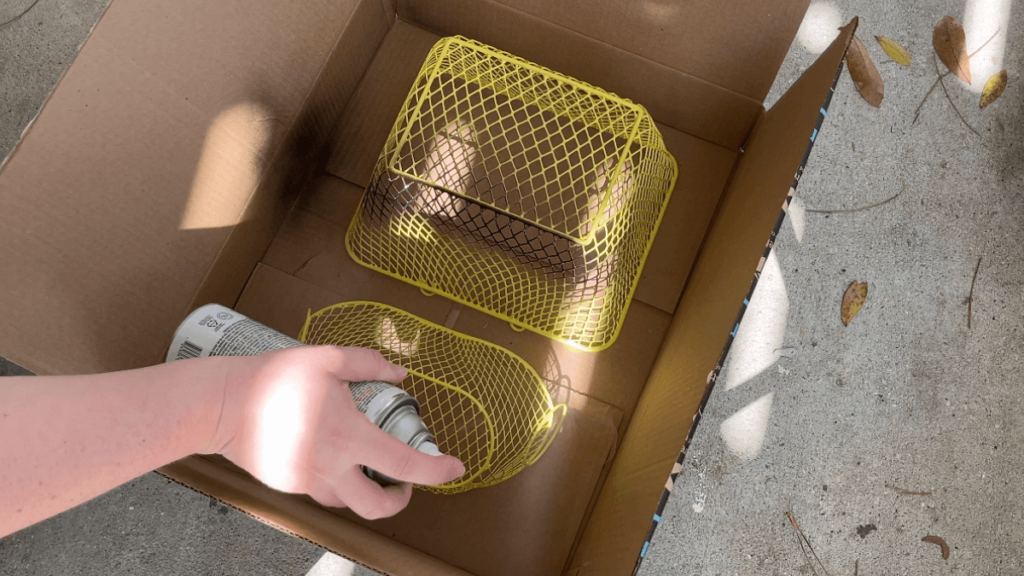
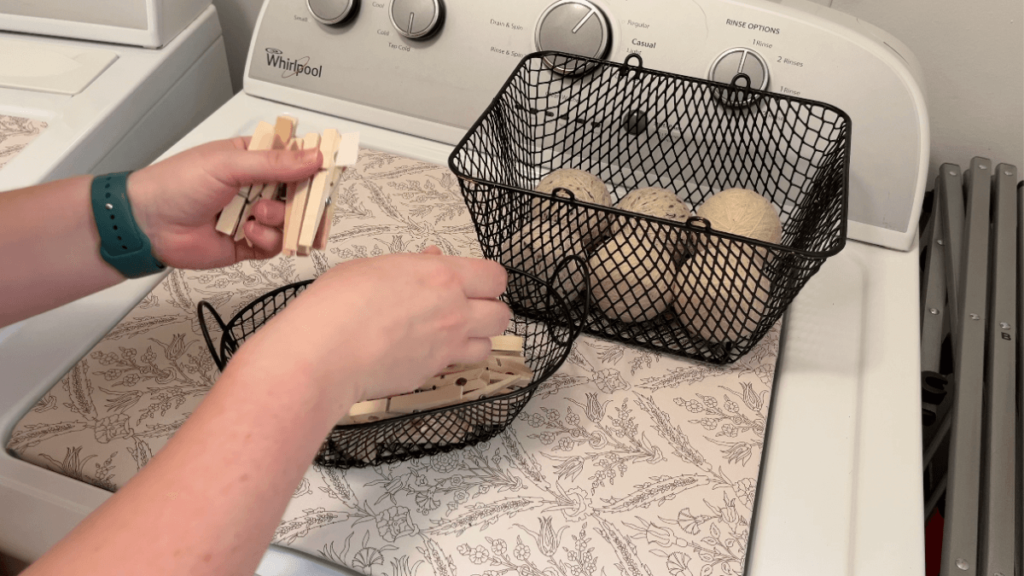
I wanted to mostly use items I already had on hand to decorate this space, so I did a few quick DIYs and they made a big difference. I thrifted a few wire baskets a while back that I decided spray paint black. These baskets were perfect for storing my dryer balls and clothes pins. Next, I spray painted a larger black frame I had on hand in antique copper as I thought it would bring some warmth.
Project #4: Putting it All Together!
Wall Decor
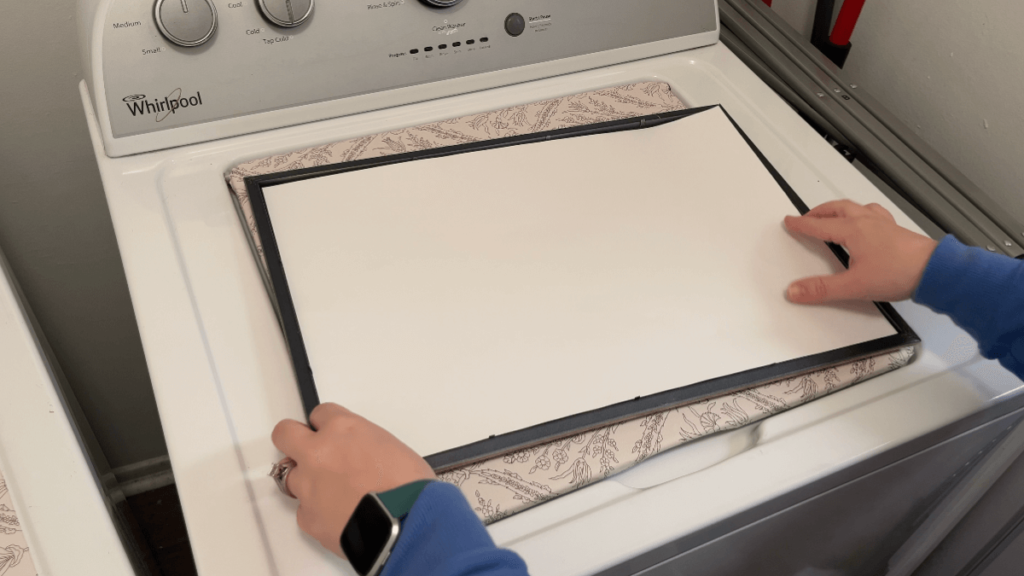
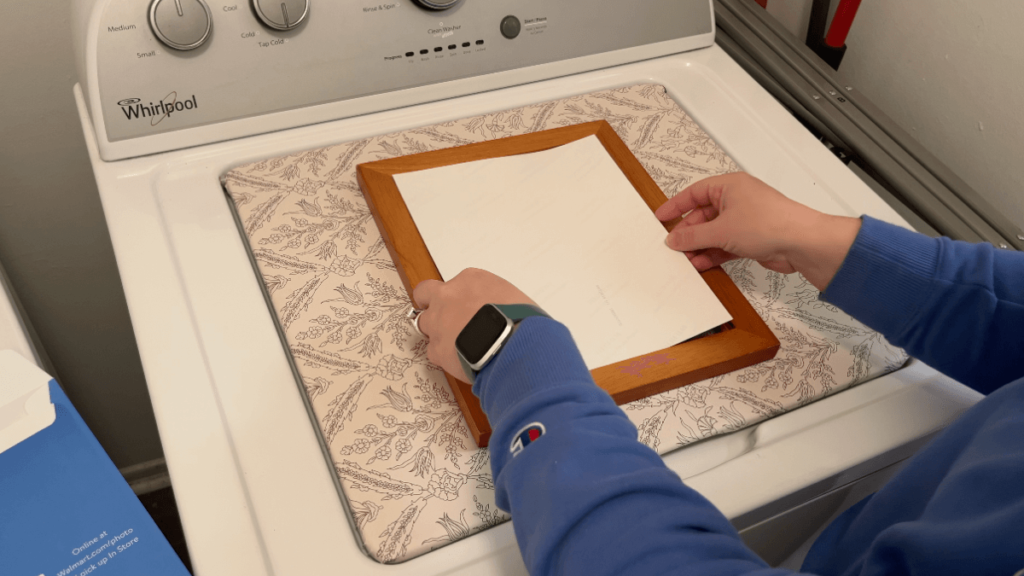
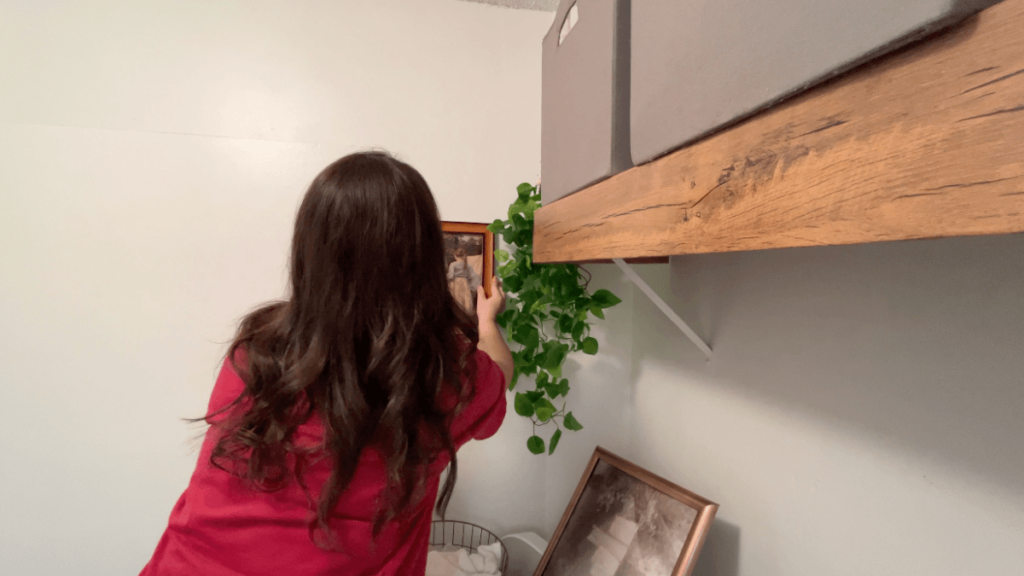
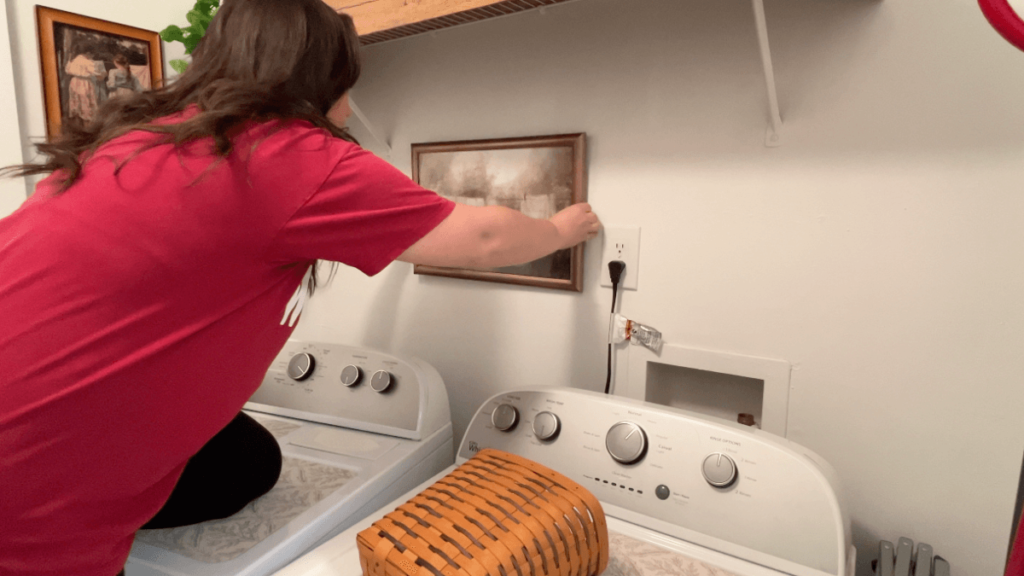
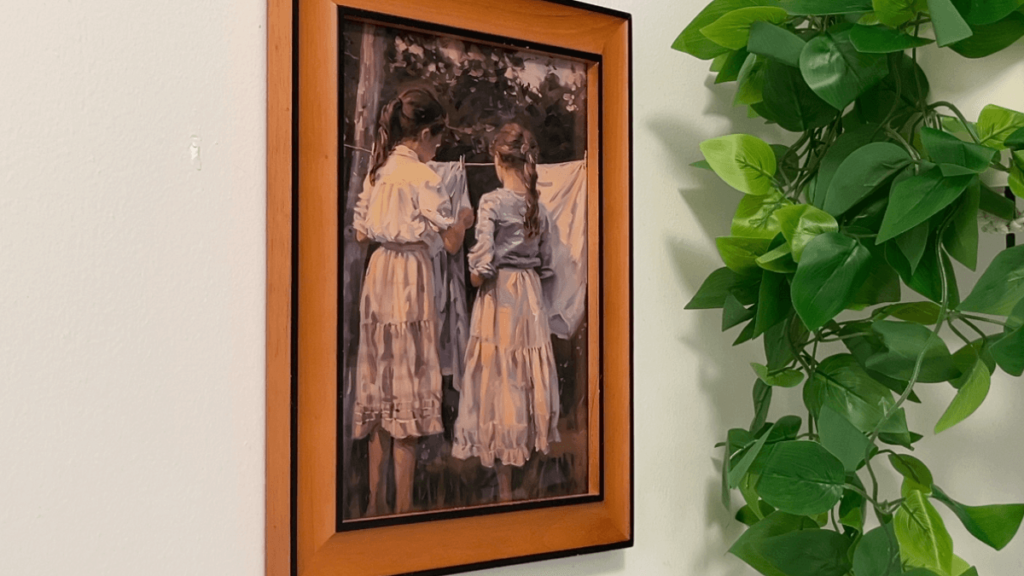
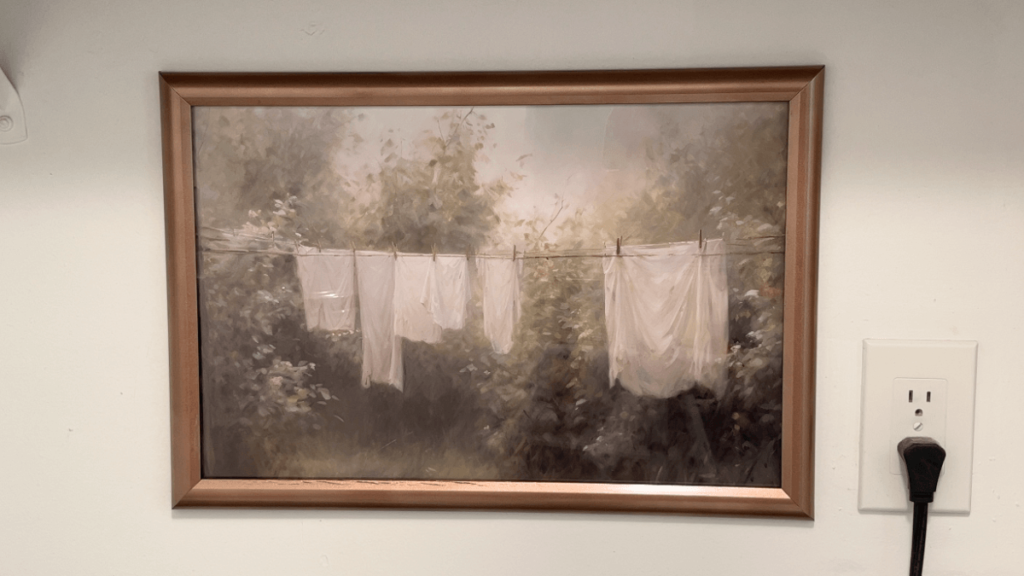
I found this piece of art and this piece of art on Etsy and got them printed at Walmart. These prints are great because not only are they laundry themed, but the print that features the two little girls remind me of my sweet daughters. I added each print to the two frames I already had. I hung the larger print behind my machines and the other on the accent wall.
Greenery
I found this faux hanging plant on Amazon that I thought would look beautiful in the corner next to the art piece featuring the two sweet girls. Because this area doesn’t get any sunlight, a real plant wasn’t an option, but I’m really happy with the quality of this plant for the price. At some point, I may add a few more small faux potted plants on the open shelving too.
Storage Solutions
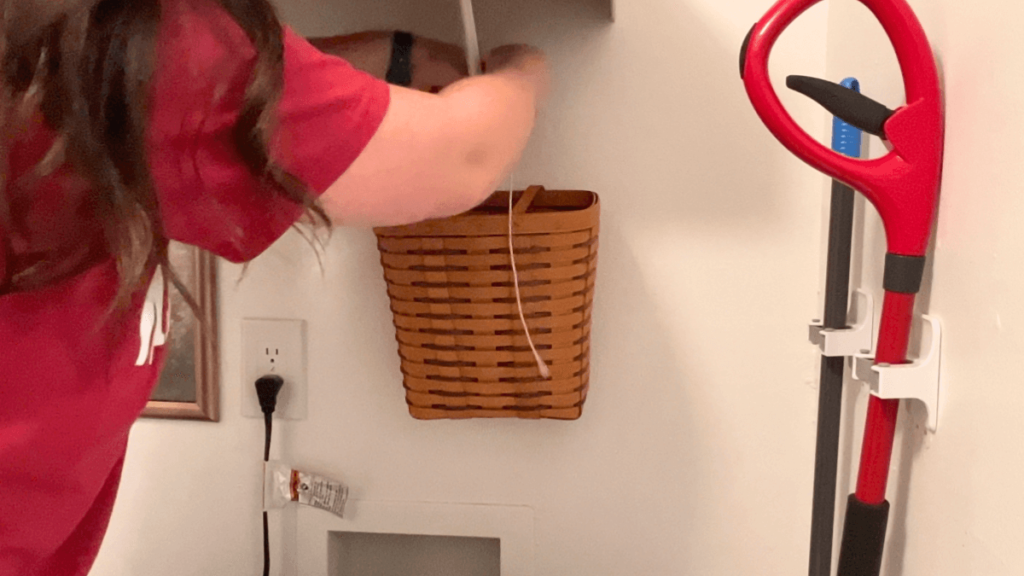
For storage, I added a couple collapsible cubes I already had on hand to store my iron and foldable ironing board, along with some reusable grocery bags and other cleaning supplies. Additionally, the spray painted wire storage baskets work great to hold my dryer balls, clothespins and other laundry essentials. I added a beautiful Longaberger hanging basket I bought a few months back as a piece of decor, but also to hold additional items like stain removers.
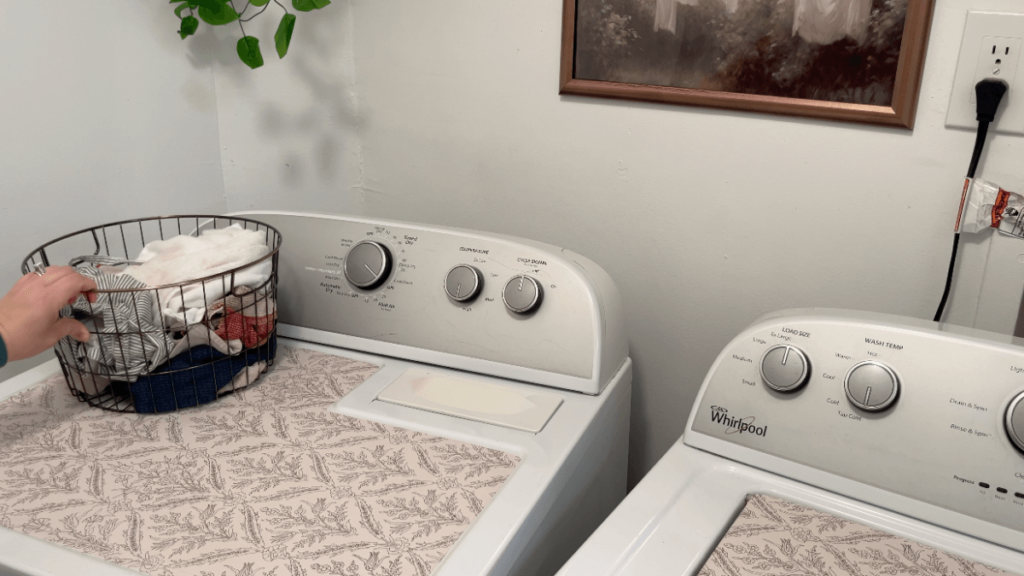
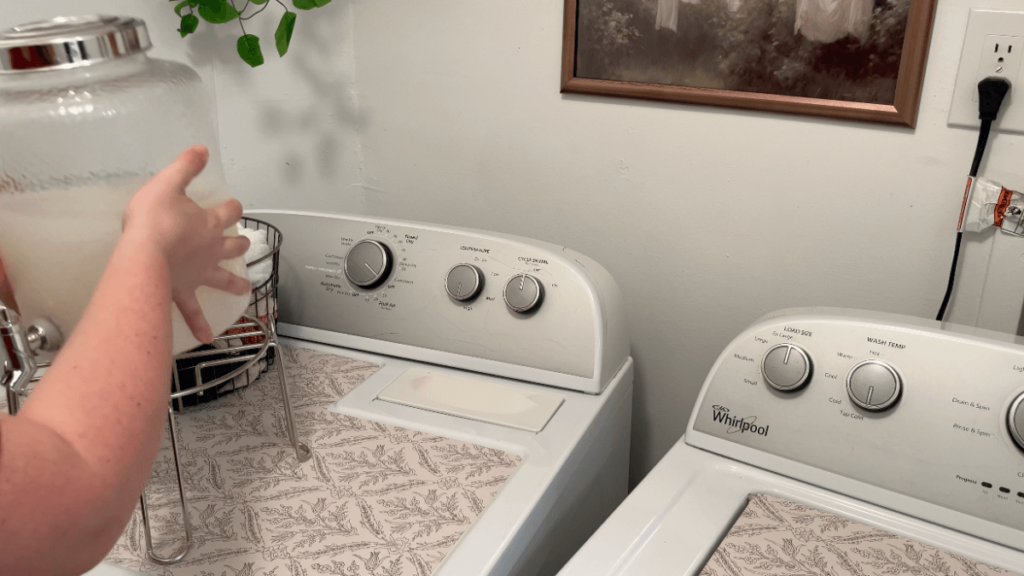
For dirty laundry, particularly dirty kitchen towels, I have a thrifted wire basket. I love this because since our laundry closet and pantry are right off our kitchen, I can just throw our dirty towels directly into that basket. Lastly, to store my homemade laundry detergent, I use a drink dispenser I got at Target a few years ago. I placed it on top of the stand I had lying around that I don’t use for my ProOne water filter system.
Other Additions
I swapped out my standard laundry basket for a collapsable one that fits right next to my drying rack on the side of washer. This makes a huge difference because I don’t always have a large basket taking up space. For dirty clothes and laundry, particularly dirty kitchen towels, I have a thrifted wire basket. I love this because since our laundry closet and pantry are right off our kitchen, I can just throw our dirty towels directly into that basket.
The Final Reveal
I’ve never really “transformed” an entire area in my home like this before, but it turned out so good and I’m beyond happy with the results. It’s now a pretty space that I really want to be in. It turned a not so fun chore into one that’s much easier. If you’ve been looking for small laundry room ideas, I hope this gave you some inspiration! It really only takes a few small updates in a small room to make a big difference. If you’ve got a similar area that you’ve been wanting to transform, I urge you to do it!
Looking for more easy makeover projects?
Looking for more easy DIY makeover ideas like this tutorial? Check these out:


Leave a Reply