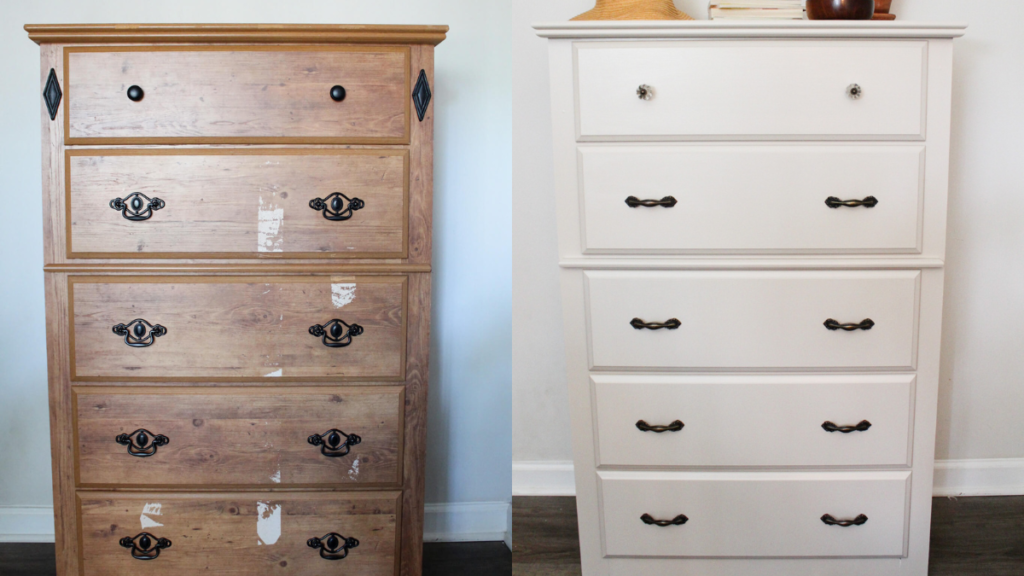
Learn how easy it is to paint a laminate dresser with minimal prep for a beautiful, yet simple dresser makeover!
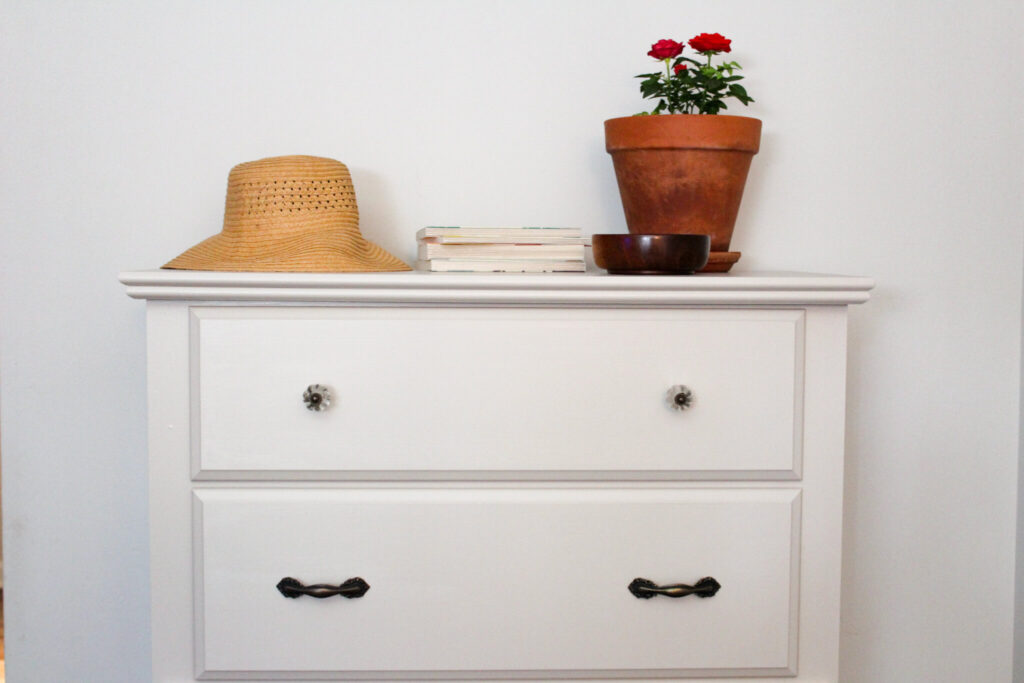
PIN FOR LATER!

VIDEO
HOW TO PAINT A LAMINATE DRESSER
This post may contain affiliate links, which means I may receive a commission, at no extra cost to you, if you make a purchase through a link. Please see our full disclosure here for further information.
TOOLS YOU MAY NEED
MATERIALS YOU MAY NEED
- Wood filler
- 400 grit sand paper
- Painter’s tape
- Primer (BIN Shellac Primer)
- Paint (Behr in Creamy Mushroom)
- Knobs & pulls
DIRECTIONS: HOW TO PAINT A LAMINATE DRESSER
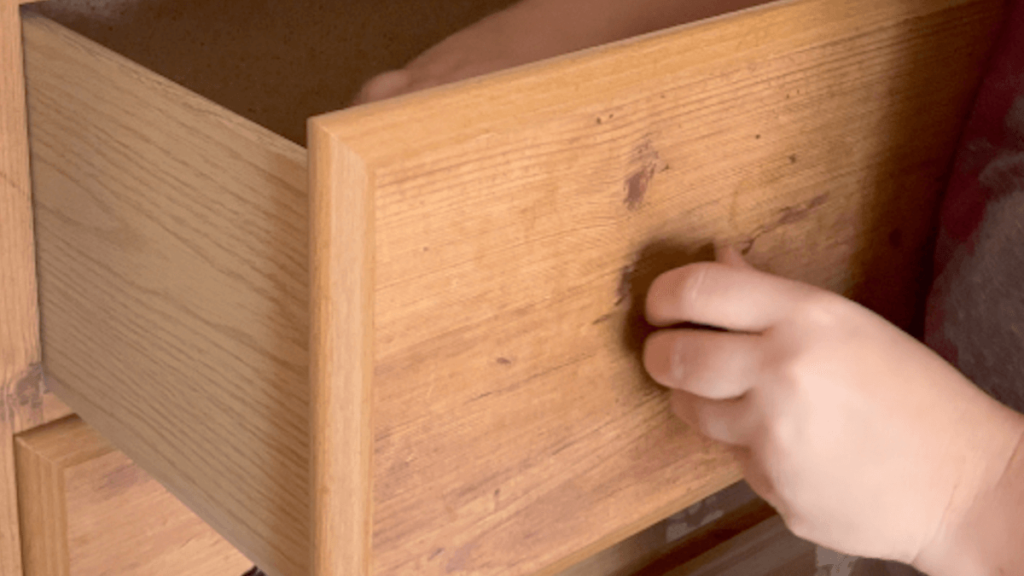
Remove all drawer pulls and knobs. Be sure to save them to use so you can reuse them for this project or a future one!
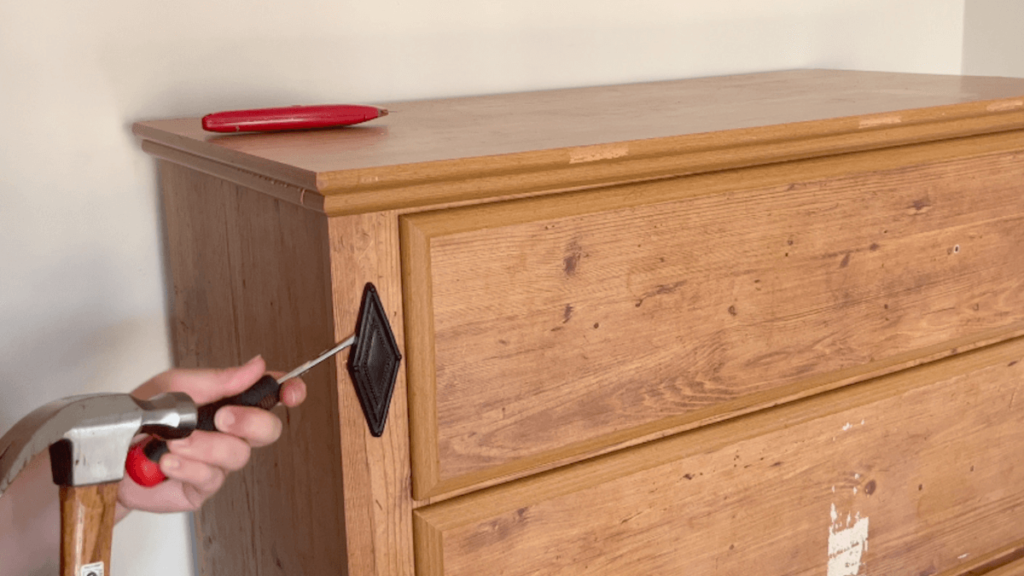
Carefully remove any other details you don’t want like accent pieces.
Fill in any holes or gouges with wood filler and allow to dry.

Using 400 grit sandpaper, lightly sand any rough patches and any areas with wood filler.

Wipe your laminate dresser down, then apply the first coat of primer and allow it to dry according to the directions on the can. Repeat as needed (I used 2 coats for this project). See notes for more info.

Apply your chosen paint and allow it to dry according to the directions on the can. I used two coats of paint.

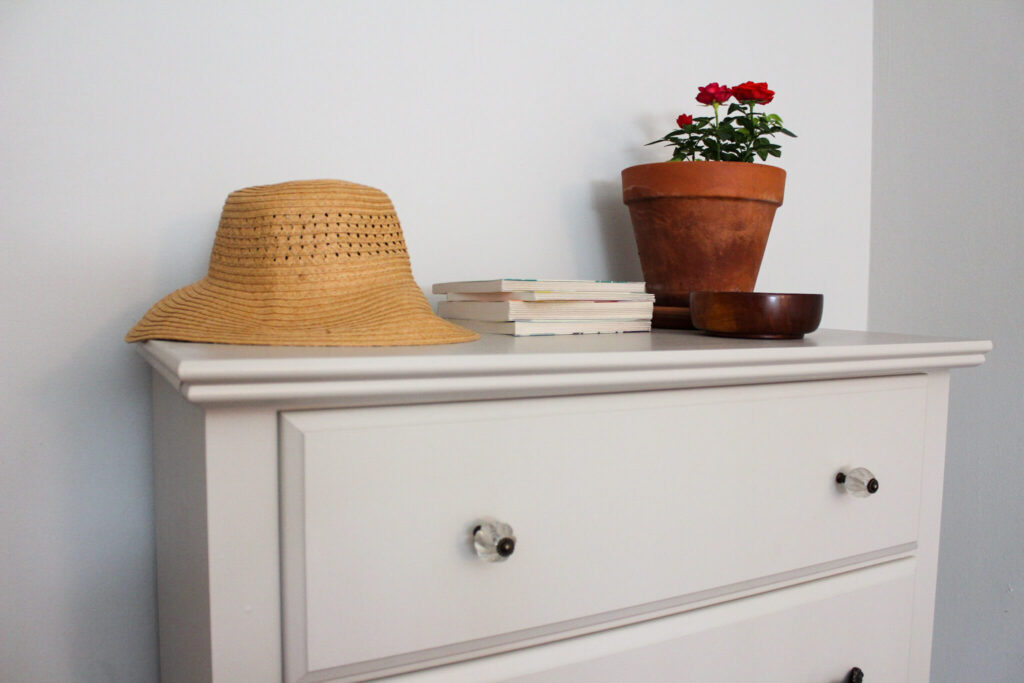
Once your laminate dresser has had adequate time to dry, add on your knobs and pulls and that’s it!
NOTES
- If you can remove the drawers, I highly recommend you do. It makes the project so much easier.
- I recommend lightly sanding with 400 grit sand paper in between each layer or primer to ensure a nice smooth finish. BIN shellac primer dries extremely fast, so it’s easy for there to be some texture.
- I recommend using a roller instead of a paint brush for the BIN primer.
- Give your dresser enough time to dry and cure before placing anything on top of it to prevent any chipping.
LOOKING FOR MORE DIY PROJECT IDEAS?
Looking for more DIY project ideas like this? Check these out:
- Easy DIY Barstool Makeover
- How to Strip a Wicker Basket
- How to Paint Wooden Bed Frame
- How to Paint a KitchenAid Mixer
Did you paint your laminate dresser? If you did, I’d love to see how it turned out! Tag me on Instagram (@thesimplehomeplace) to show me your own recreation of this recipe!


Leave a Reply