Add an extra special touch of cute spookiness to your Halloween decor with these handmade DIY air dry clay ghosts!
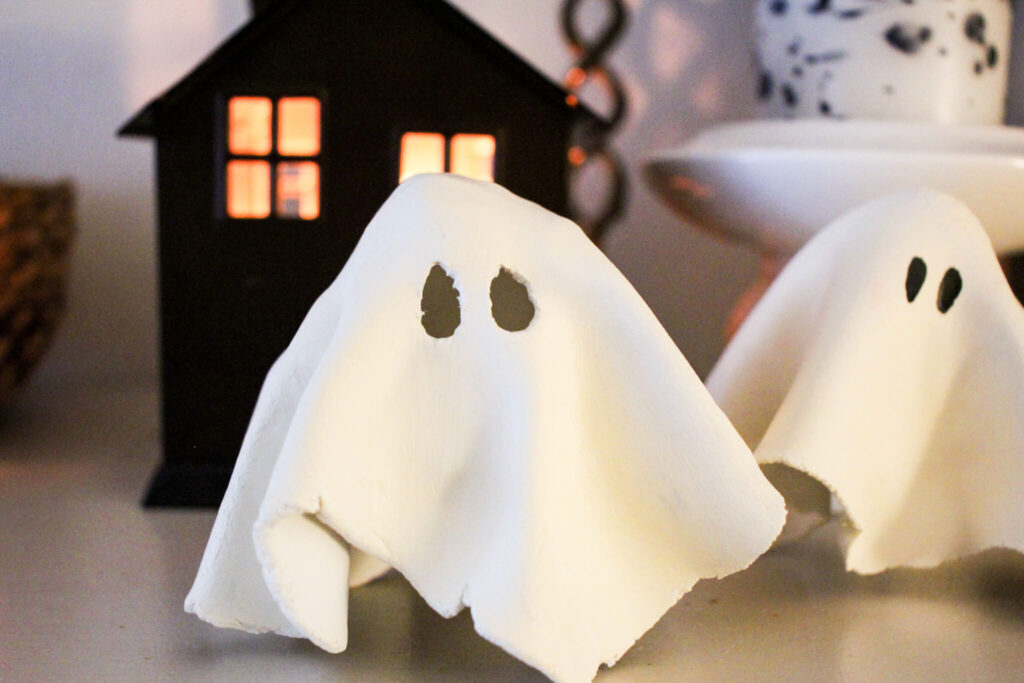
I’ve seen air dry clay ghosts all over my Instagram feed this fall and thought they were so cute! Although I’m not big into Halloween, I think decor can be cute and fun without being spooky. These clay ghosts add a bit of whimsy to your fall decor and are super easy to make. What I love is you don’t have to be super crafty to make these ghosts and they’re the perfect DIY Halloween craft that can be done with the family. They’re also super versatile and can be painted any color, made into little lanterns, painted cutesy or spooky and so much more!
PIN FOR LATER!
YOUTUBE TUTORIAL
This post may contain affiliate links, which means I may receive a commission, at no extra cost to you, if you make a purchase through a link. Please see our full disclosure here for further information.
FAQs
Do I have to use air dry clay to make these ghosts?
You don’t have to use air dry clay and can instead use oven bake clay for this project, however, you’ll need to find some sort of form that can be baked. The clay needs to maintain it’s ghostly shape while it dries or bakes. That’s why air dry clay is ideal because they can dry on top of a glass container.
Do I have to paint these ghosts?
You definitely don’t have to paint these clay ghosts. You can leave them as-is and enjoy them as decor. I decided to paint mine to add a layer of protection and sealer and to look a bit more aesthetic. You can leave them white or paint them fun colors like pink or blue. You also can carve the eyes like I did for some and avoid the paint all together. It’s really up to you and the look you’re going for.
How can I decorate air dry clay ghosts?
As I stated above, the easiest way to decorate these ghosts is with acrylic paint, however, you could add stickers or vinyl decals. You can also use a bit of mod podge and some pretty napkins or fabric to add a little bit of something extra.
How do I make air dry clay ghost lanterns?
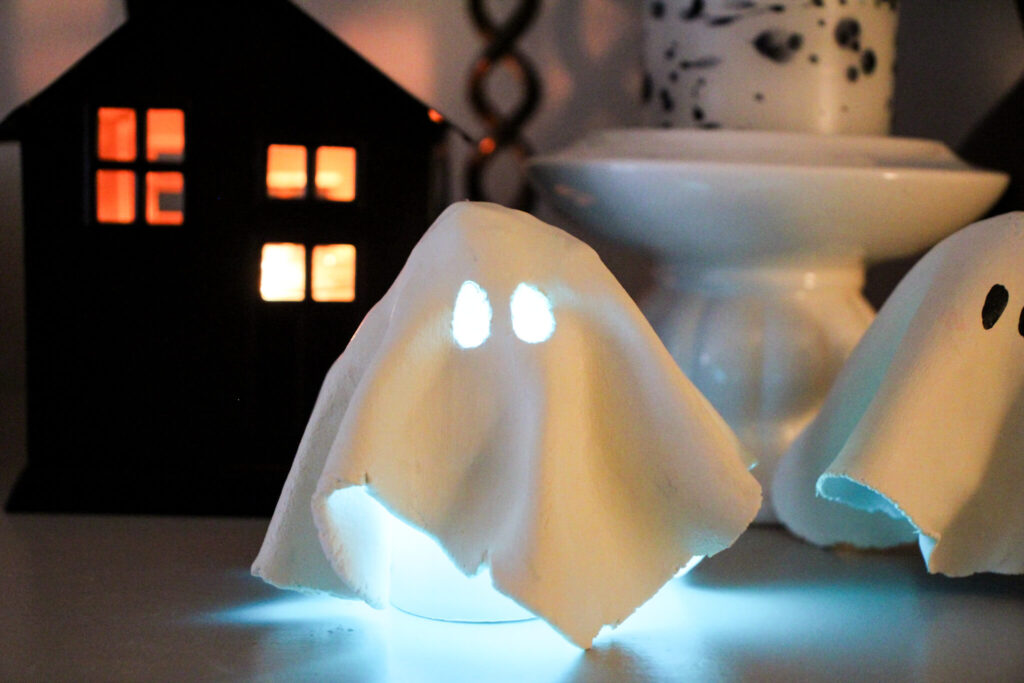
To make these ghosts into lanterns, simply cut out eyes while the clay is still wet, then allow it to dry fully. Once the ghost is decorated how you want them, simply add an LED light underneath and enjoy!
How to Make DIY Air Dry Clay Ghosts
Tools You May Need:
- Tall & skinny cup or jar
- Rolling pin
- Paint brushes
- Knife
- Toothpick
Materials Needed:
- Air dry clay
- White acrylic paint
- Black paint or paint pen
- Aluminum foil
Directions
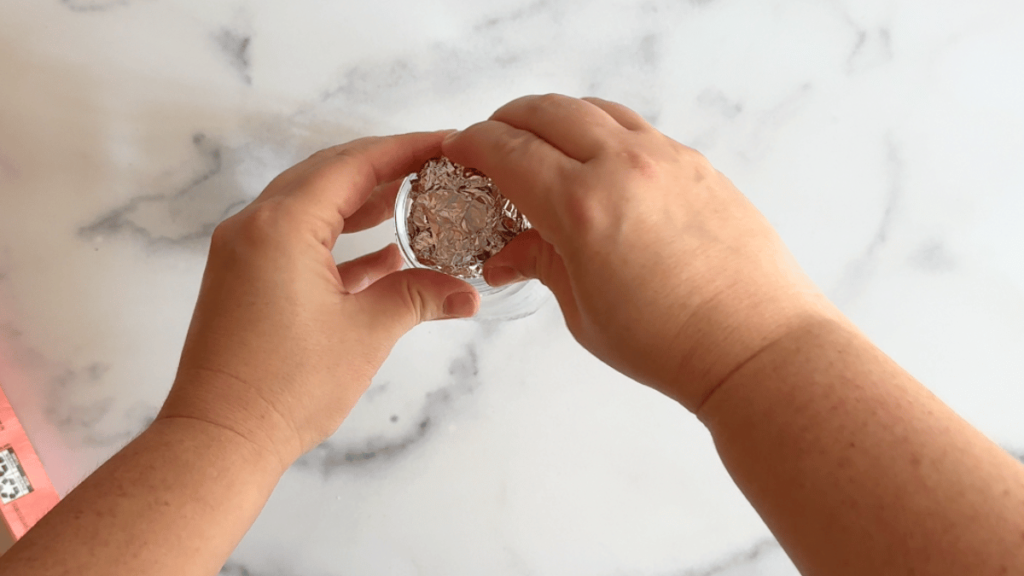
Roll a piece of aluminum foil into a ball and place on the top of a glass container and set it aside.
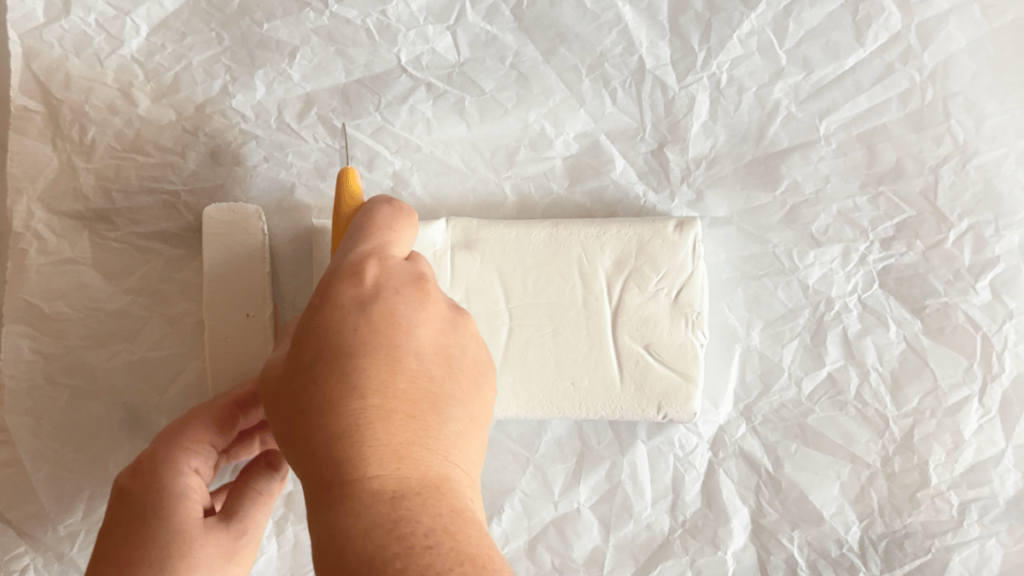
Remove a chunk of air dry clay that equals a little bigger than the size of a golf ball.
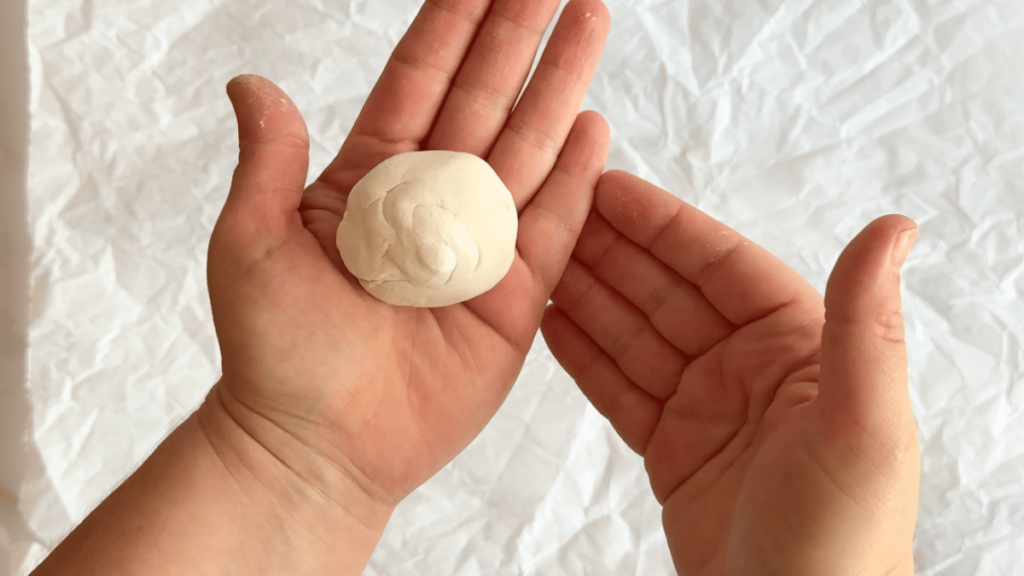
Roll the clay into a ball.
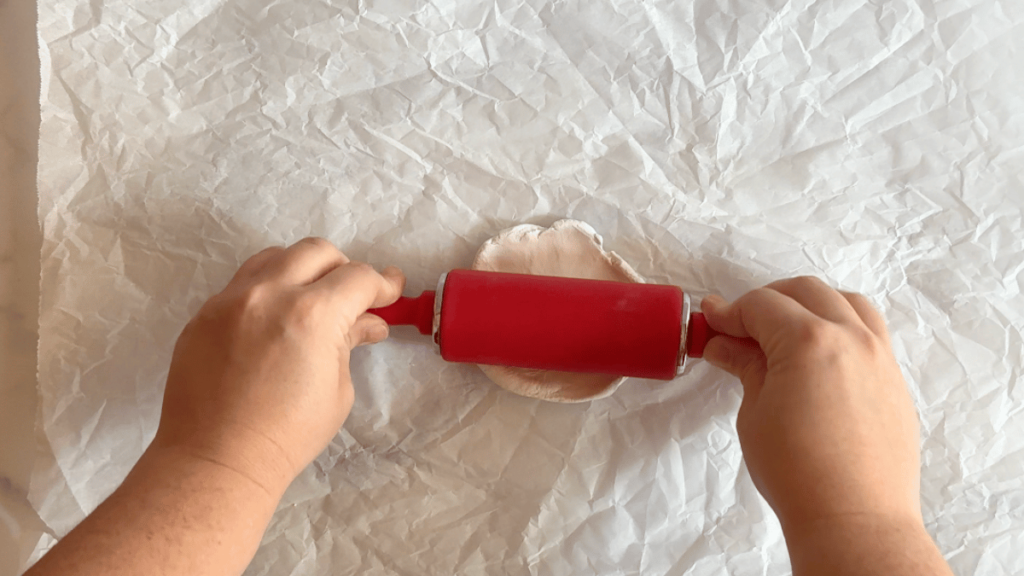
Place the ball of air dry clay on a flat surface and roll it into a piece roughly 6 x 6″ and about 1/8″ thick.
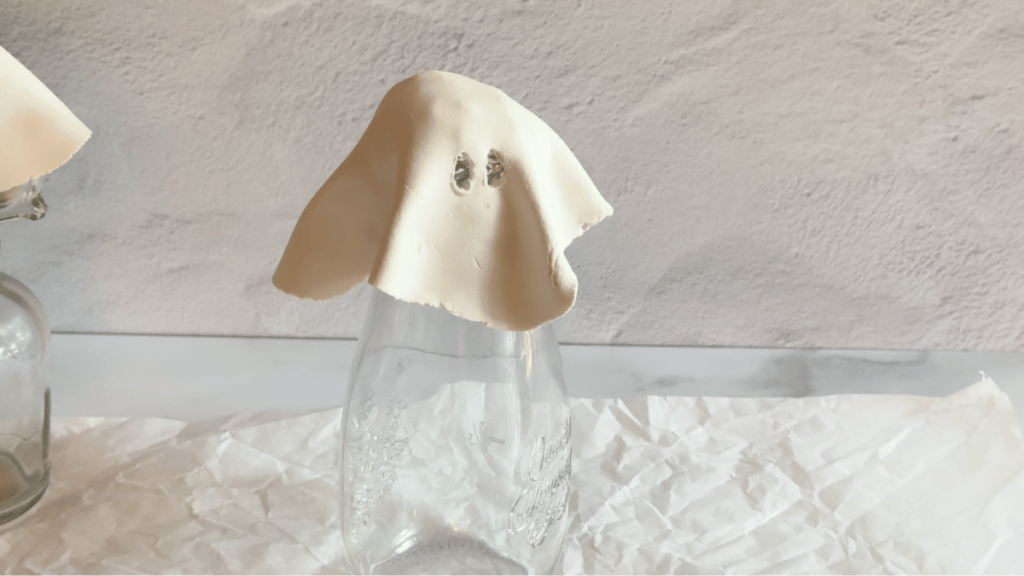
Drape the piece of clay over top of the jar, lining the middle of the clay with the aluminum foil.

Optional: Cut out two eye holes to make it into a lantern.
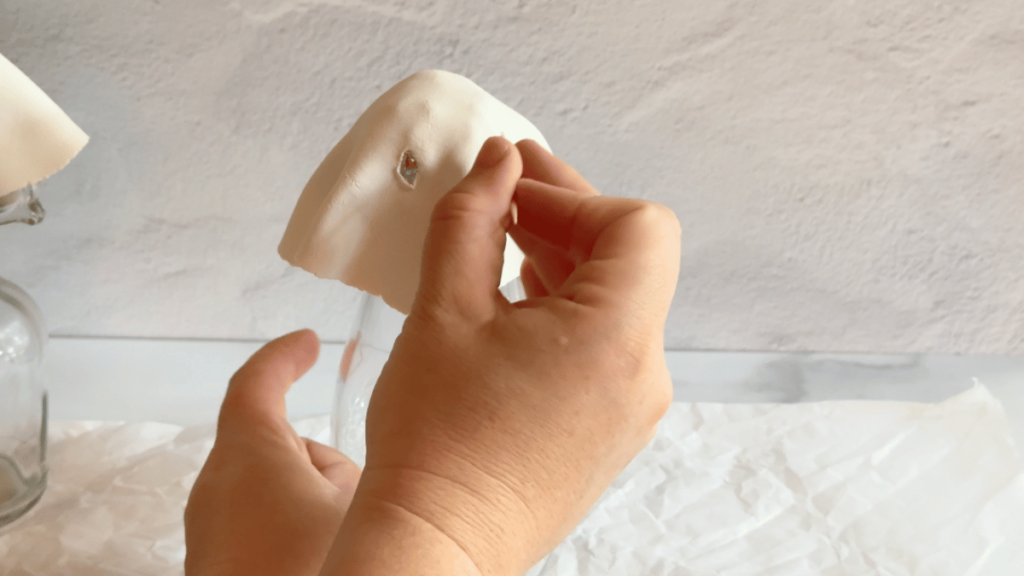
Allow the air dry clay ghosts to dry for 12 to 72 hours.
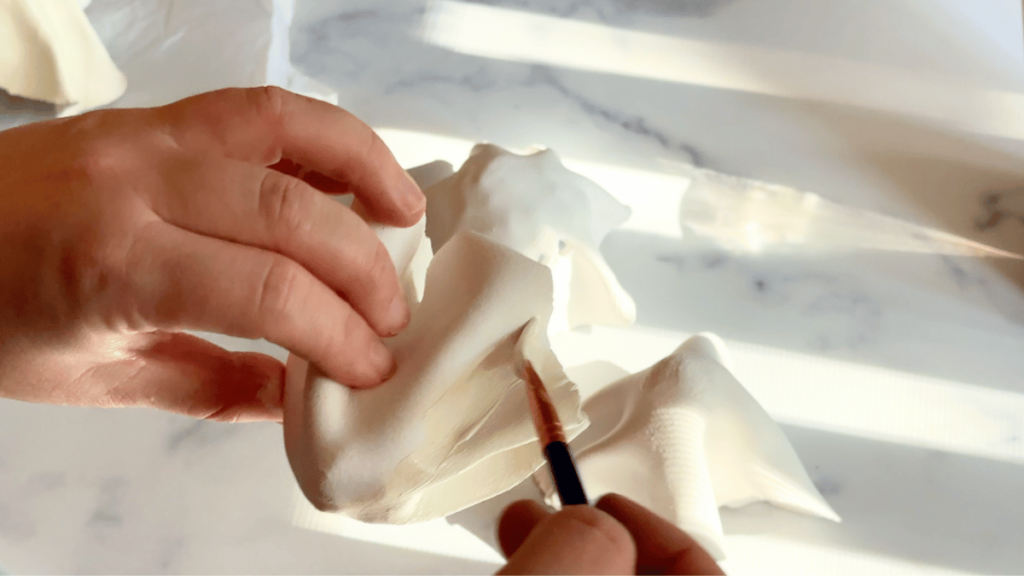
Paint the ghosts with white acrylic paint.
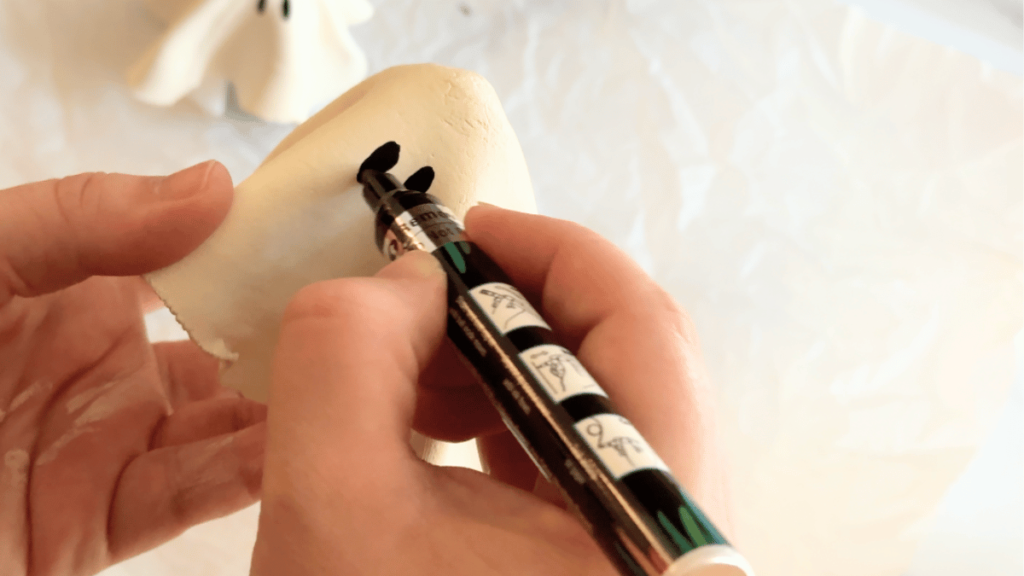
For ghosts without eye holes, paint on eyes.
Notes
- It may be a good idea to use an LED votive candle as opposed to a real flame candle.
- To speed up the process of drying the clay, you can place the ghosts on a baking sheet and bake them at 200°F for 20 minutes. Be sure to check on them often to avoid them cracking.
- For a cleaner, more even look, trim the clay prior to draping it.
- Instead of painting, try using mod podge and a pretty napkin to add some extra character.

Air Dry Clay Ghosts
Add an extra special touch of cute spookiness to your Halloween decor with these handmade DIY air dry clay ghosts!
Materials
- Air dry clay
- White acrylic paint
- Black paint or paint pen
- Aluminum foil
Tools
- Tall & skinny cup or jar
- Rolling pin
- Paint brushes
- Knife
- Toothpick
Instructions
- Roll a piece of aluminum foil into a ball and place on the top of a glass container and set it aside.
- Remove a chunk of air dry clay that equals a little bigger than the size of a golf ball.
- Roll the clay into a ball.
- Place the ball of air dry clay on a flat surface and roll it into a piece roughly 6 x 6" and about 1/8" thick.
- Drape the piece of clay over top of the jar, lining the middle of the clay with the aluminum foil.
- Optional: Cut out two eye holes to make it into a lantern.
- Allow the air dry clay ghosts to dry for 12 to 72 hours.
- Paint the ghosts with white acrylic paint.
- For ghosts without eye holes, paint on eyes.
Notes
- It may be a good idea to use an LED votive candle as opposed to a real flame candle.
- To speed up the process of drying the clay, you can place the ghosts on a baking sheet and bake them at 200°F for 20 minutes. Be sure to check on them often to avoid them cracking.
- For a cleaner, more even look, trim the clay prior to draping it.
- Instead of painting, try using mod podge and a pretty napkin to add some extra character.
Looking for more easy DIY fall home decor ideas?
Looking for more easy DIY home decor projects for fall? Check these out:
Did you try making these DIY air dry clay ghosts? If you did, I’d really love to see it. Tag me on Instagram (@thesimplehomeplace) to show me your own recreation of this tutorial!


I’m a carpet cleaner so i’ve been in plenty of homes this season and have seen these little guys all over! I wanted some for myself and have been searching where to find them. I had no idea they were this easy of a DIY, thank you so much!
They really are so cute! I’m so glad you found my tutorial helpful:)