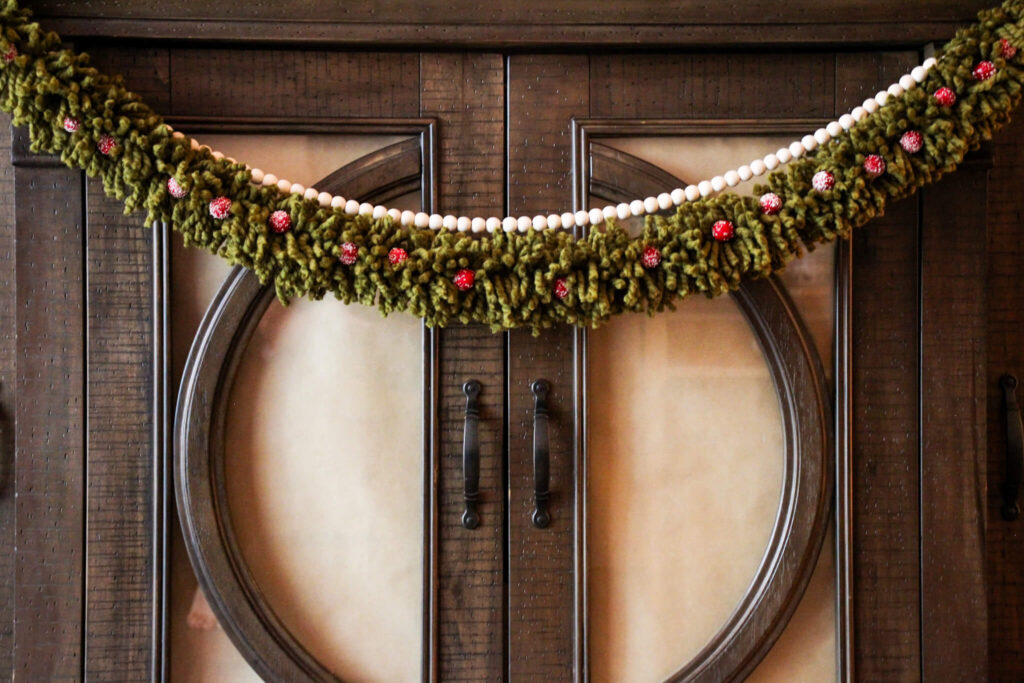
You only need two materials to make a beautiful Christmas garland with yarn that is perfect to adorn your mantle, entertainment center and more!
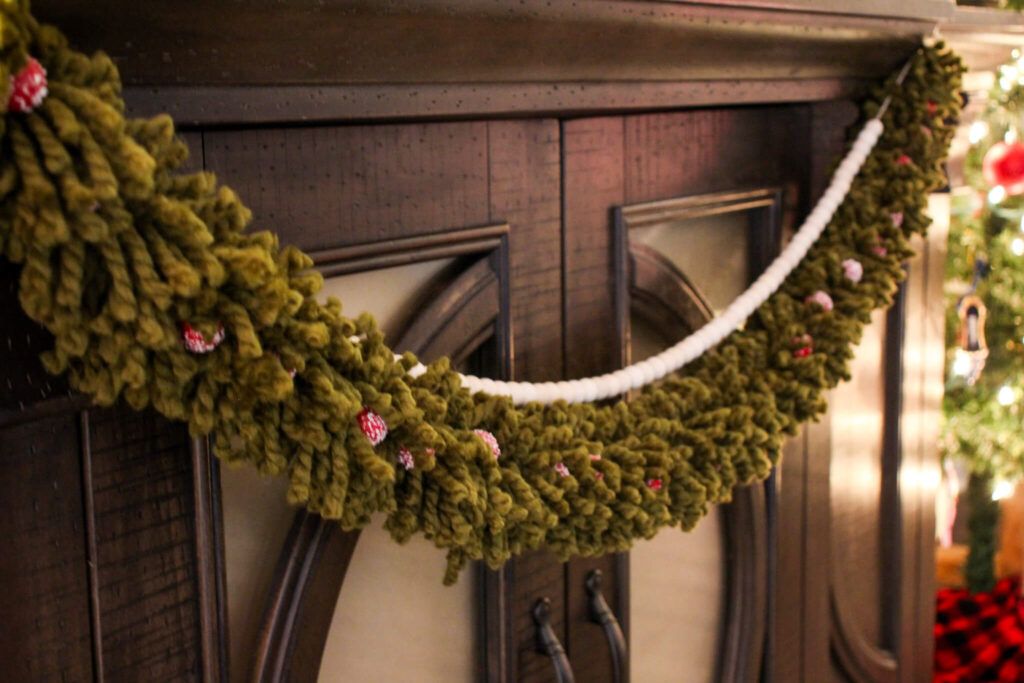
I spotted this tutorial for a DIY yarn garland and just knew I had to try it out for my Christmas decor this year! I was surprised just how easy it is to create a beautiful Christmas garland with just yarn and thread. And what’s great about this project is that if you can’t afford those expensive greenery garlands, this is a wonderful alternative. We had my parents here for Thanksgiving and they had no idea it was yarn until I told them!
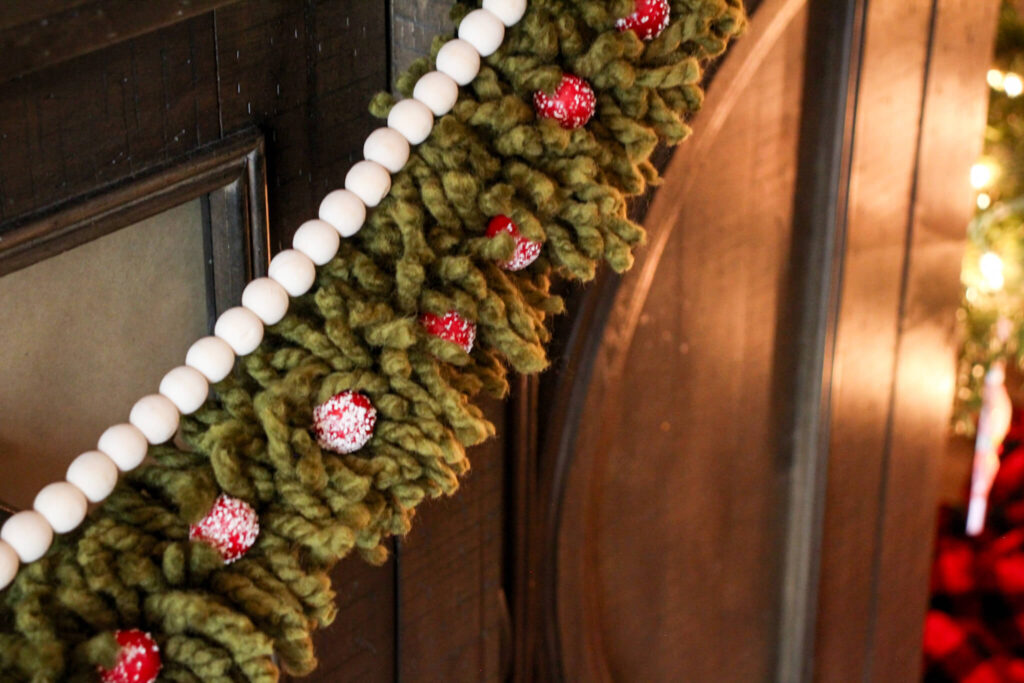
I also love the versatility of this yarn garland because you can make it to accommodate any space, color scheme, etc. I added faux berries to mine, as well as a layer of wooden beads, but you can keep it simple or add mini bows, twinkling lights and so much more! Let me show you just how easy it is to create your own garland this holiday season.
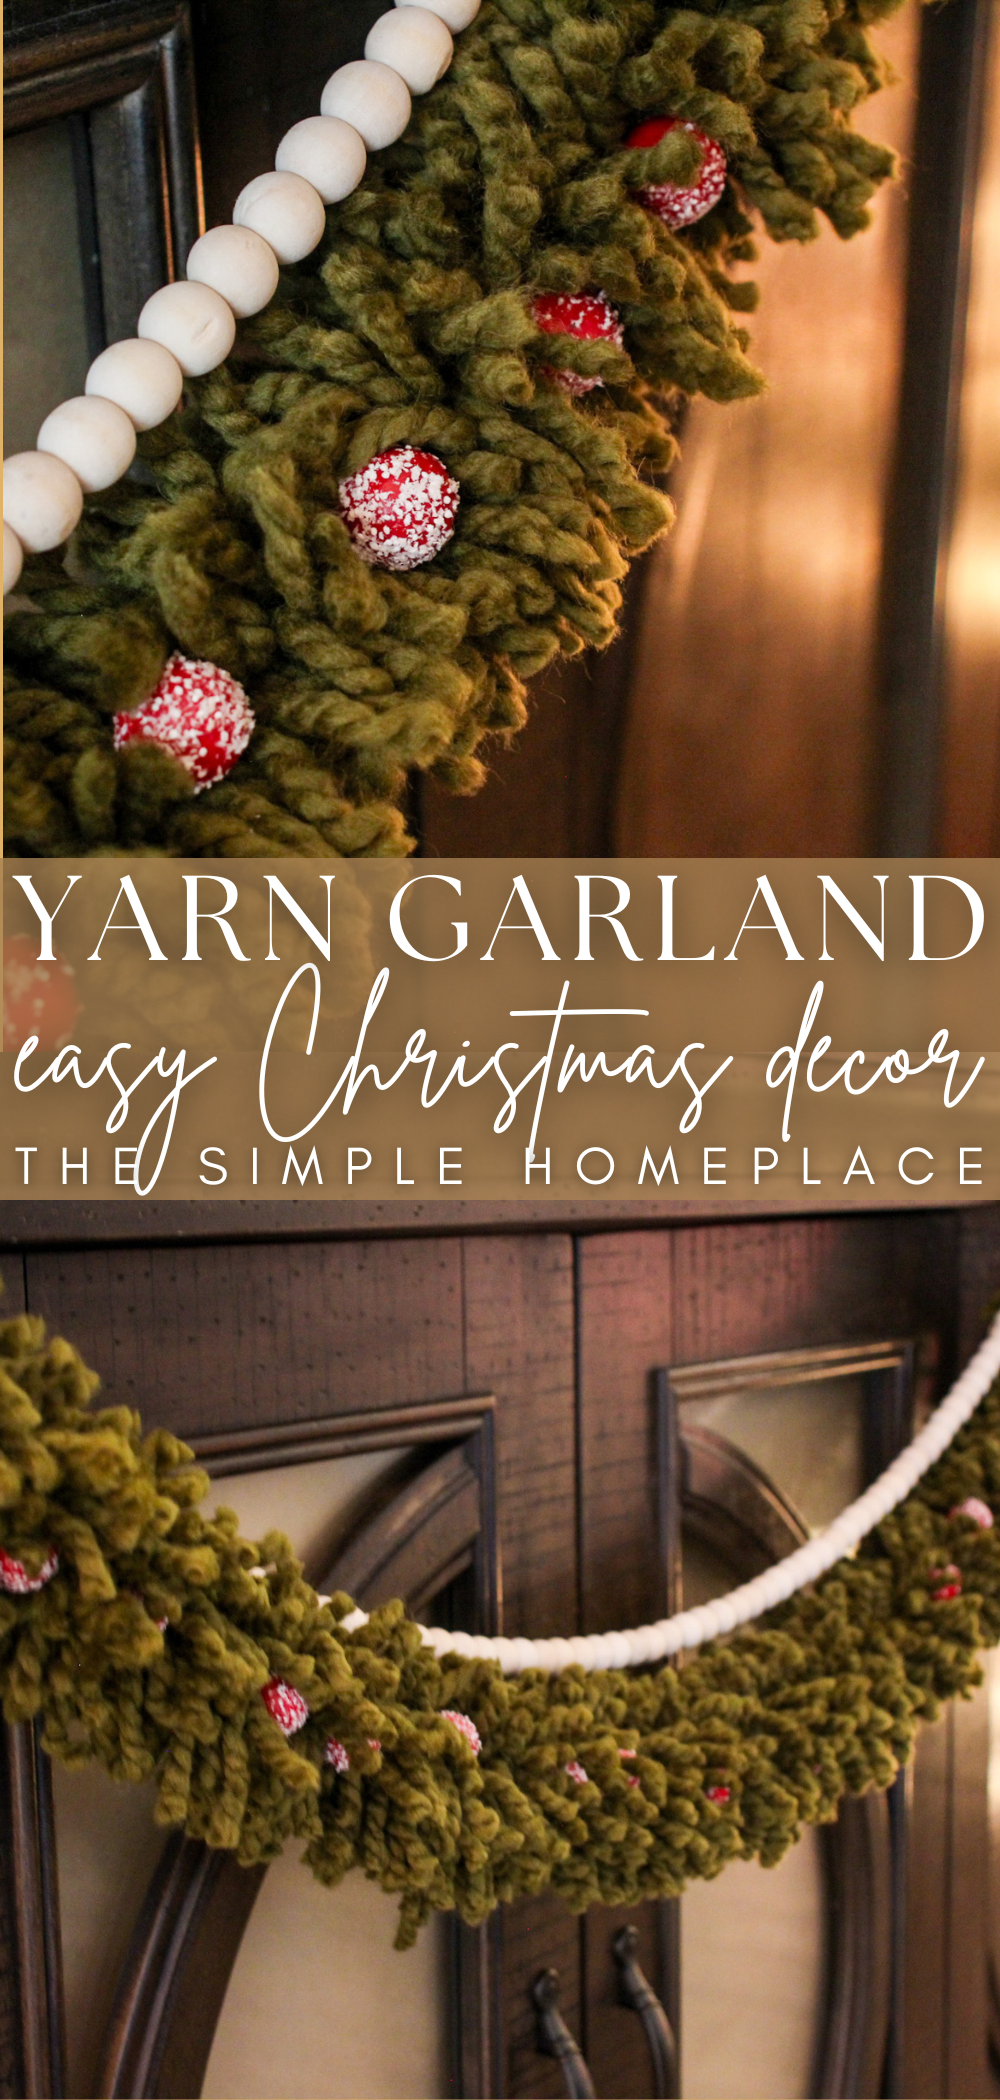
PIN FOR LATER!
The following may contain affiliate links, which means I may receive a commission, at no extra cost to you, if you make a purchase through a link. Please see our full disclosure here for further information.
WHAT KIND OF YARN SHOULD I USE TO MAKE A YARN GARLAND?
I recommend using a thick yarn like the Lion Brand Wool Ease. You won’t get the fullness you’re probably looking for if you use a medium weight yarn. You may be able to get away with using a medium weight yarn if you comb out the ends to add some thickness.
VIDEO
TOOLS YOU MAY NEED
- Needle
- Scissors
MATERIALS YOU MAY NEED
- Thread
- Chunky Yarn
- Faux berries (optional)
HOW TO MAKE CHRISTMAS GARLAND WITH YARN
Hold the end of the yarn in the palm of your hand with your thumb pressing down on the end.
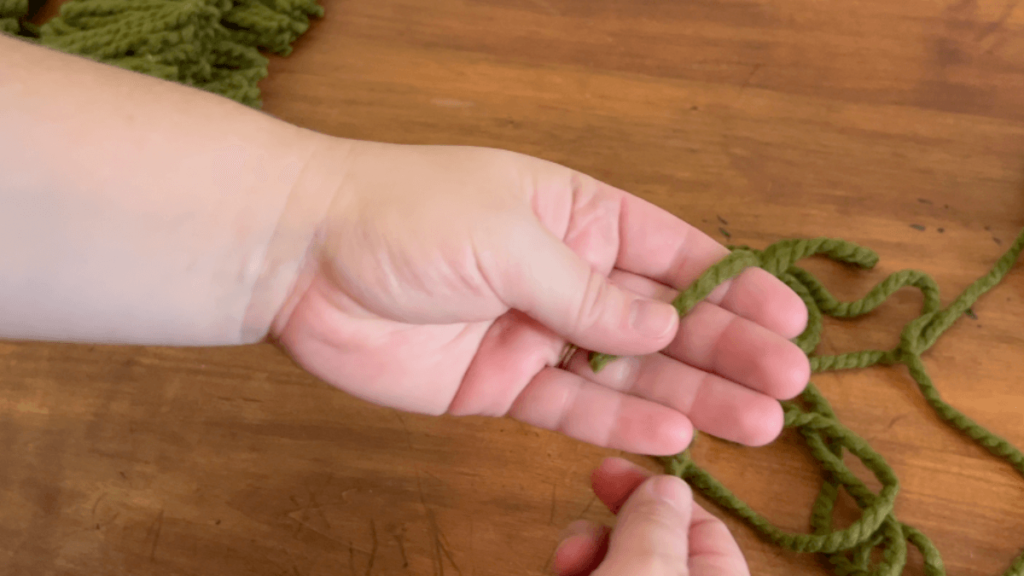
Wrap the yarn around your hand 50-60 times (or until it starts to fall off), then cut the yarn.
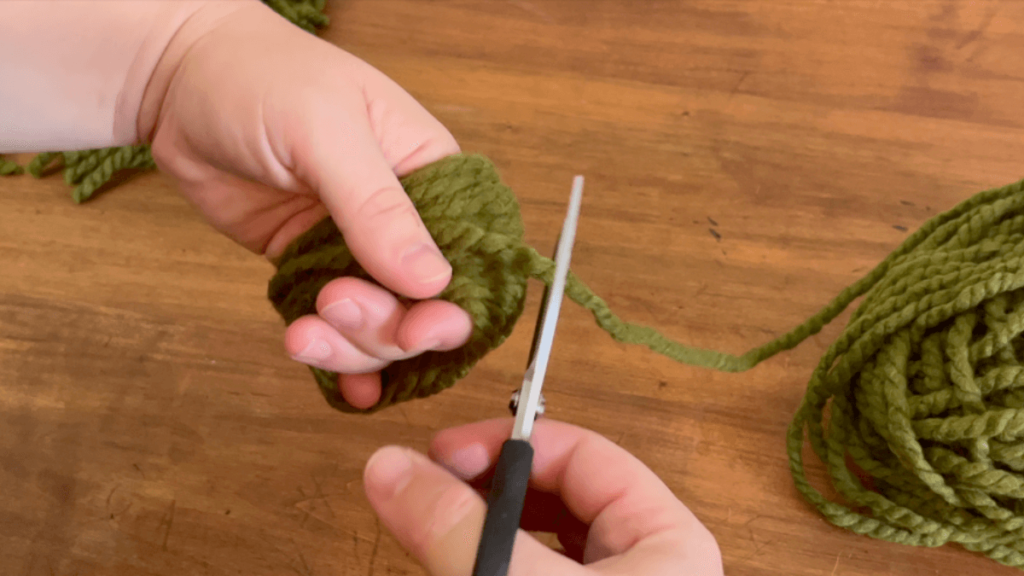
Using sharp scissors, cut the yarn across the top where it meets your index finger.
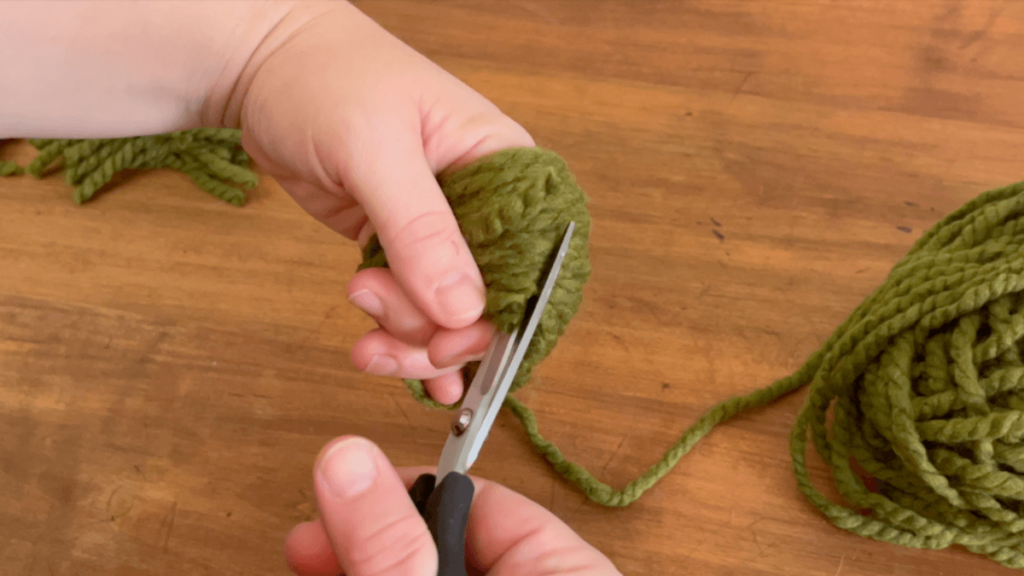
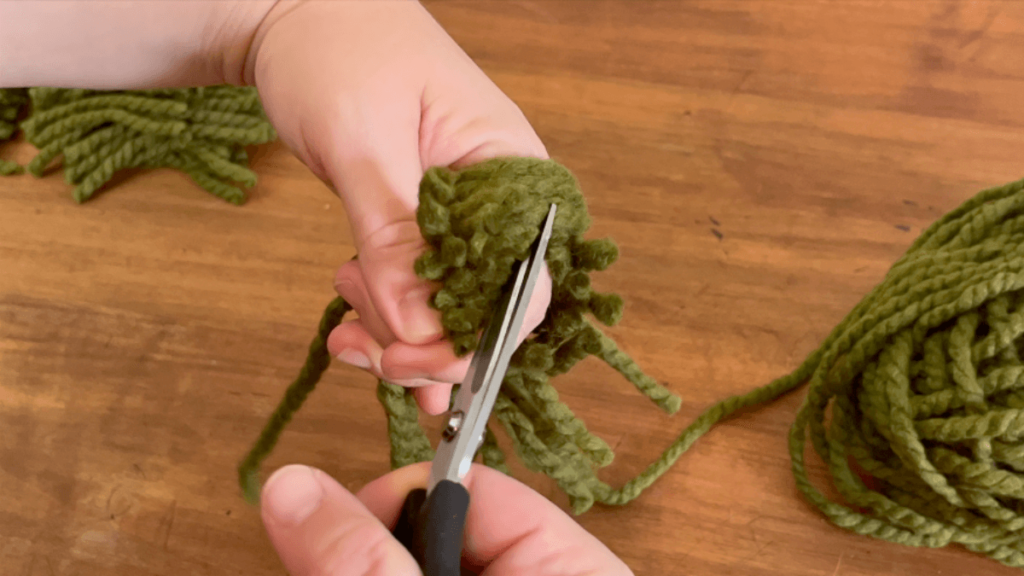
Lay the strands of yarn on a hard surface, then cut them in half.
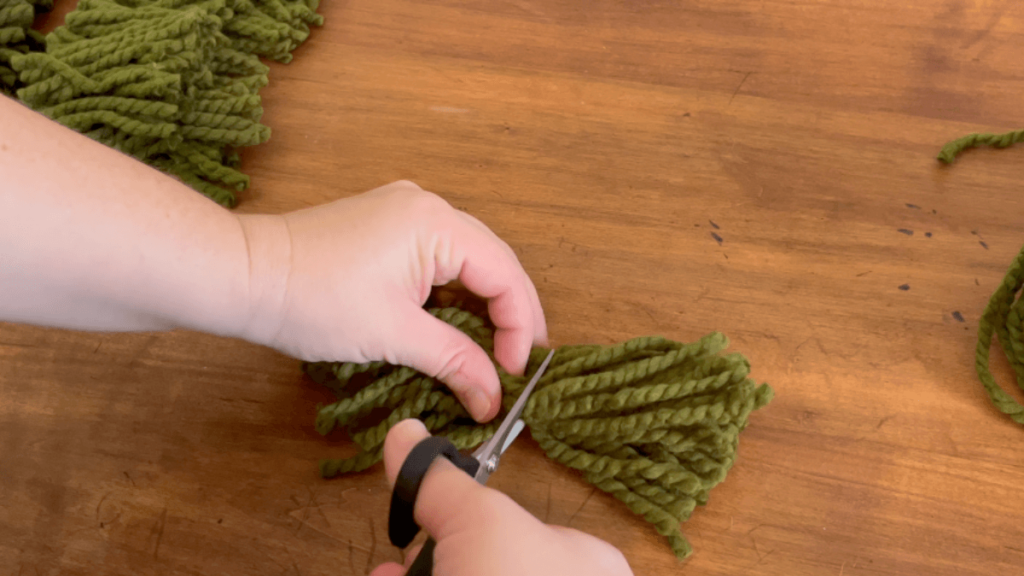
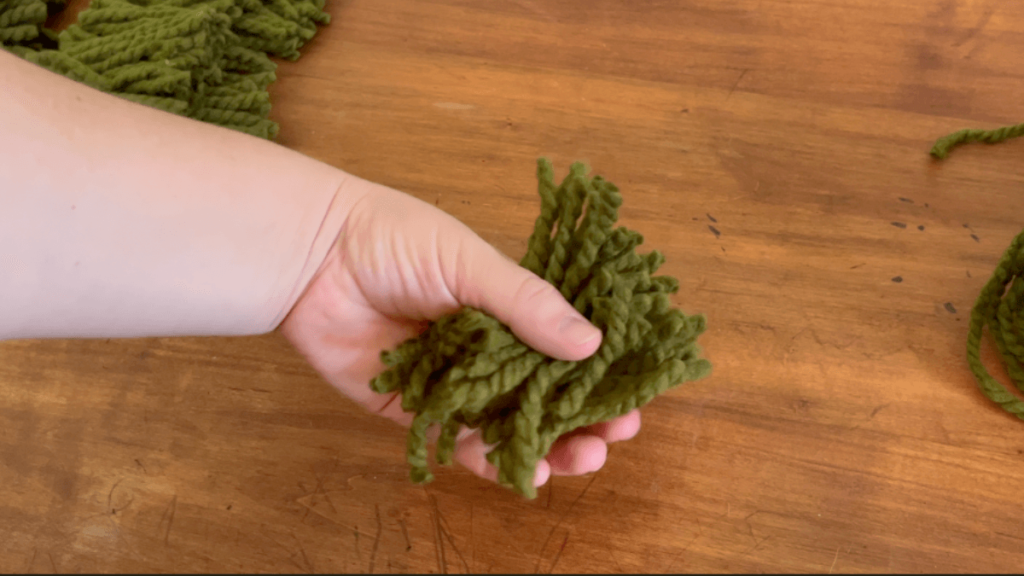
Repeat this process until you’ve cut the entire skein of yarn.
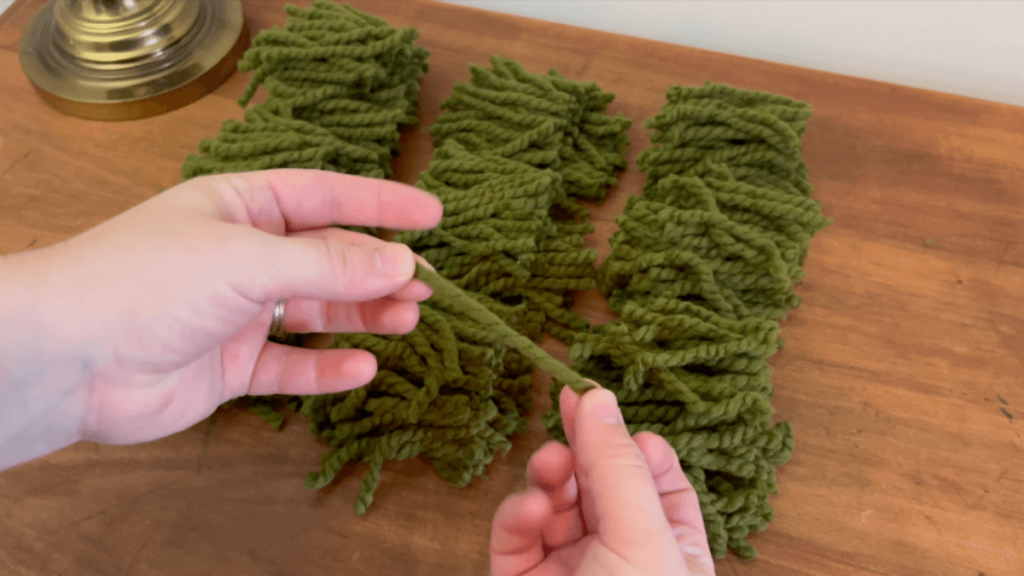
Take two strands of yarn and tie them together to create an X shape.
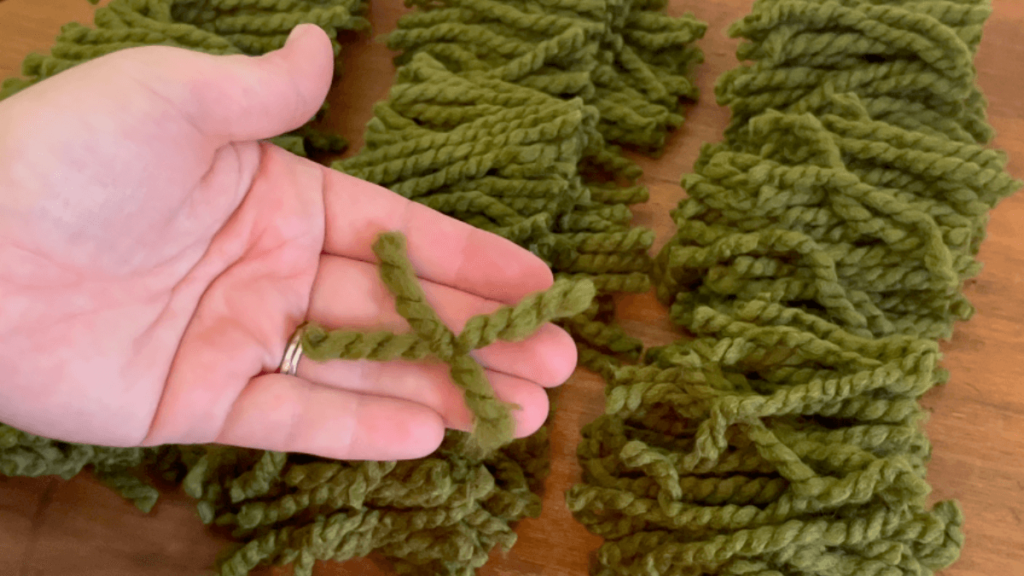
Thread a needle onto a spool of thread and place the needle through the knot of the X that was created in the previous step.
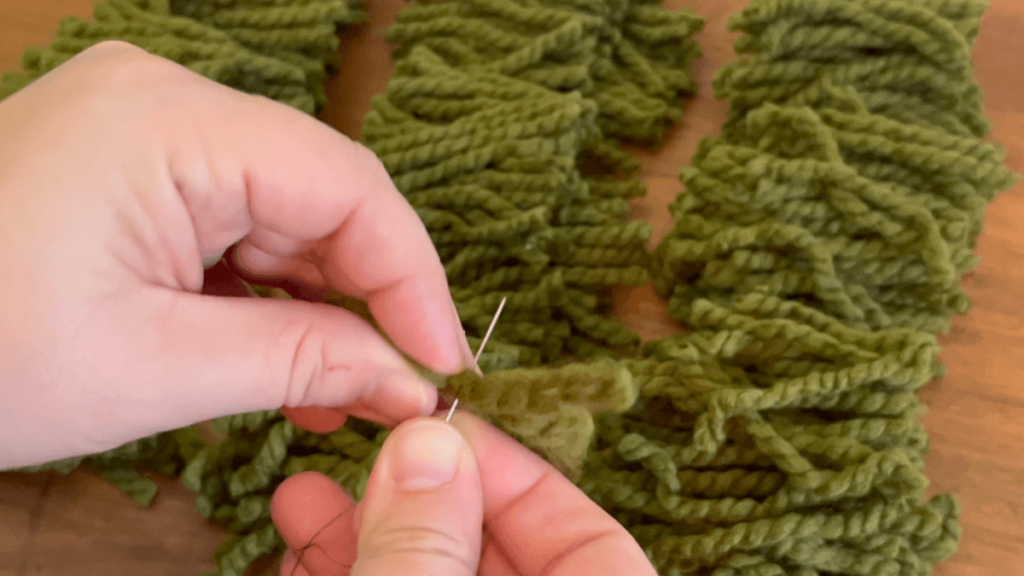
Then begin adding each piece of yarn onto the needle and thread by placing the needle in the middle of the yarn piece and sliding it down.
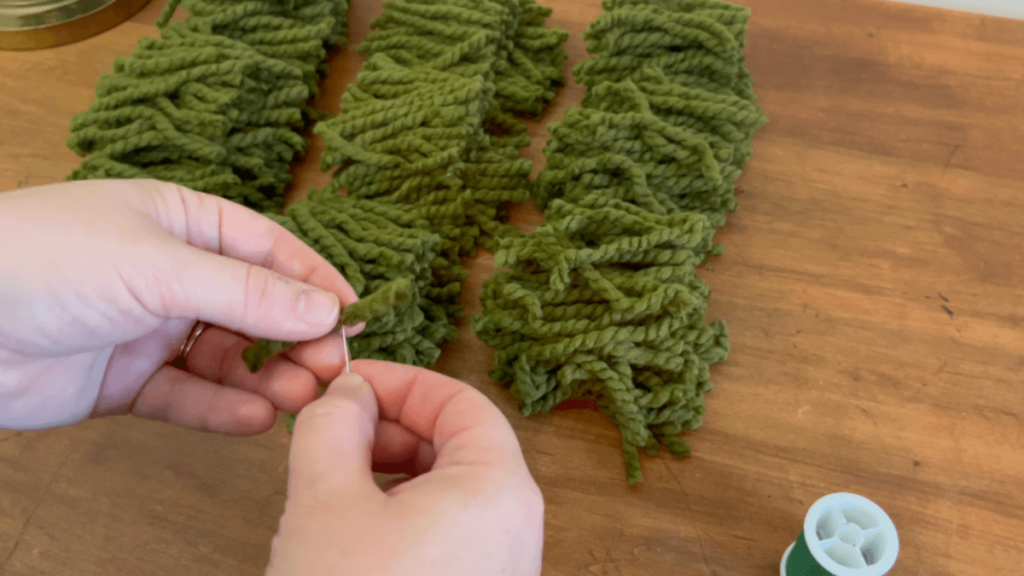
Repeat until all of the yarn has been used. See notes on how to make this process go faster.
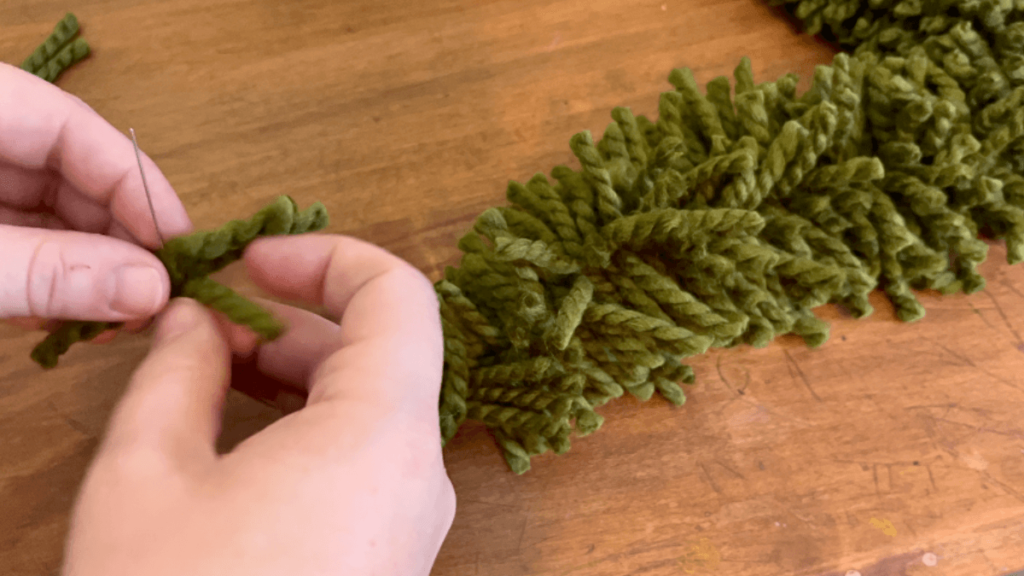
Once you’re happy with the length and fullness of the garland, tie two pieces of yarn together, the same as at the beginning, then snip the thread on each side, leaving a few inches on either side. Then use that thread to sew on a piece of yarn to create a loop and tie the thread in a knot.
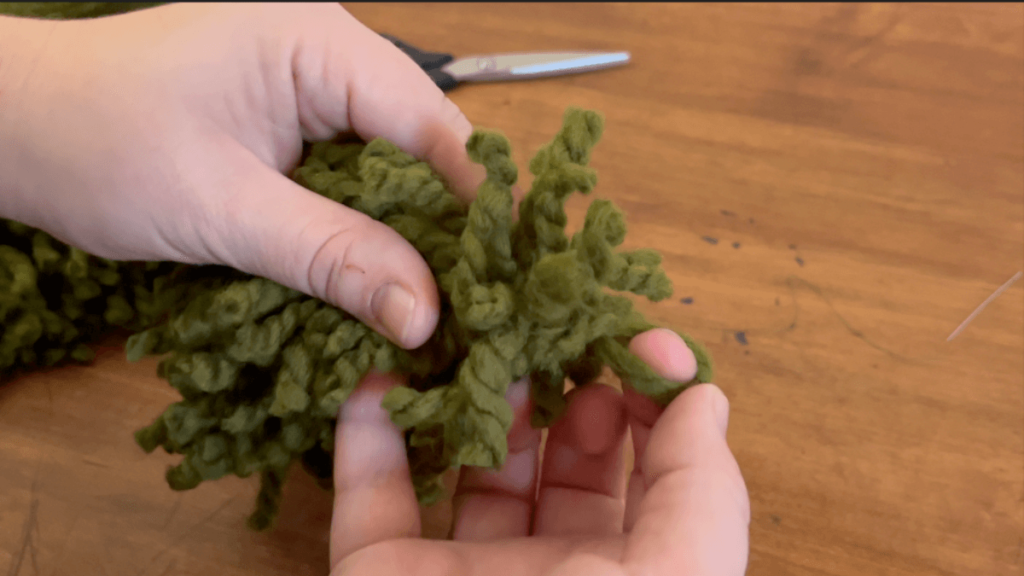
Add faux berries to the Christmas yarn garland by cutting their wires and wrapping them around the thread in between pieces of yarn.
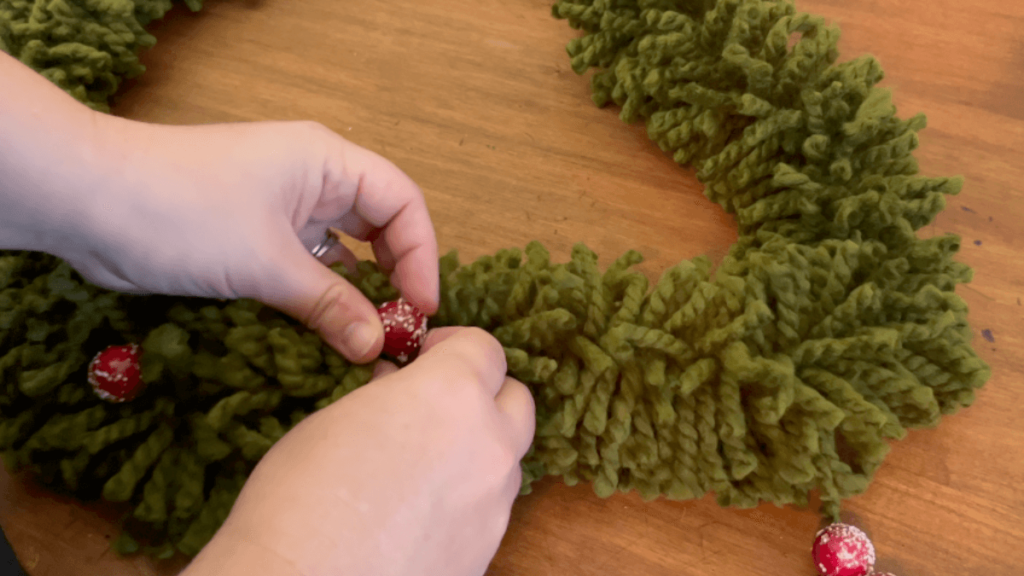
Hang the garland using command hooks.
NOTES
- It’s important to use a thick and chunky yarn for this Christmas garland in order to make it look nice and full.
- When cutting the yarn, it doesn’t have to be perfect. The majority of the pieces should be around 3 inches, but they can vary in length and the garland will still turn out great!
- I used regular thread, but if you want to ensure the thread doesn’t break, you could use a heavy duty upholstery thread or fishing line.
- To make the process of creating the garland faster, pick up 3-4 pieces of yarn at a time, hold it flat in your hand, then place the needle through all the pieces of yarn.
- As you add more yarn onto the thread, it may be necessary to gently push sections of yarn further down the thread to accommodate more yarn.
- For a fuller look, be sure to push the pieces of yarn tightly against each other, being careful not to pull to hard, which could break the thread.

Christmas Yarn Garland
You only need two materials to make a beautiful Christmas garland with yarn that is perfect to adorn your mantle, entertainment center and more!
Materials
- Thread
- Chunky Yarn
- Faux berries (optional)
Tools
- Needle
- Scissors
Instructions
- Hold the end of the yarn in the palm of your hand with your thumb pressing down on the end.
- Wrap the yarn around your hand 60-70 times (or until it starts to fall off), then cut the yarn.
- Using sharp scissors, cut the yarn across the top where it meets your index finger.
- Lay the strands of yarn on a hard surface, then cut them in half.
- Repeat this process until you've cut the entire skein of yarn.
- Take two strands of yarn and tie them together to create an X shape.
- Thread a needle onto a spool of thread and place the needle through the knot of the X that was created in the previous step.
- Repeat until all of the yarn has been used. See notes on how to make this process go faster.
- Once you're happy with the length and fullness of the garland, tie two pieces of yarn together, the same as at the beginning, then snip the thread on each side, leaving a few inches on either side. Then use that thread to sew on a piece of yarn to create a loop and tie the thread in a knot.
- Add faux berries to the Christmas yarn garland by cutting their wires and wrapping them around the thread in between pieces of yarn.
- Hang the garland using command hooks.
Notes
- It's important to use a thick and chunky yarn for this Christmas garland in order to make it look nice and full.
- When cutting the yarn, it doesn't have to be perfect. The majority of the pieces should be around 3 inches, but they can vary in length and the garland will still turn out great!
- I used regular thread, but if you want to ensure the thread doesn't break, you could use a heavy duty upholstery thread or fishing line.
- To make the process of creating the garland faster, pick up 3-4 pieces of yarn at a time, hold it flat in your hand, then place the needle through all the pieces of yarn.
- As you add more yarn onto the thread, it may be necessary to gently push sections of yarn further down the thread to accommodate more yarn.
- For a fuller look, be sure to push the pieces of yarn tightly against each other, being careful not to pull to hard, which could break the thread.
Recommended Products
As an Amazon Associate and member of other affiliate programs, I earn from qualifying purchases.
LOOKING FOR MORE CHRISTMAS DIY PROJECT IDEAS?
- Easy Rustic Homemade Christmas Ornaments
- How to Make a Woven Yarn Wreath
- How to Upcycle Christmas Ornaments with Baking Soda Paint
- DIY Mason Jar Ring Ornaments
Did you make this Christmas garland with yarn? If you did, I’d love to see how they turned out! Tag me on Instagram @thesimplehomeplace to show me your own recreation of this garland!


Leave a Reply