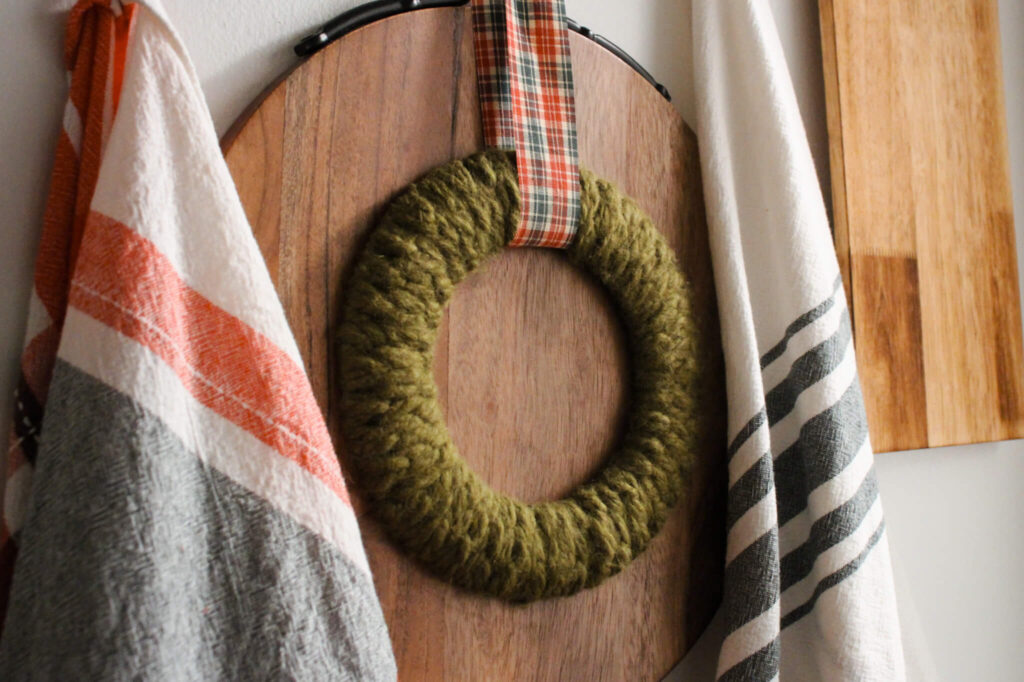
Learn how to make a simple, yet beautiful woven yarn wreath that is perfect for the holiday season or any time of the year!
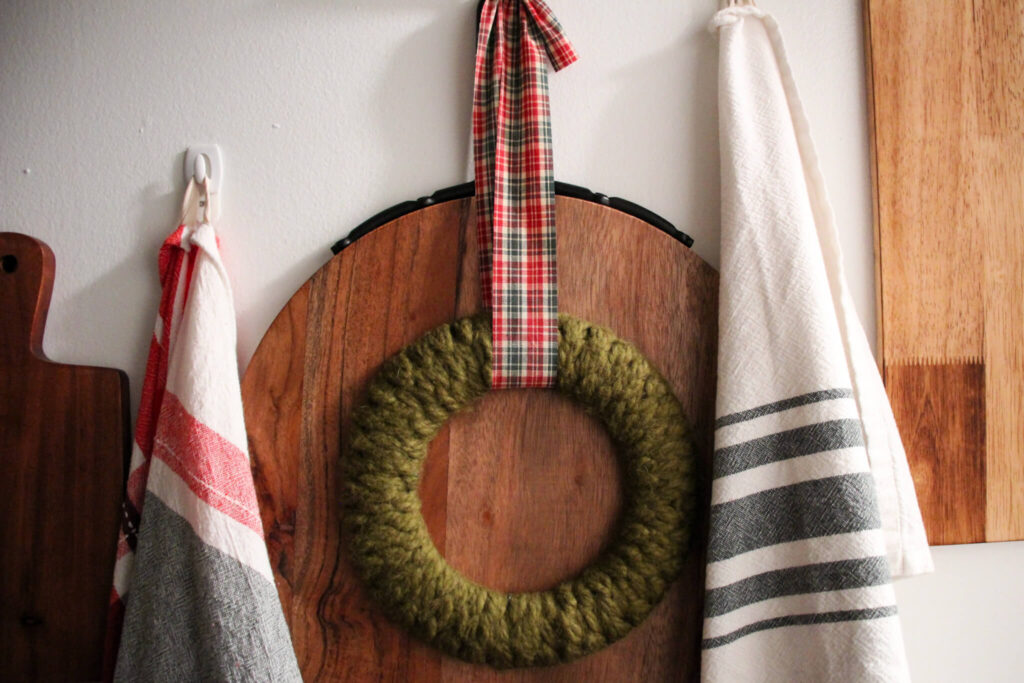
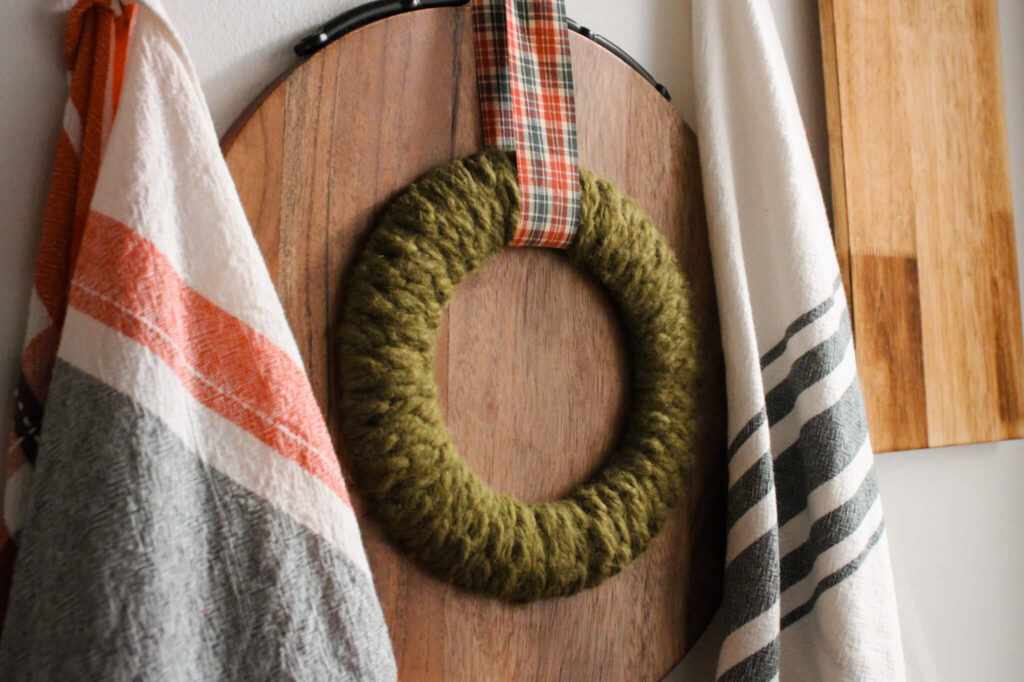
A couple months ago, I was looking for inspiration for DIY Christmas decor and I came across this beautiful woven wreath tutorial and thought it was so unique. Shortly after, I found a small wire wreath form at the thrift store and decided this was the perfect project to try out! I love using materials in my home decor that are versatile and that I can use for other projects, like this yarn garland. I feel like you get more bang for your buck. The great thing about this project is that you don’t really need any special materials or skills, yet the end result looks like it was complicated. Once you get the hang of the technique to weave the yarn through the wire form, this woven wreath project is really very easy.
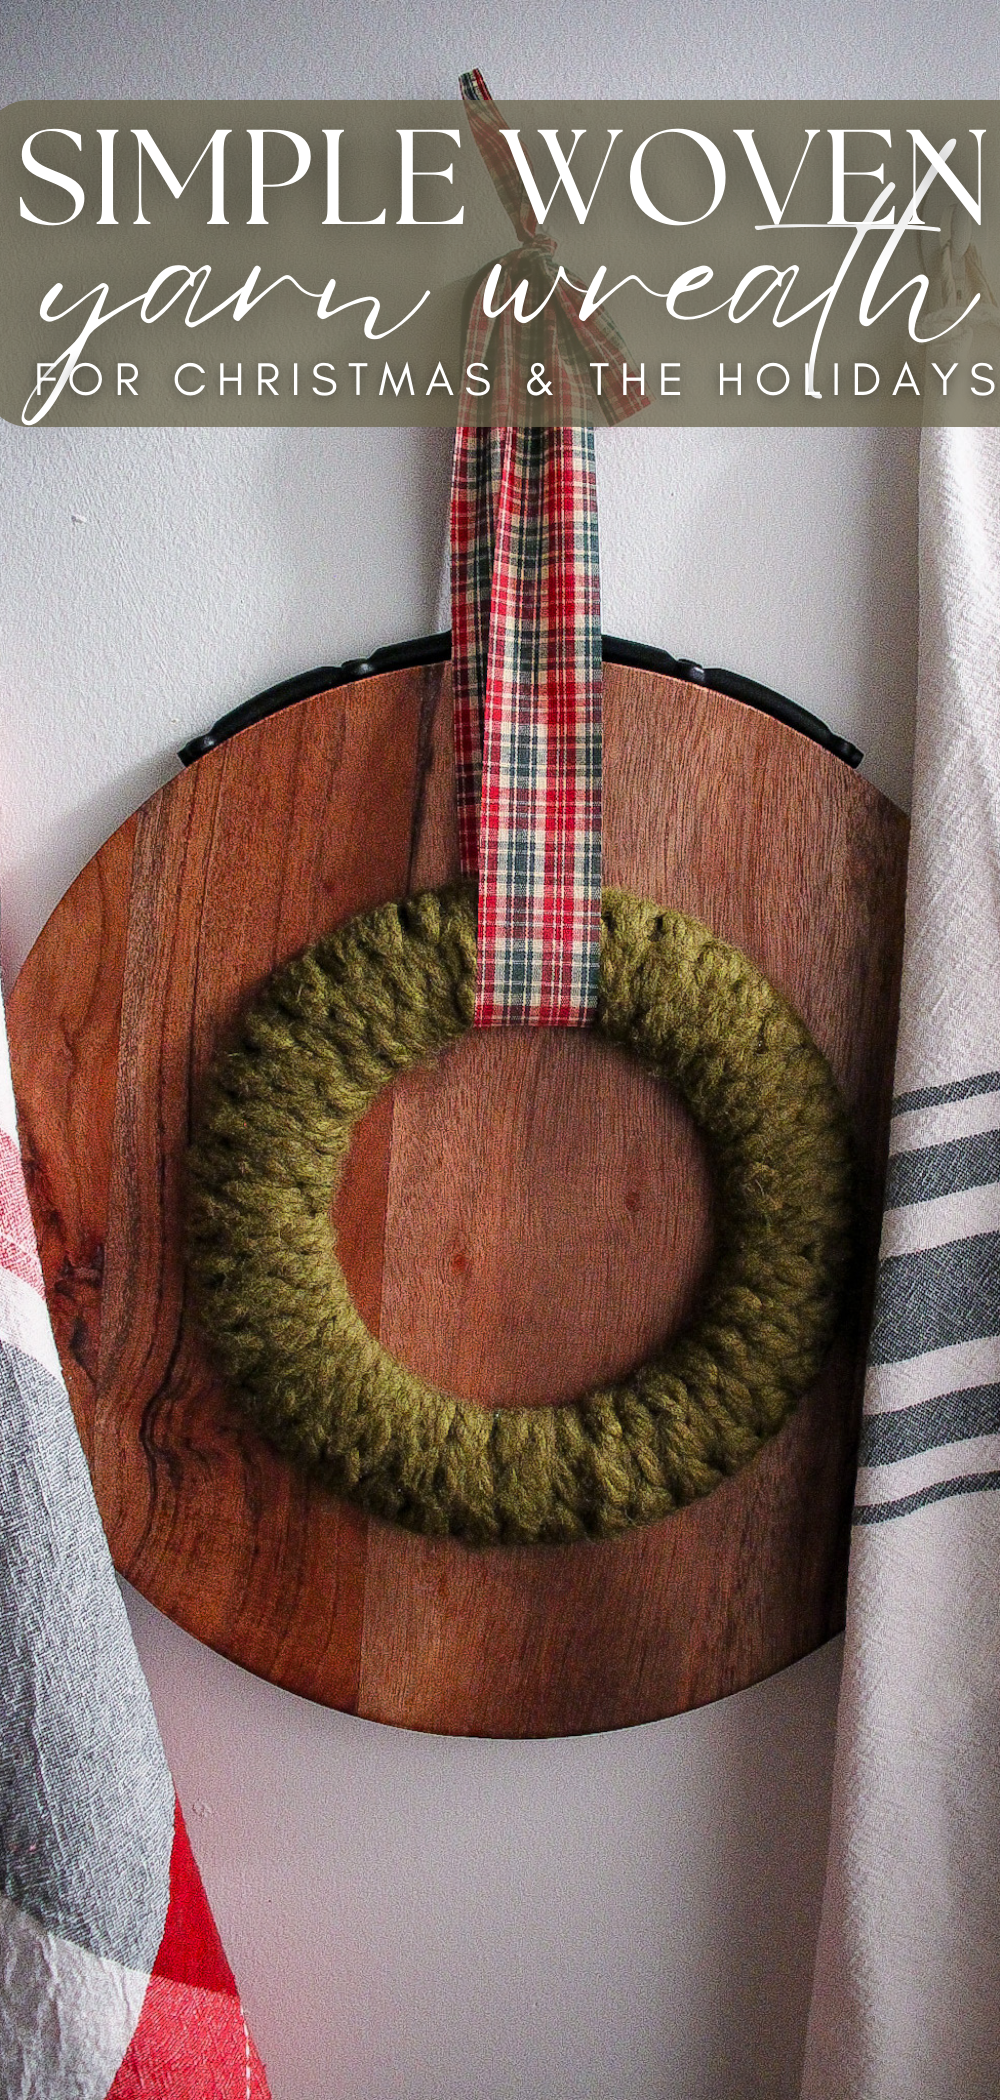
PIN FOR LATER!
WHAT OTHER MATERIALS CAN I USE TO MAKE A WOVEN WREATH?
Although I chose to use chunky, heavy weight yarn for this woven wreath, you can use so many different materials for this project. Some other ideas would be macrame cord, rope or twine. Depending on the thickness of the material, you may want to use a single piece folded in half, as opposed to two pieces of material.
DO I NEED TO PREP THE WREATH FORM?
Depending on the color of the material or yarn you’re using for this woven wreath, you may need to spray paint the wreath form. In my case, I used green yarn and a green wreath form so I didn’t need to do any prep work. However, if you’re using a white or lighter colored yarn or material, you may want to spray paint the wreath form so it’s harder to see the form if there’s any open spots.
VIDEO
The following may contain affiliate links, which means I may receive a commission, at no extra cost to you, if you make a purchase through a link. Please see our full disclosure here for further information.
TOOLS YOU MAY NEED
- Scissors
- Hot glue gun
MATERIALS YOU MAY NEED
- Chunky yarn
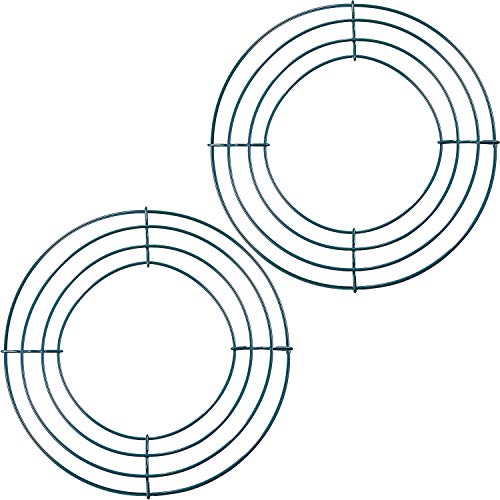
- 8 inch wreath form (or any size)
- Hot glue
- Ribbon
- Spray paint (optional)
HOW TO MAKE A WOVEN YARN WREATH
Measure a piece of yarn roughly 3 ft in length then fold it over itself three times, then repeat that process so you have two long pieces of yarn. Line the two pieces of yarn up, then fold them in half.
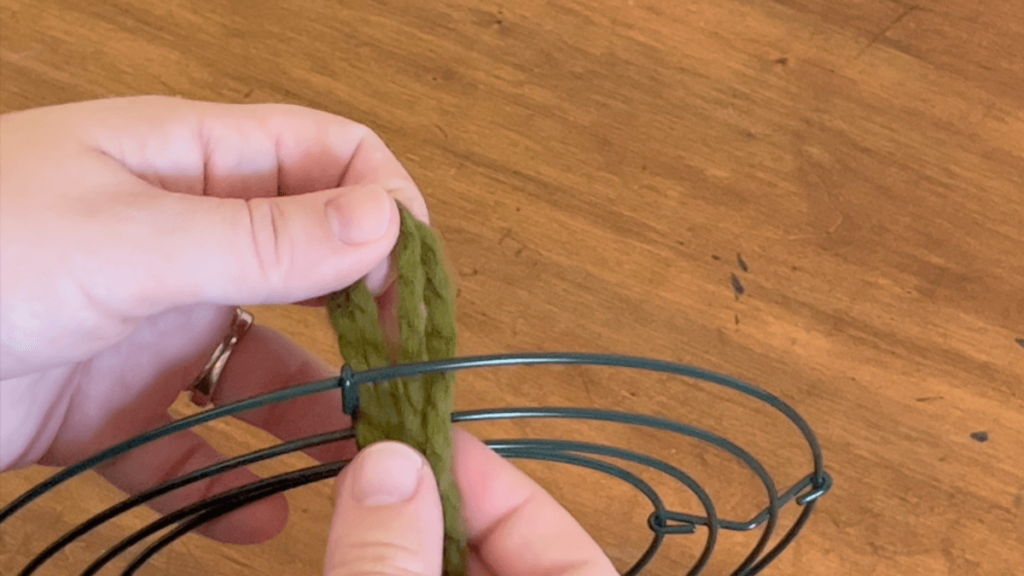
Place the center of the two pieces of yarn under the top wire and tie a larks head knot.
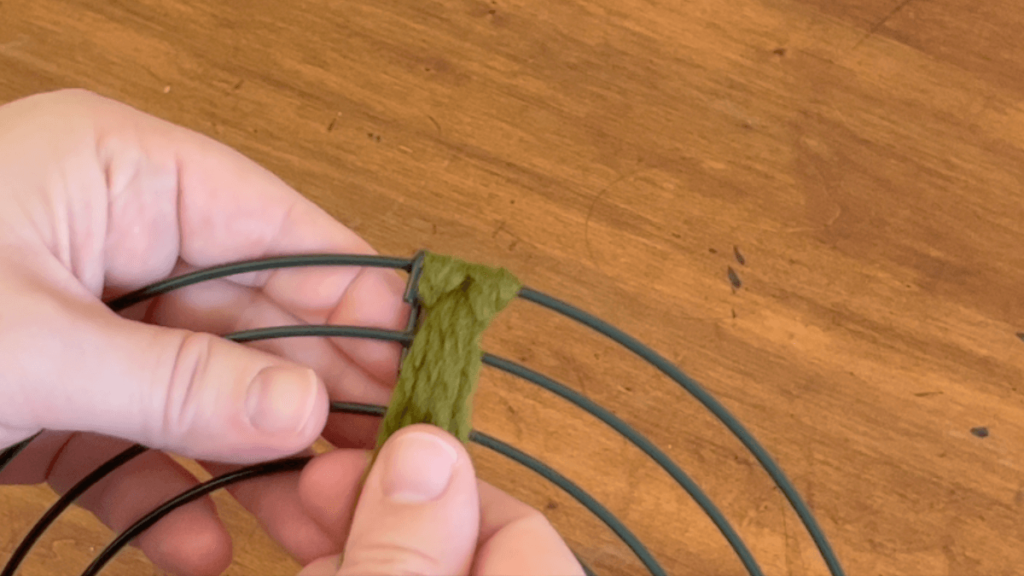
Place the yarn in front of the next wire down, around the backside and over the front of that second wire.
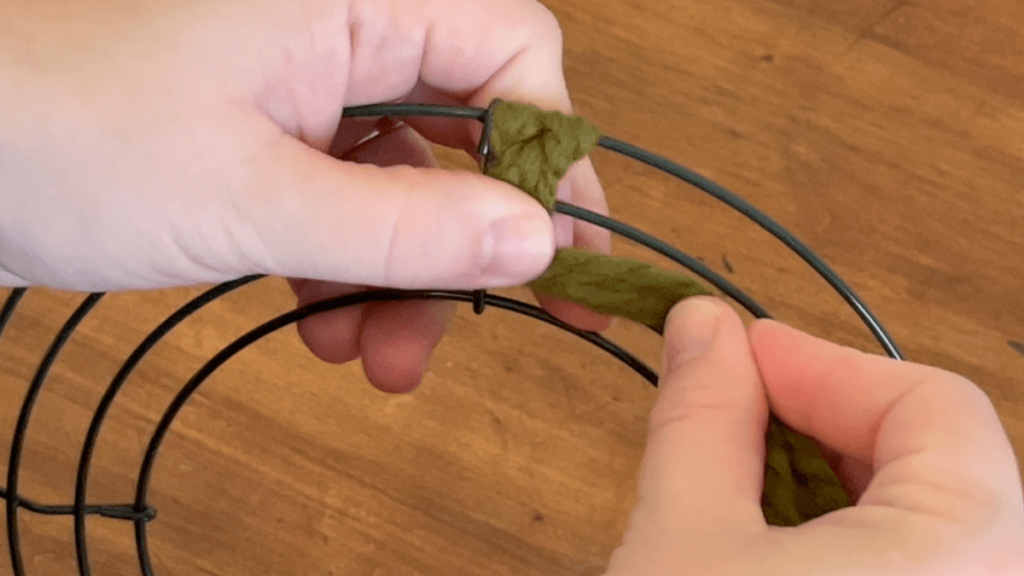
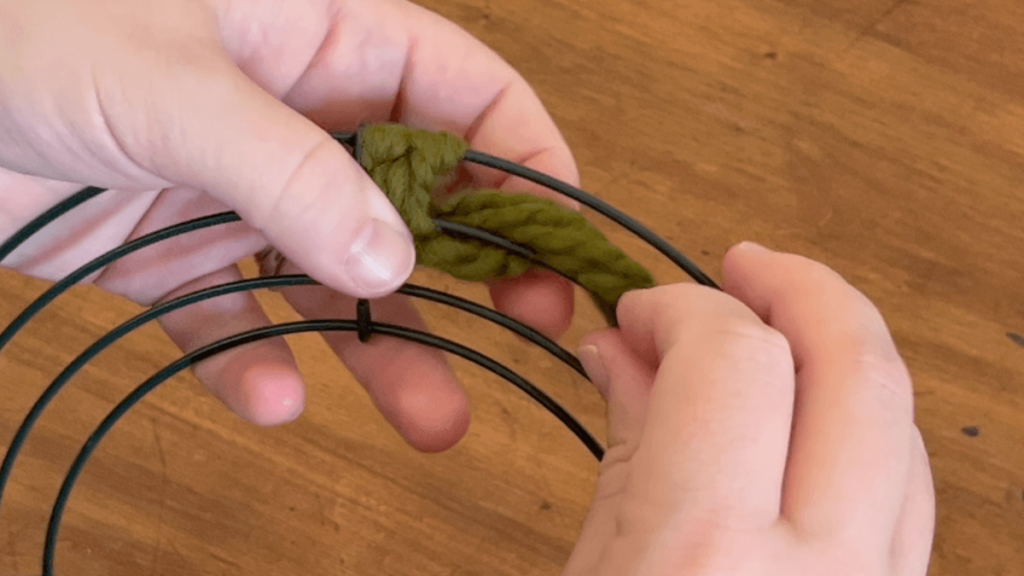
Repeat the previous step for the next two wires.
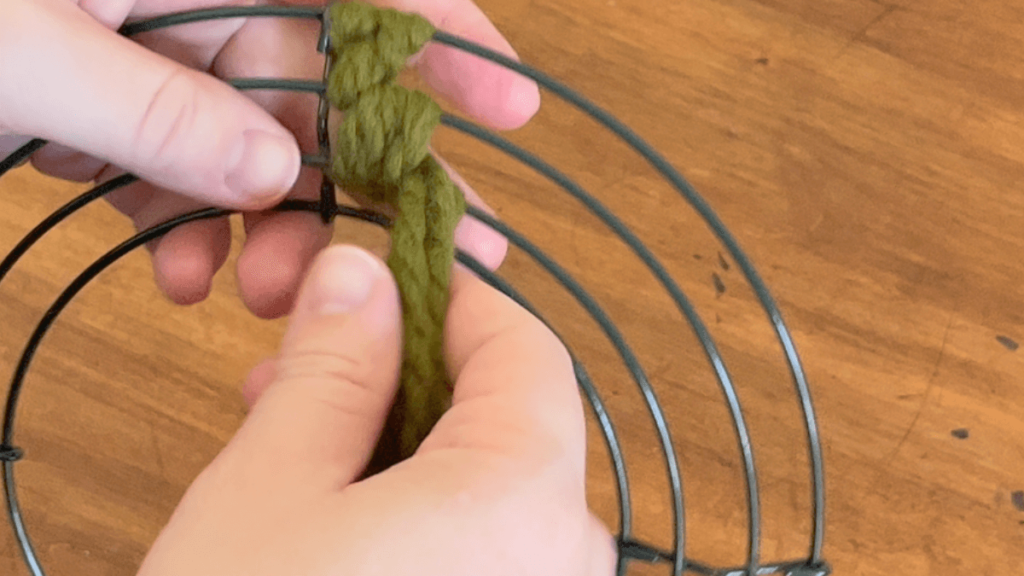
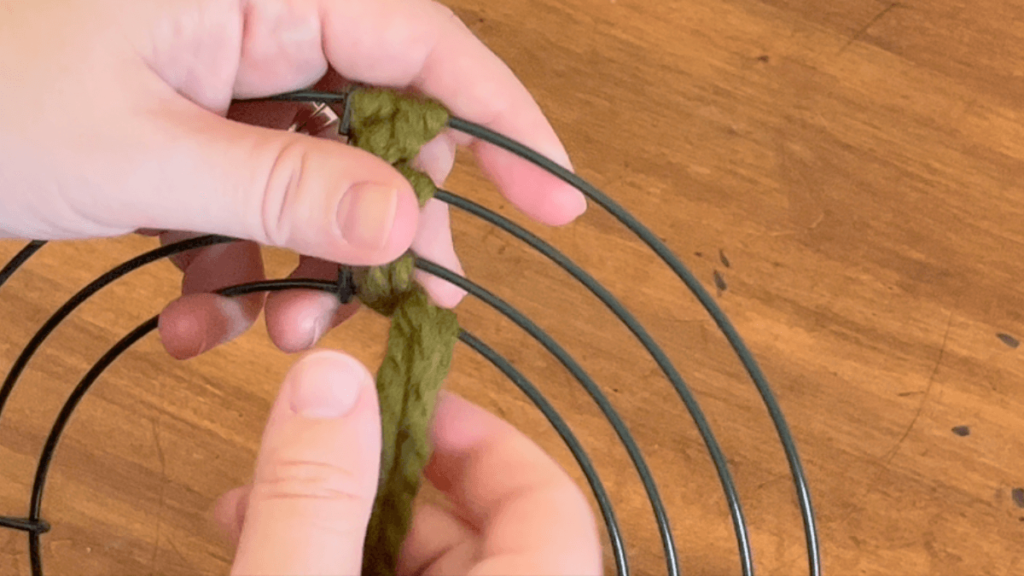
Weave the yarn back up, in front of the second wire from the bottom and around it, then repeat that until you’ve reached the top wire and wrap the yarn around the top.
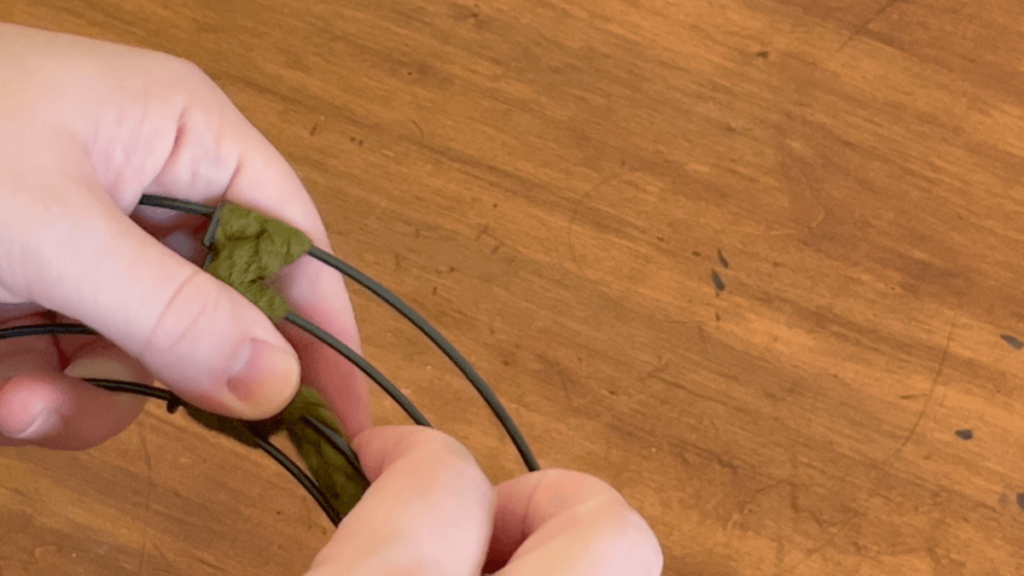
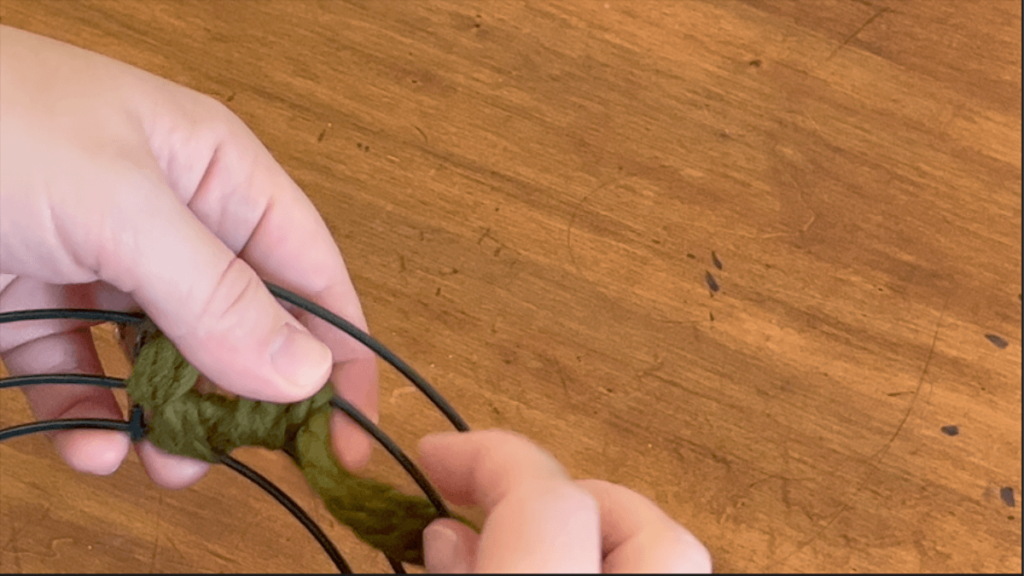
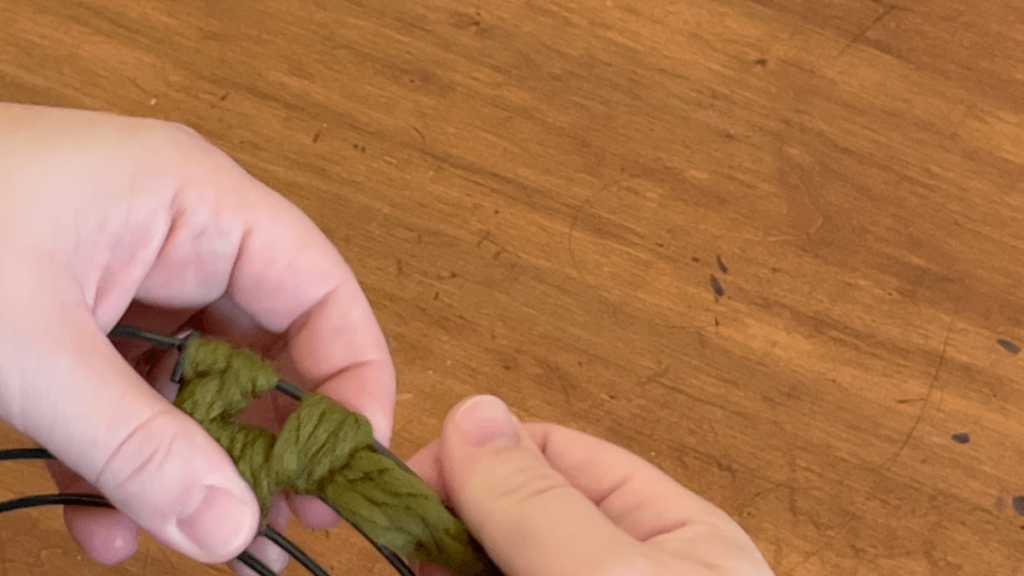
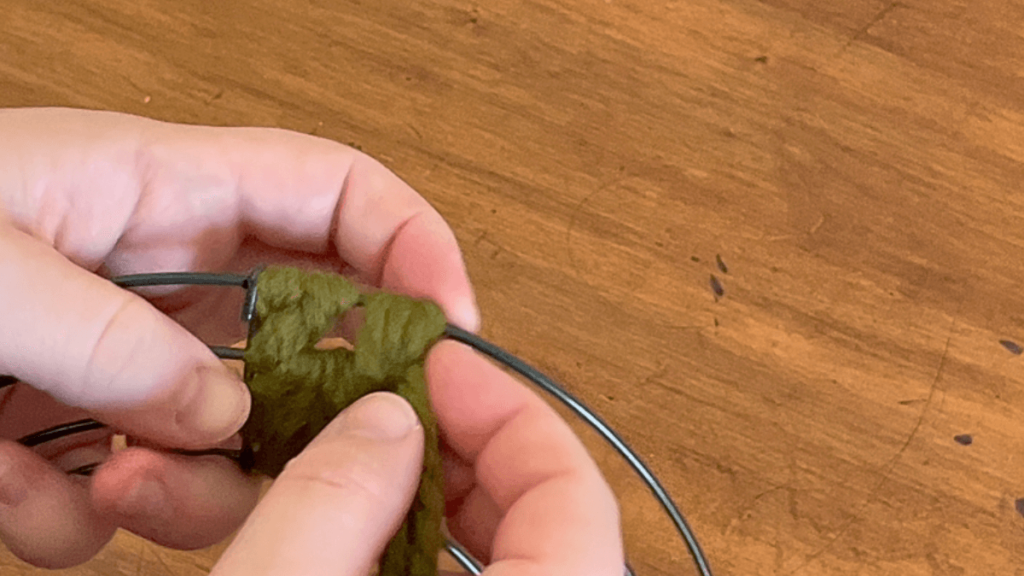
Continue weaving yarn in the pattern explained above until you’ve covered the entire wreath form, then hot clue the yarn to the back of the wreath and trim the excess.
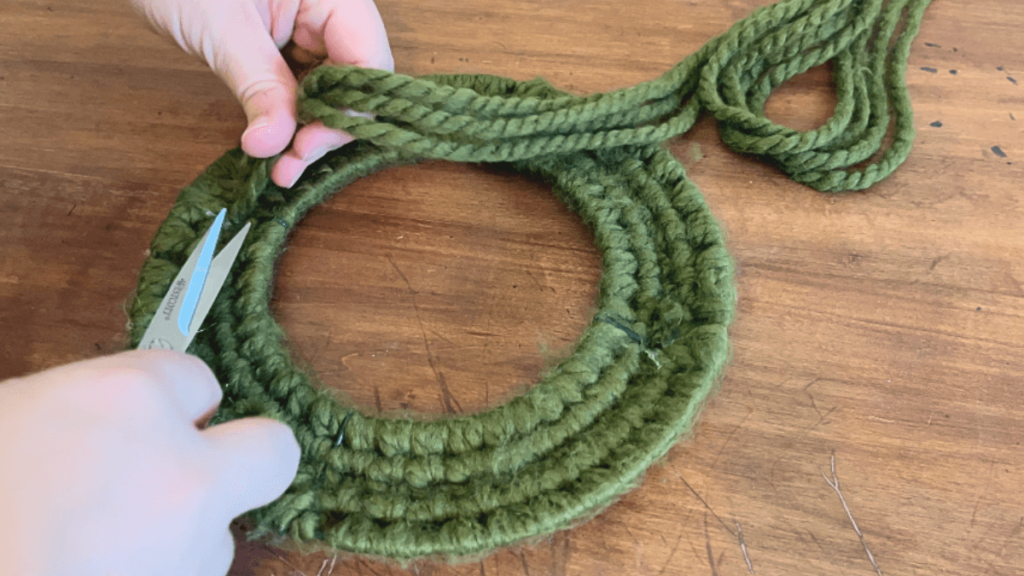
Wrap a piece of ribbon around the top and tie.
NOTES
- If you’re using a lighter color yarn or material, you may want to spray paint the wreath form accordingly so you don’t see it peeking through any open spots.
- When you run out of yarn, simply hot glue the end of the yarn in the back of the wreath, then continue by starting the process over with a larks head knot.
- This tutorial is for a very simple woven yarn wreath, but you can decorate the wreath with a beautiful bow and so many other beautiful details.
- The heavier weight the yarn the fuller the wreath will look. You can also use other materials such as macrame cord, rope or twine.
- The process of weaving yarn around the wreath form is time consuming, so I chose to stick with an 8 inch wreath form, but you can use this technique on any size.

Woven Yarn Wreath
Learn how to make a simple, yet beautiful woven yarn wreath that is perfect for the holiday season or any time of the year!
Materials
- Chunky yarn
- 8 inch wreath form (or any size)
- Hot glue
- Ribbon
- Spray paint (optional)
Tools
- Scissors
- Hot glue gun
Instructions
- Measure a piece of yarn roughly 3 ft in length then fold it over itself three times, then repeat that process so you have two long pieces of yarn. Line the two pieces of yarn up, then fold them in half.
- Place the center of the two pieces of yarn under the top wire and tie a larks head knot.
- Place the yarn in front of the next wire down, around the backside and over the front of that second wire.
- Repeat the previous step for the next two wires.
- Weave the yarn back up, in front of the second wire from the bottom and around it, then repeat that until you've reached the top wire and wrap the yarn around the top.
- Continue weaving yarn in the pattern explained above until you've covered the entire wreath form, then hot clue the yarn to the back of the wreath and trim the excess.
- Wrap a piece of ribbon around the top and tie.
Notes
- If you're using a lighter color yarn or material, you may want to spray paint the wreath form accordingly so you don't see it peeking through any open spots.
- When you run out of yarn, simply hot glue the end of the yarn in the back of the wreath, then continue by starting the process over with a larks head knot.
- This tutorial is for a very simple woven yarn wreath, but you can decorate the wreath with a beautiful bow and so many other beautiful details.
- The heavier weight the yarn the fuller the wreath will look. You can also use other materials such as macrame cord, rope or twine.
- The process of weaving yarn around the wreath form is time consuming, so I chose to stick with an 8 inch wreath form, but you can use this technique on any size.
Recommended Products
As an Amazon Associate and member of other affiliate programs, I earn from qualifying purchases.
LOOKING G FOR MORE CHRISTMAS DIY PROJECT IDEAS?
- Easy Rustic Homemade Christmas Ornaments
- How to Make Christmas Garland with Yarn
- How to Upcycle Christmas Ornaments with Baking Soda Paint
- DIY Mason Jar Ring Ornaments
Did you make this woven yarn wreath for Christmas? If you did, I’d love to see how they turned out! Tag me on Instagram @thesimplehomeplace to show me your own recreation of this wreath!



Leave a Reply