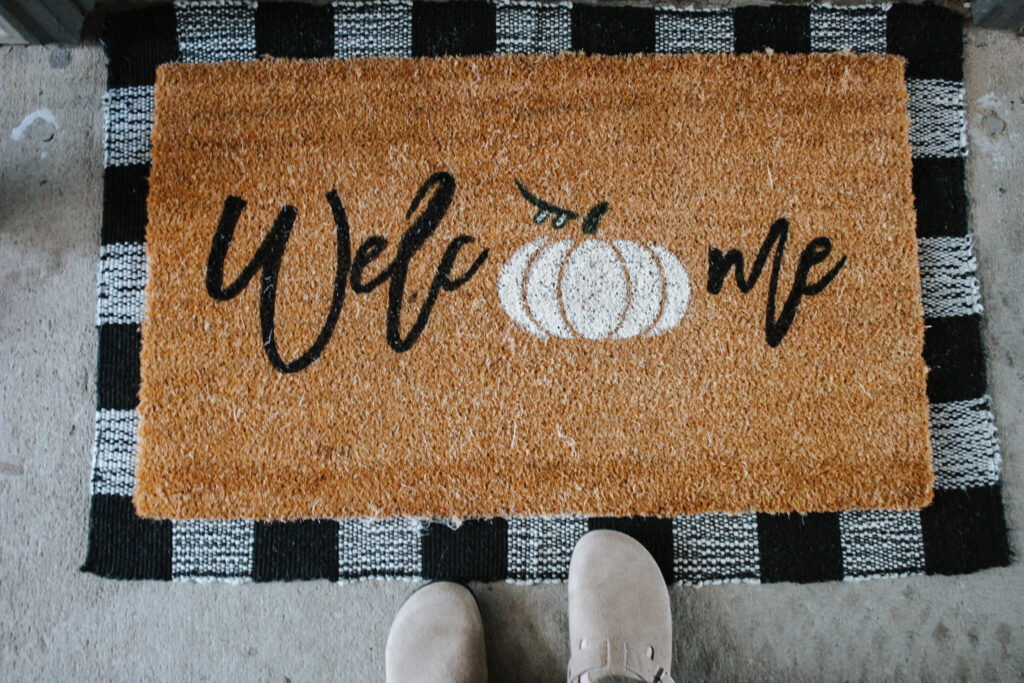
Add a special touch to your front door this fall by making a personalized doormat using a Cricut stencil!
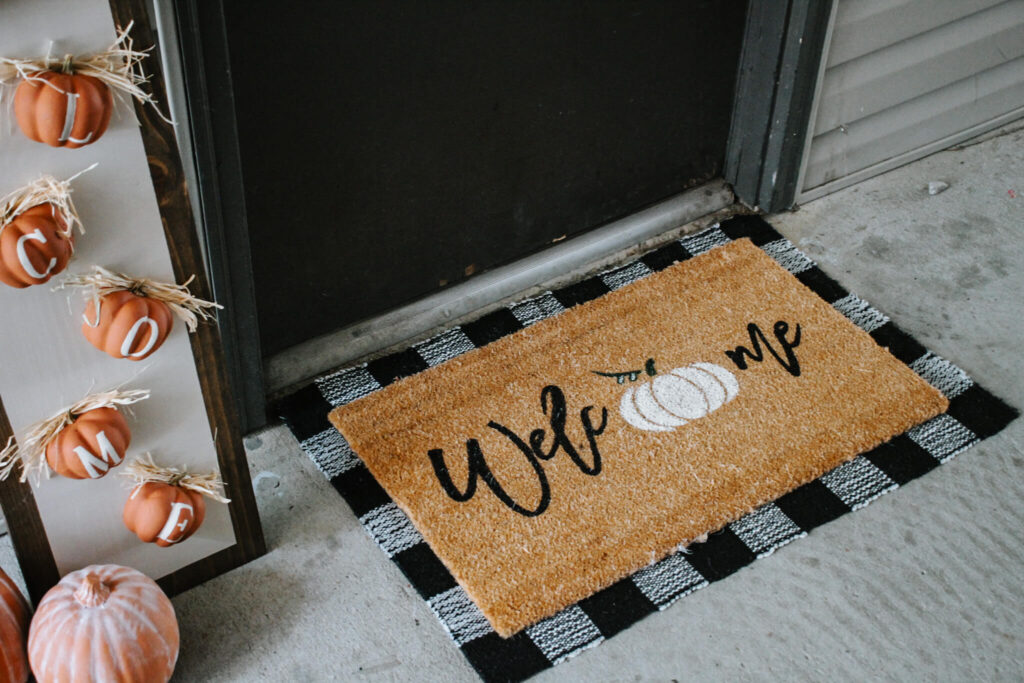
Cozy season is upon us and I don’t know about you, but I’m ready for it. I’m ready for all things pumpkin and apple, crisp, cool mornings and cozy crafting. Speaking of crafting, for the longest time, I’ve wanted to create my own custom outdoor rug. If you do a quick online search for fall outdoor rugs, you’ll find so many cute ones, some affordable and some more on the pricer side.
I’m a sucker for cute decor items like this, but often don’t buy them because, well I’m cheap. BUT I also have the mindset that I can make pretty much anything if I try, which means I had to try my hand at making my own custom doormat for fall with my Cricut Maker 3! They’re actually super easy to make, especially using a Cricut machine, but even if you don’t have one, you can still do it! Let’s get started with the tutorial.
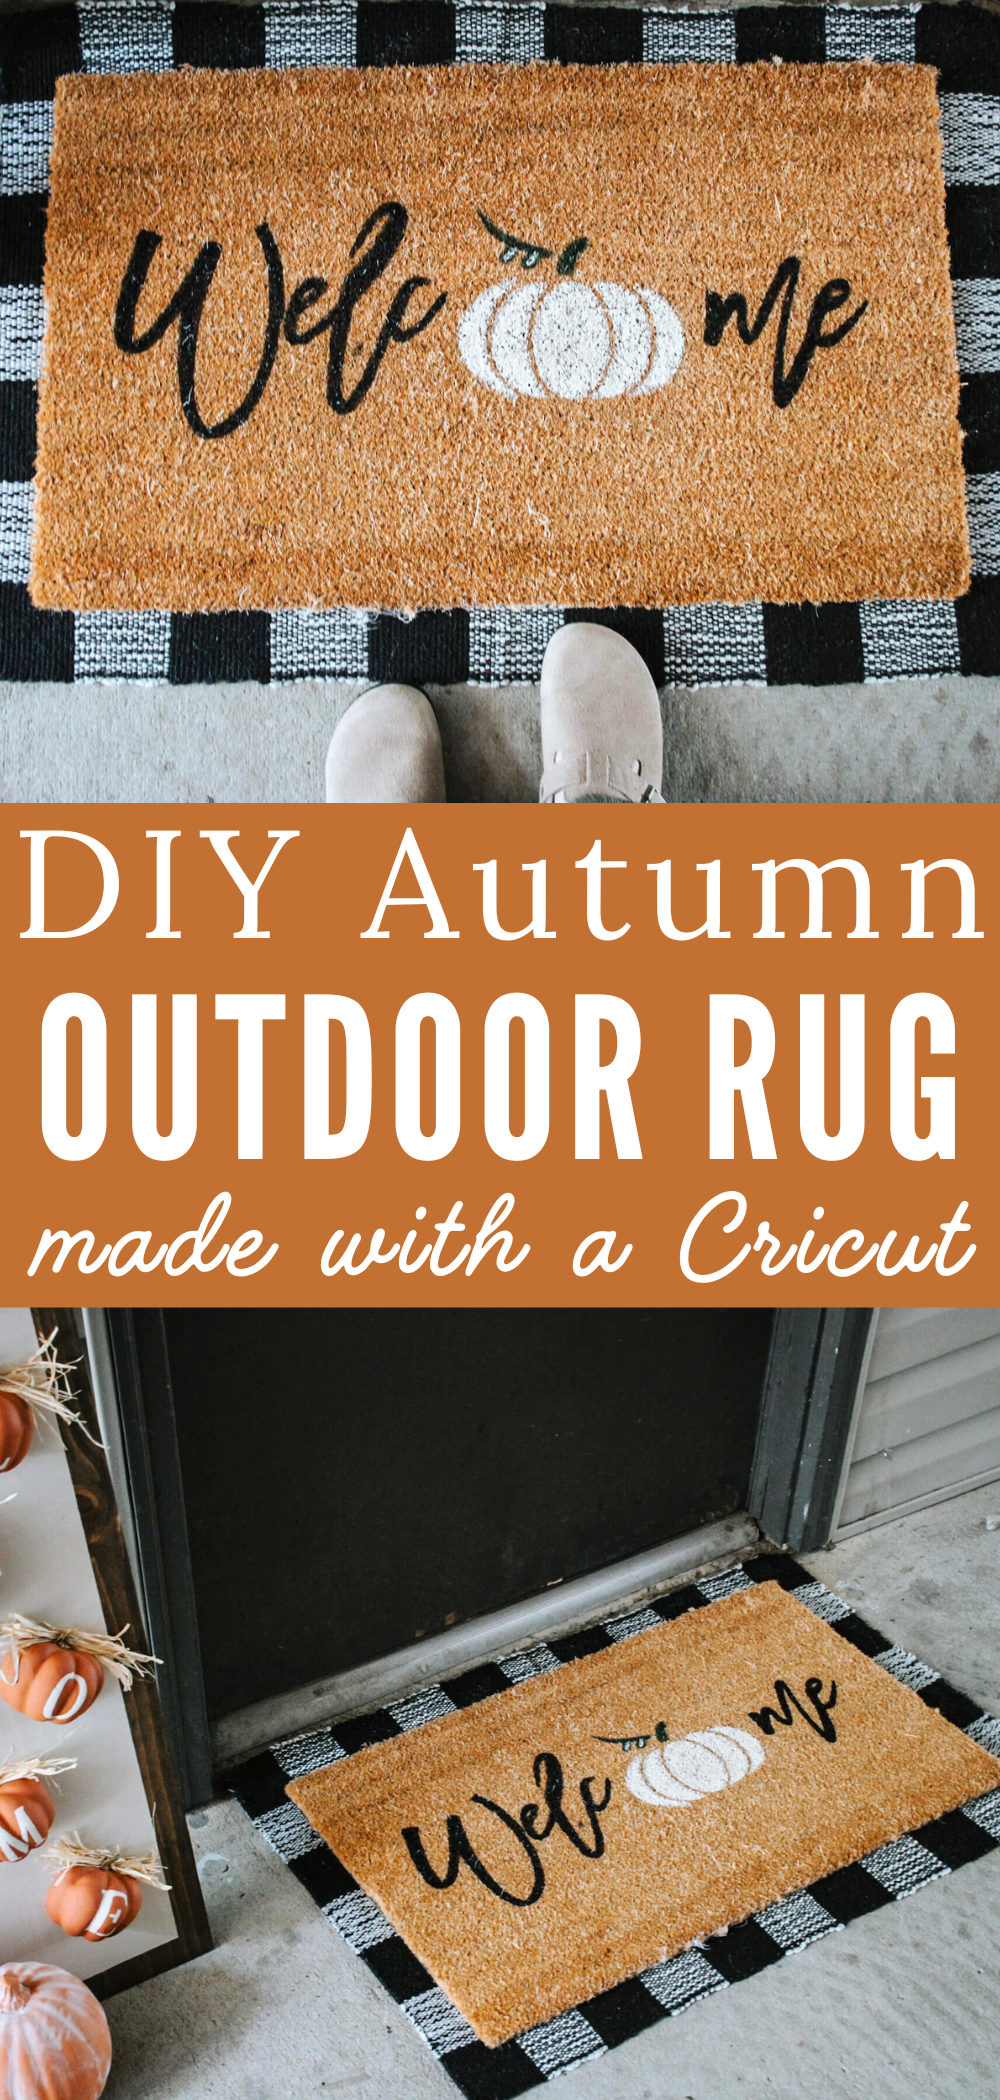
PIN FOR LATER!
YouTube Video Tutorial
FAQs
Can I make a stencil with any Cricut machine?
You should be able to make a stencil with any Cricut cutting machine like the Cricut Explore Air and the Cricut Joy, as well as other cutting machines on the market. If you don’t have a Cricut, you can still create a stencil using free software like Canva.com or buy already made svg files from places like Etsy, then print them off on cardstock and cut them out using an X-Acto knife to cut it out.
Where do I find a blank outdoor rug to paint?
You can find blank coir mats or blank doormats in all kinds of places, including Walmart and Amazon. I found mine at Walmart for less than $7, which is cheaper than buying on Amazon.
What type of paint should I use to make a DIY outdoor rug for fall?
There’s many different kinds of paint that will work for this project. I suggest using a paint that is labeled for outdoor use, whether that be an outdoor spray paint or something like house paint. You can find these types of paint at most hardware stores. I was able to find outdoor acrylic paint at Hobby Lobby, which is obviously rated for outdoor use. I also used a multi-purpose acrylic paint that was made to adhere to many different types of materials. Regardless of the paint you choose, it’s a good idea to seal the entire rug with some type of rubberized sealant like Flex Seal. If you don’t want to seal the rug, you can use Flex Seal in a can as a “paint.” There are lots of options, so see what you can find!
This post may contain affiliate links, which means I may receive a commission, at no extra cost to you, if you make a purchase through a link. Please see our full disclosure here for further information.
How to Make a Fall Doormat using a Cricut
Tools You May Need:
- Cricut (mine is the Maker 3)
- Stencil brushes
- Regular flat paint brush
- Standard grip mat
- Weeding hook or tools
- Ruler or tape measure
Materials Needed:
- Blank coir mat
- Cricut stencil roll or freezer paper
- Painter’s tape
- Outdoor acrylic paint or other outdoor use paint (I used white, green and black paint)
- Clear waterproof rubberized spray
Directions
Create a design in the Cricut Design Space app or use my template here (see note).
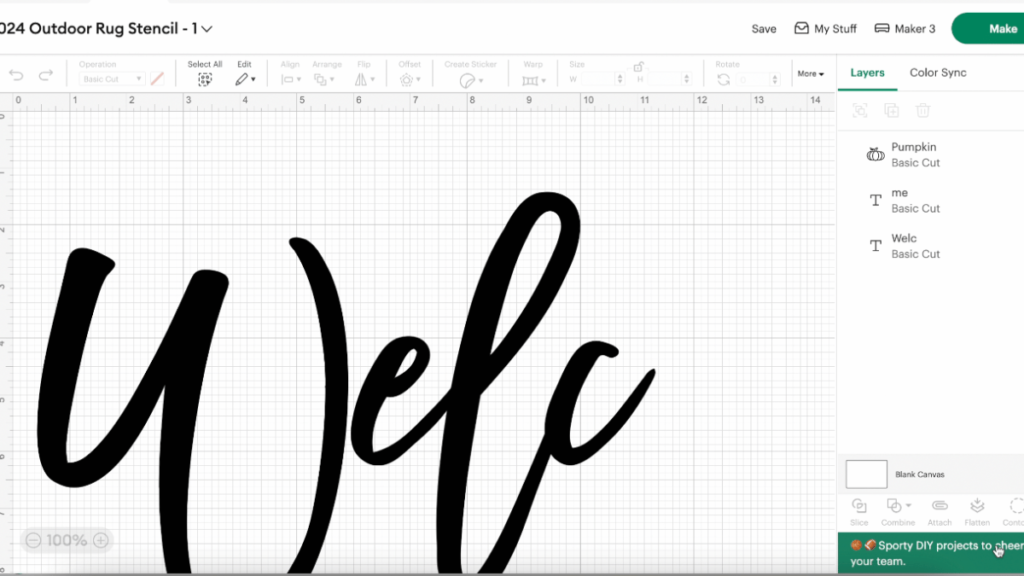
Cut the design out on Cricut stencil material or freezer paper using a Cricut machine.

Peel the stencil off the Cricut mat and weed your design.
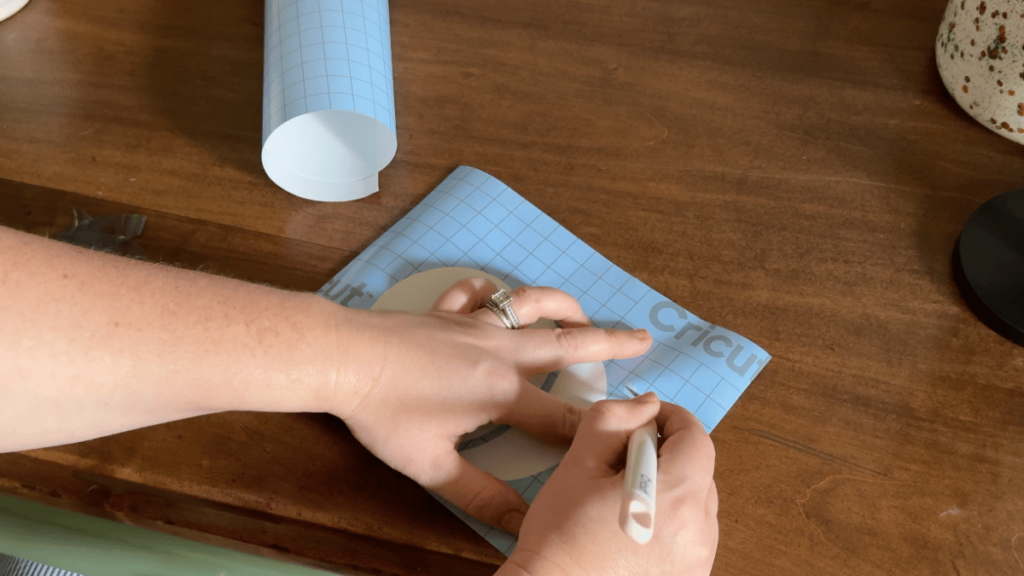
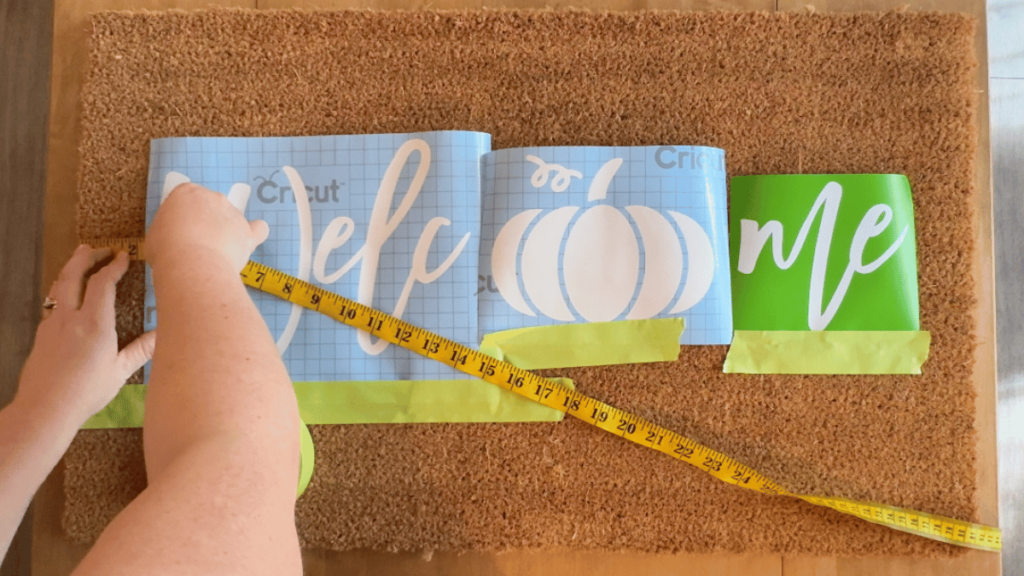
Lay the design on the blank outdoor mat and use a ruler to ensure it’s centered, then use painter’s tape or glue dots to keep the stencil in place. Don’t forget the small pieces for letters like “e.”
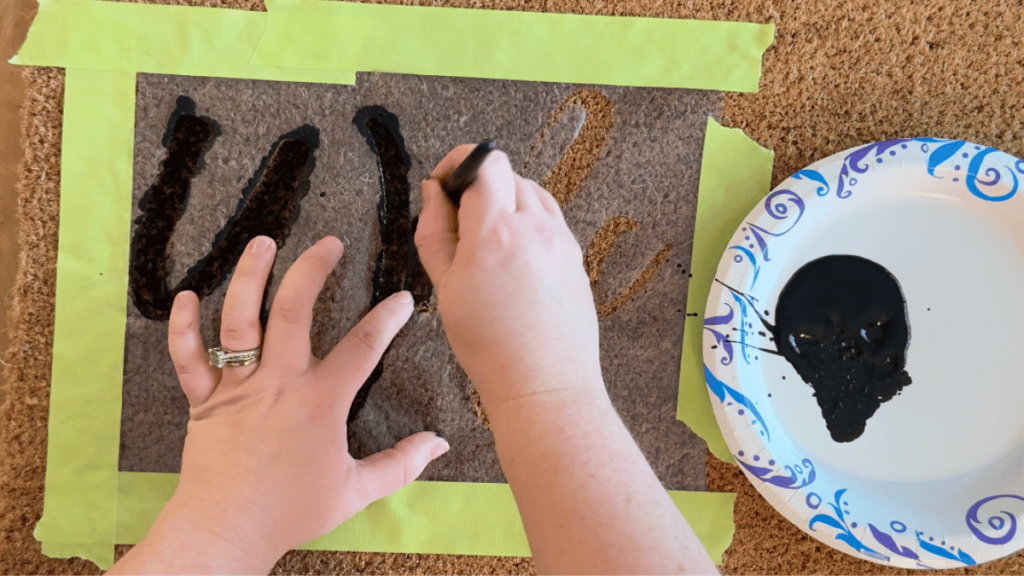
Using a stencil brush, paint on your stencil, making sure to fully saturate the entire area. You’ll most likely need a few coats of paint to achieve the best results.
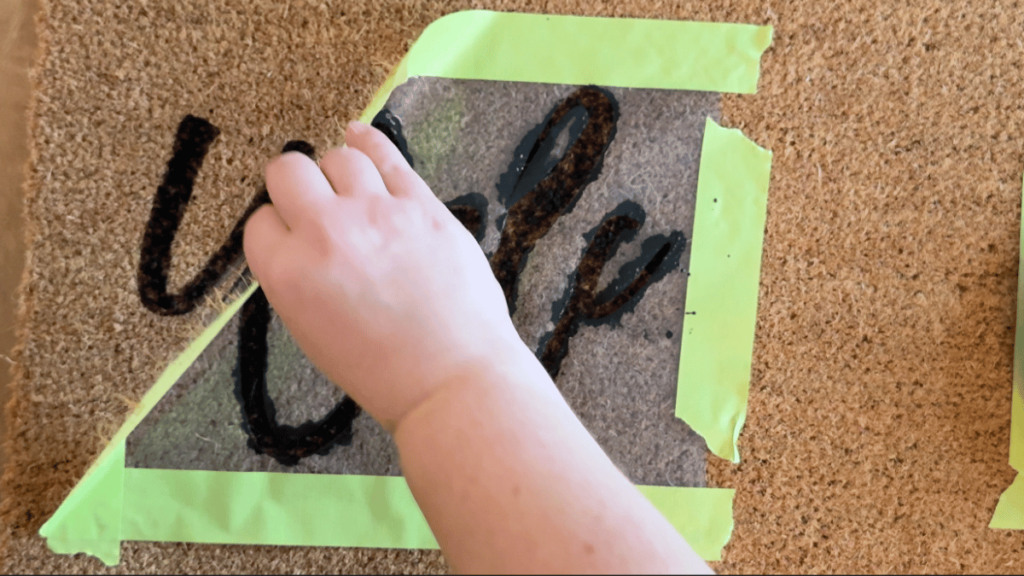
Remove the stencil while the paint is wet, then allow it to dry fully.
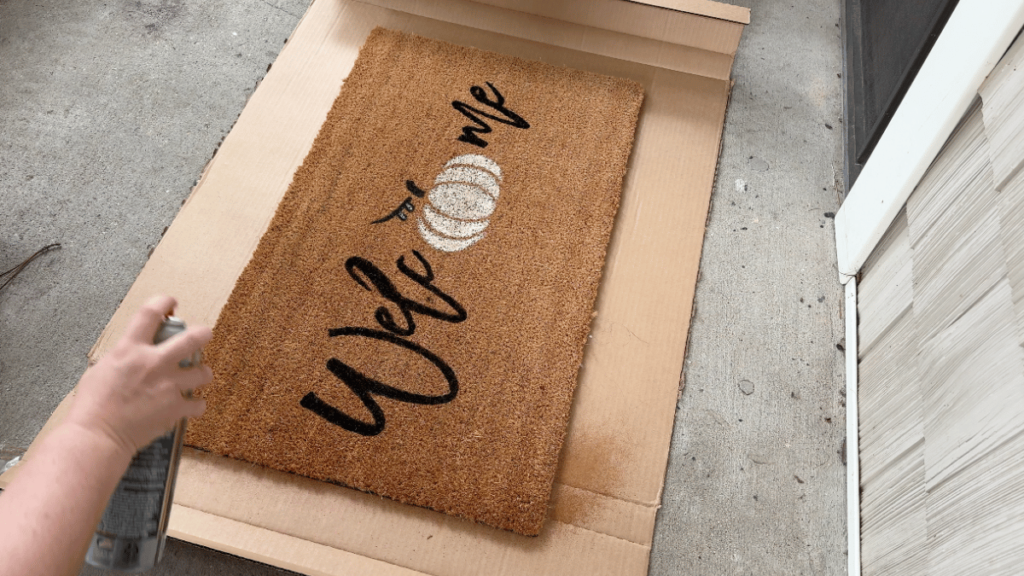
Take your personalized door mat to a well-ventilated area and spray an even layer of a clear rubberized sealant, like Flex Seal spray, and allow it to dry at least 24 hours before use.
Notes
- For a cheaper alternative, instead of using a vinyl stencil, you can use a freezer paper stencil instead.
- This particular design has three sections. I chose to paint the letters first, then paint the pumpkin last.
- It’s best to use paint that is graded for outdoor to ensure durability.
- Depending on the paint you use, you may not have to seal it, but I like to make sure it’s extra durable.
- To use my free template, you do have to already have Cricut Design Space.
Looking for more easy DIY home decor projects like this?
Looking for more easy DIY home decor projects like this personalized fall doormat? Check these out:
- How to Make a Pleated Lampshade
- Extreme DIY Cube Storage Makeover
- How to Upcycle Christmas Ornaments with Baking Soda Paint
- DIY Barstool Makeover
Did you try making this personalized fall doormat using a Cricut stencil? If you did, I’d really love to see it. Tag me on Instagram (@thesimplehomeplace) to show me your own recreation of this tutorial!


Leave a Reply