Learn how to sew a flannel throw blanket to curl up next to a cozy fire this fall! They’re simple to make, can be customized to your liking and turn out absolutely beautifully! Learn how to add a beautiful added touch by crocheting a border or adding something fun like a pom edge!

Autumn is the season I look forward to the most every year. Not only are nature’s colors absolutely stunning, but it’s also the time of year for cozy sweaters, delicious warm drinks and fun outdoor festivities! Two other very integral parts of fall, in my opinion, are flannel and fires. If you enjoy curling up beside a campfire, wood stove or fireplace, then these fireside flannel blankets are for you! Whether you’re a beginner sewer or don’t even own a sewing machine, you can make these cuddly blankets. They’re perfect for wrapping around your shoulders or covering up your legs to keep warm!
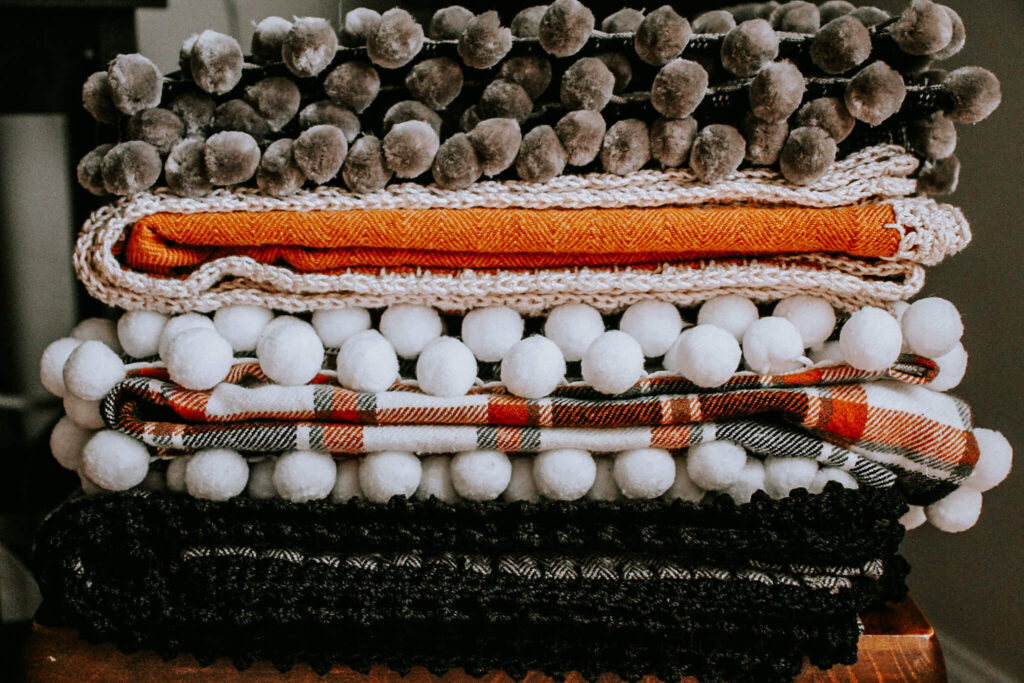
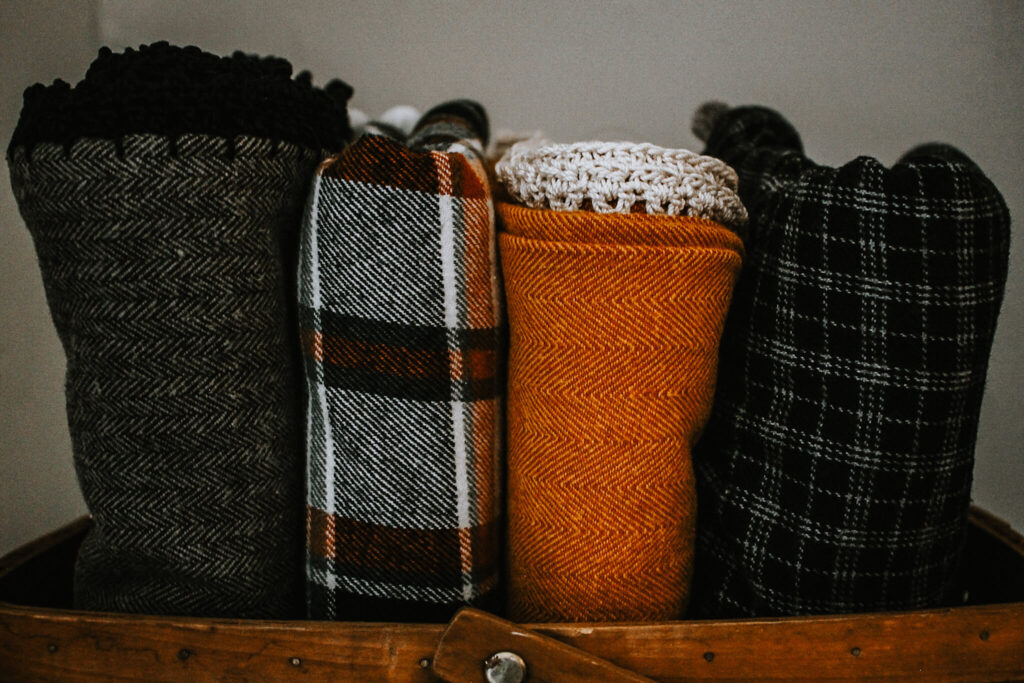
I’ve created two different versions of these fireside flannel blankets, one with a pom edge and one with a beautiful crocheted edge, and I love them both!
PIN FOR LATER!

HOW TO MAKE A FLANNEL THROW BLANKET
This post may contain affiliate links, which means I may receive a commission, at no extra cost to you, if you make a purchase through a link. Please see our full disclosure here for further information.
MATERIALS
- 2 yards of flannel shirting (45” wide x 72” long)
- Coordinating thread or fabric glue
TOOLS YOU MAY NEED
- Sewing machine
- Iron and ironing board
- Fabric ruler
- Fabric pins or clips
- Scissors
HOW TO SEW A FLANNEL THROW BLANKET
Wash and dry the flannel fabric, then trim frayed edges and iron the whole piece of flannel.
Fold the fabric edges over 1/2” and press, then 3/4” and press. I find it helps to use the steam function when pressing to keep the hem in place before sewing. Also place pins to keep the hem in place.
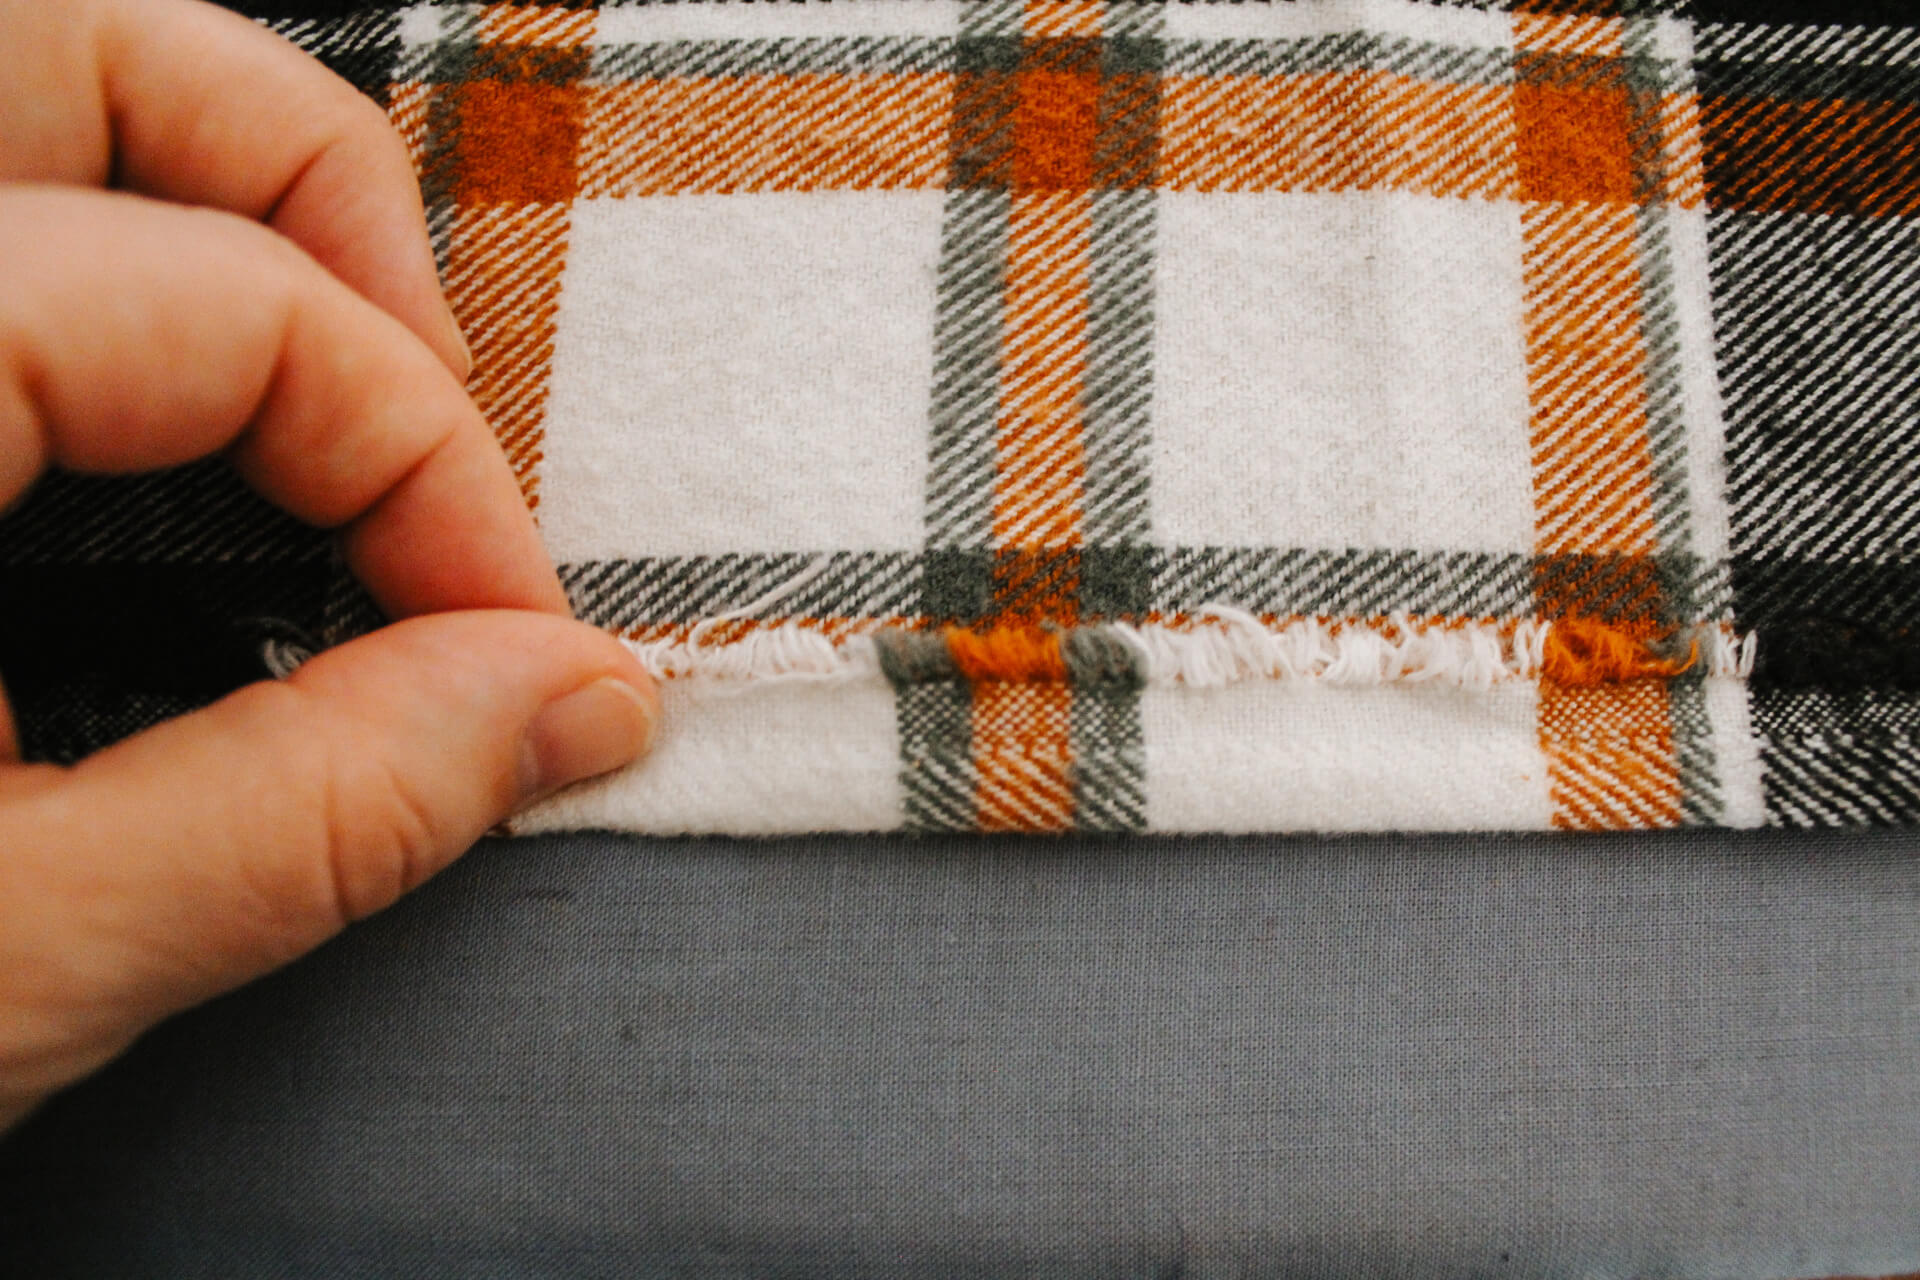
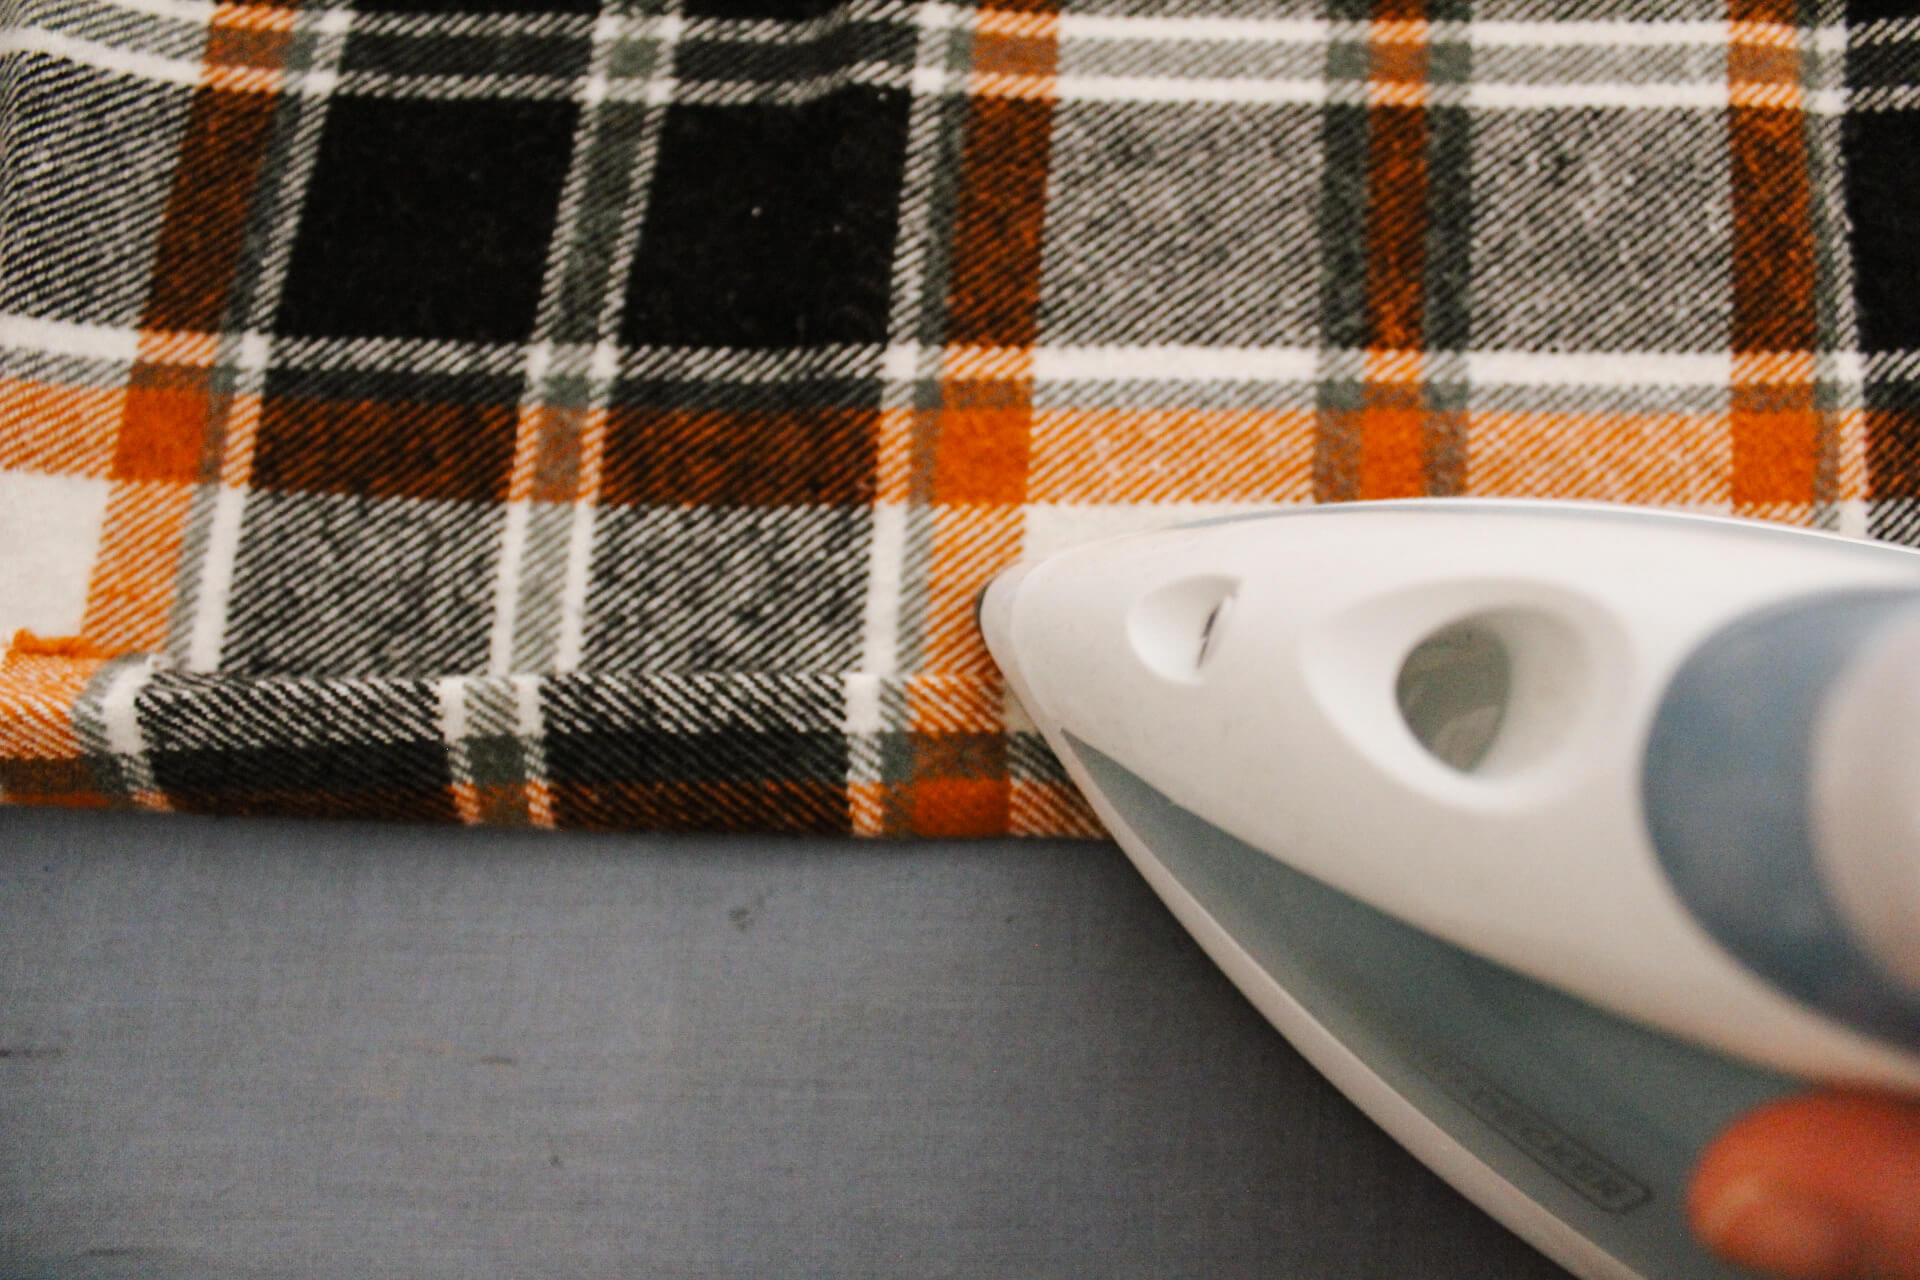
Unpin and unfold each corner of the hem one at a time. Fold the hem on the right side as you normally would to 3/4” and mark where it ends on the fabric.
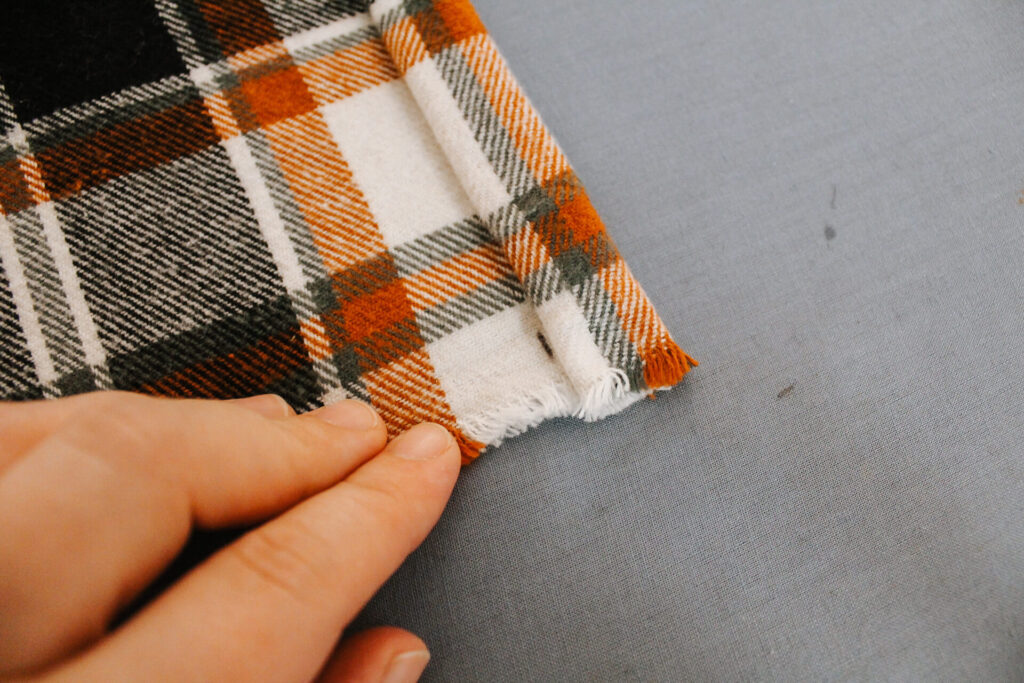
Unfold the right hem, then fold the hem on the bottom to 3/4″ and mark where that ends.
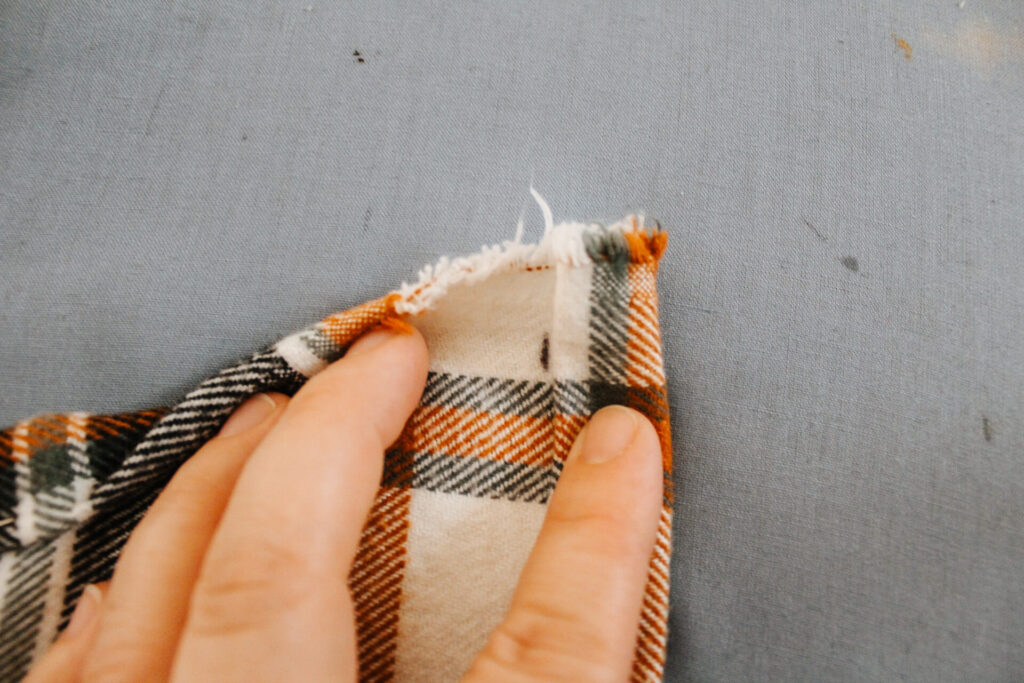
Measure from the top of the bottom to the edge of the fabric vertically. Measure to the halfway point, then add 1/4” and make a mark.
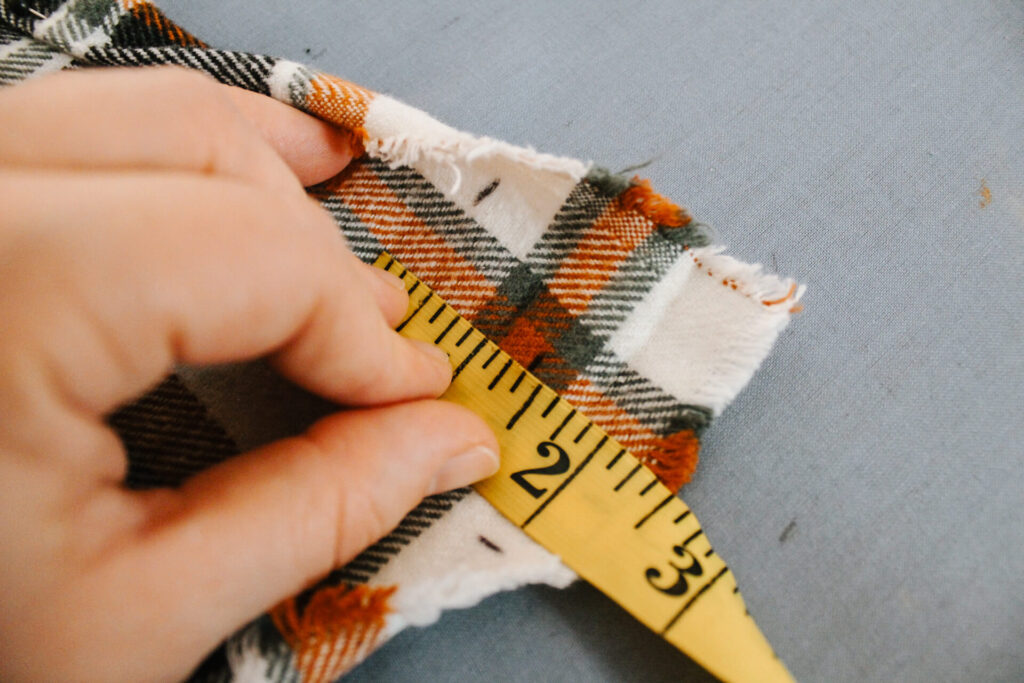
Draw a line horizontally from the top of the right side hem mark to the right edge of the fabric at the halfway mark. Then draw a line vertically from the top of the line you just created, down to the bottom edge of the fabric, creating a rectangle.
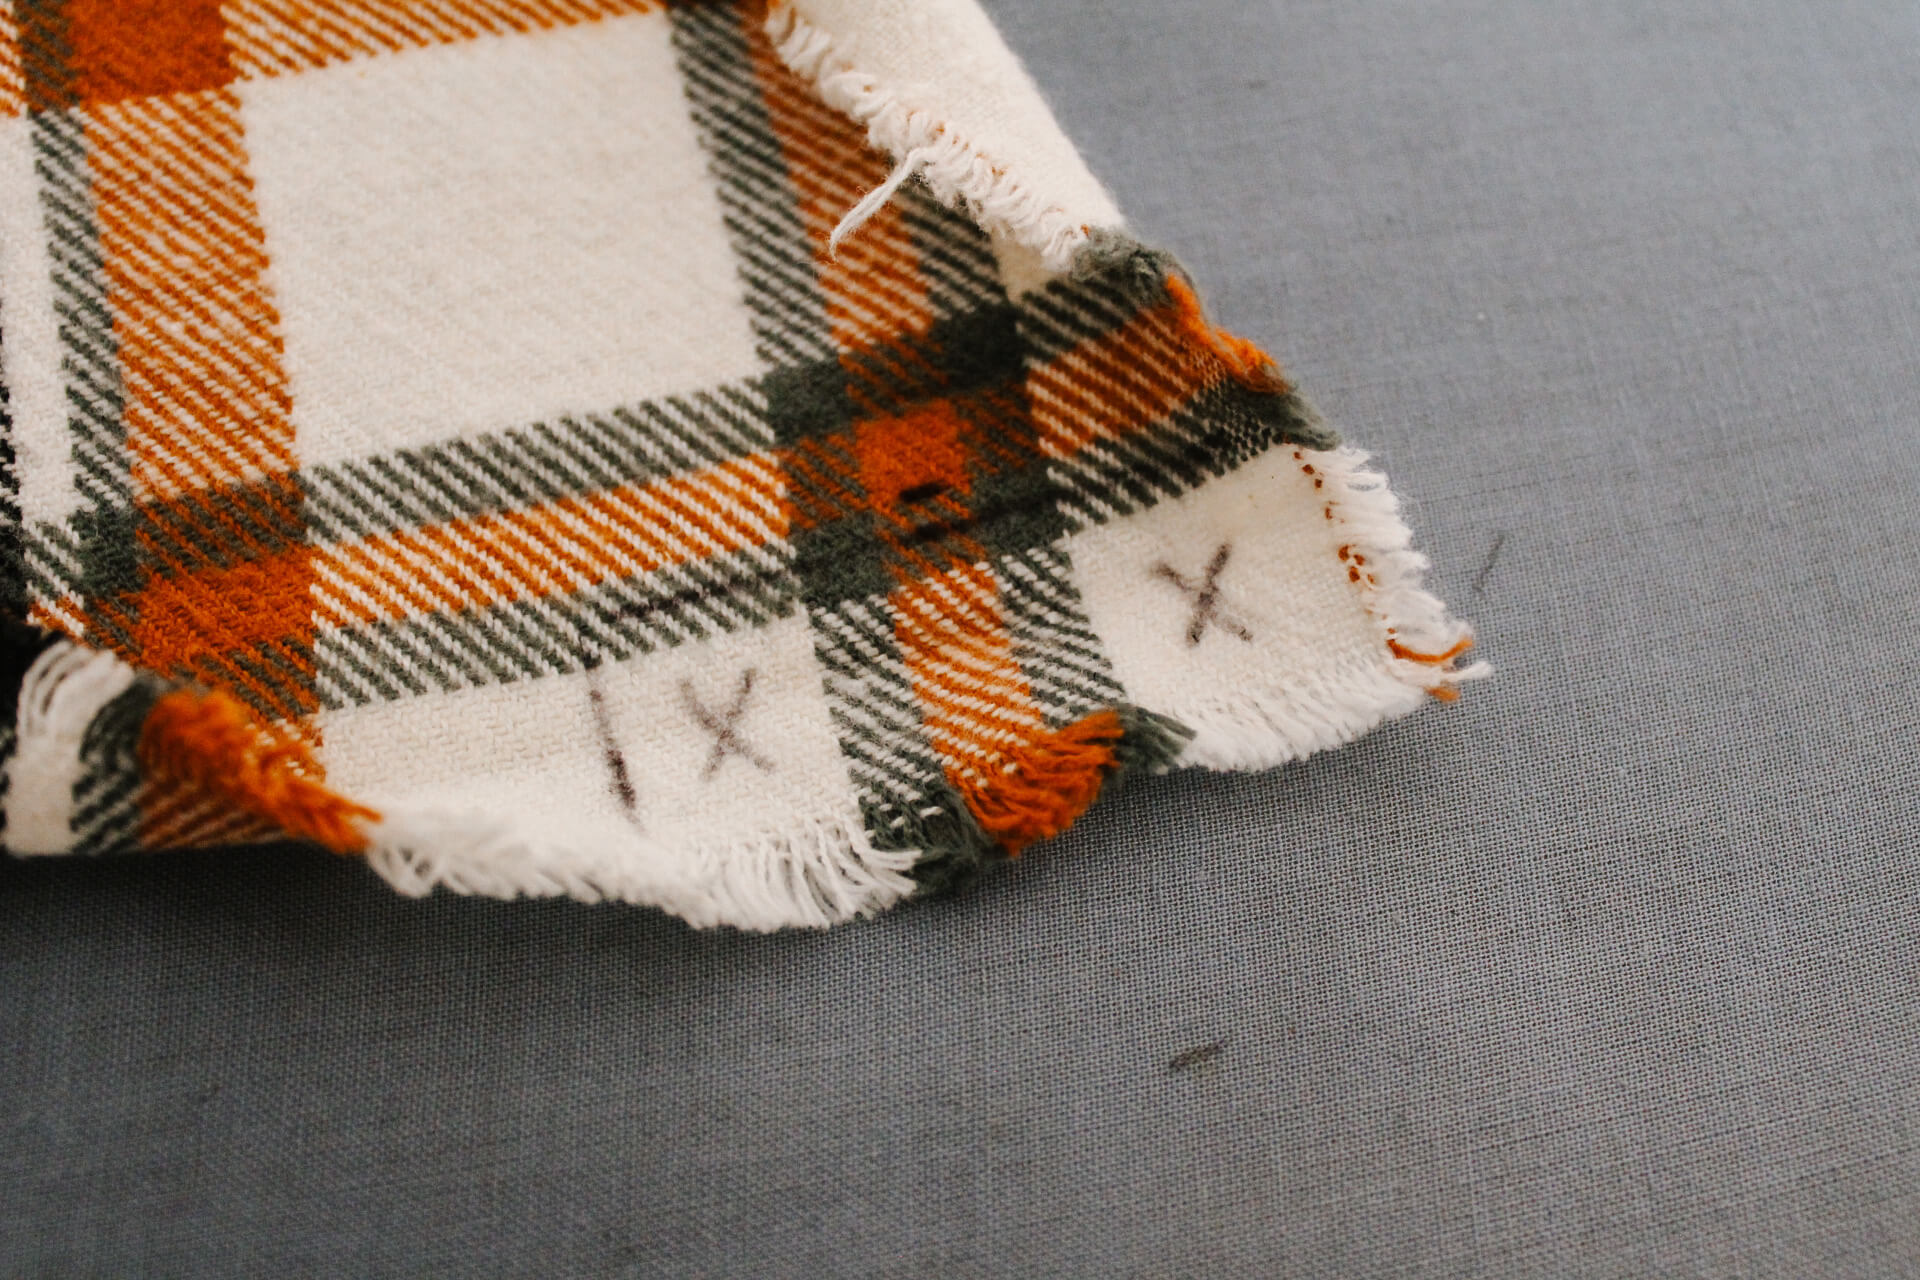
Cut off the rectangle of fabric.
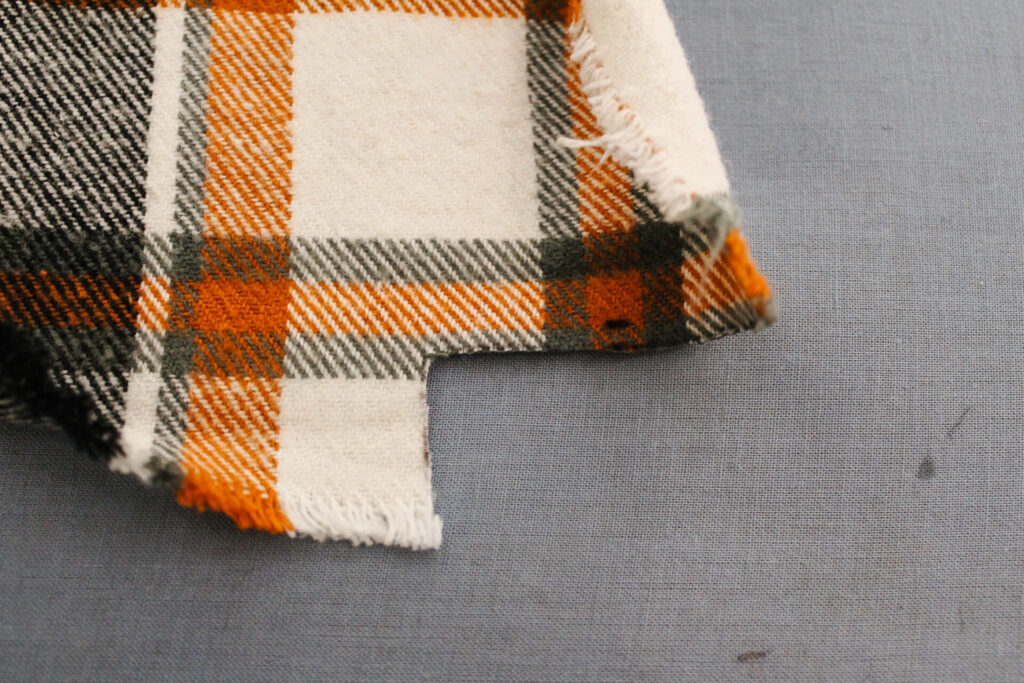
Refold the bottom hem, then refold the right side hem and pin. Repeat for all four corners.
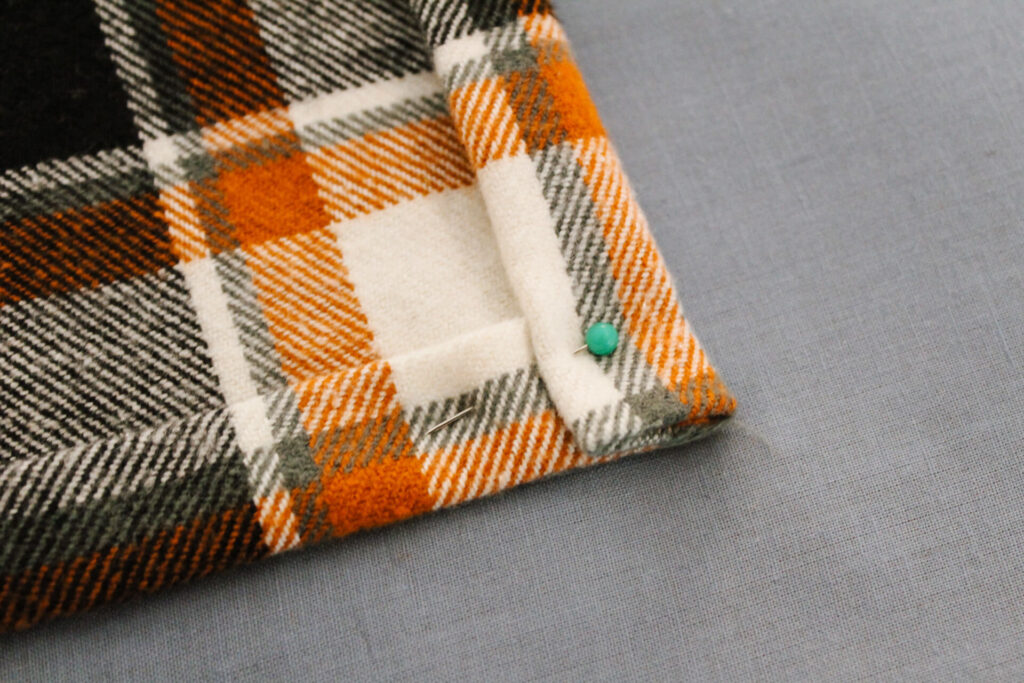
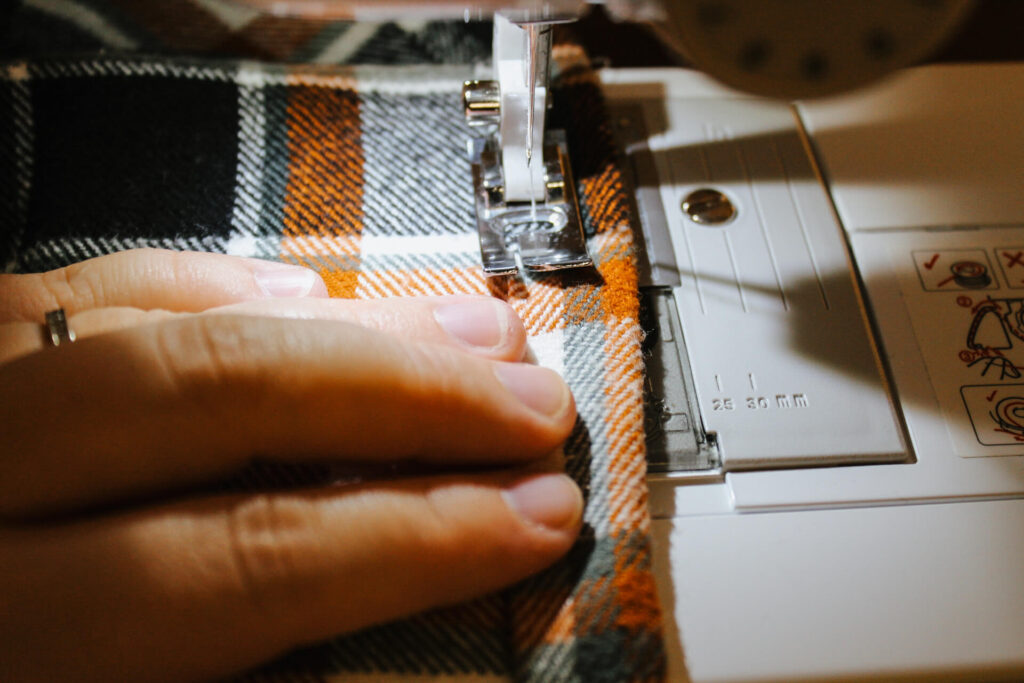
Hem using a 1/2” or 3/8” hem on the sewing machine. You could also use fabric glue.
HOW TO ADD A POM BORDER TO A FLANNEL BLANKET
Pin the pom edge to the wrong side of the fabric with the wrong side facing up.
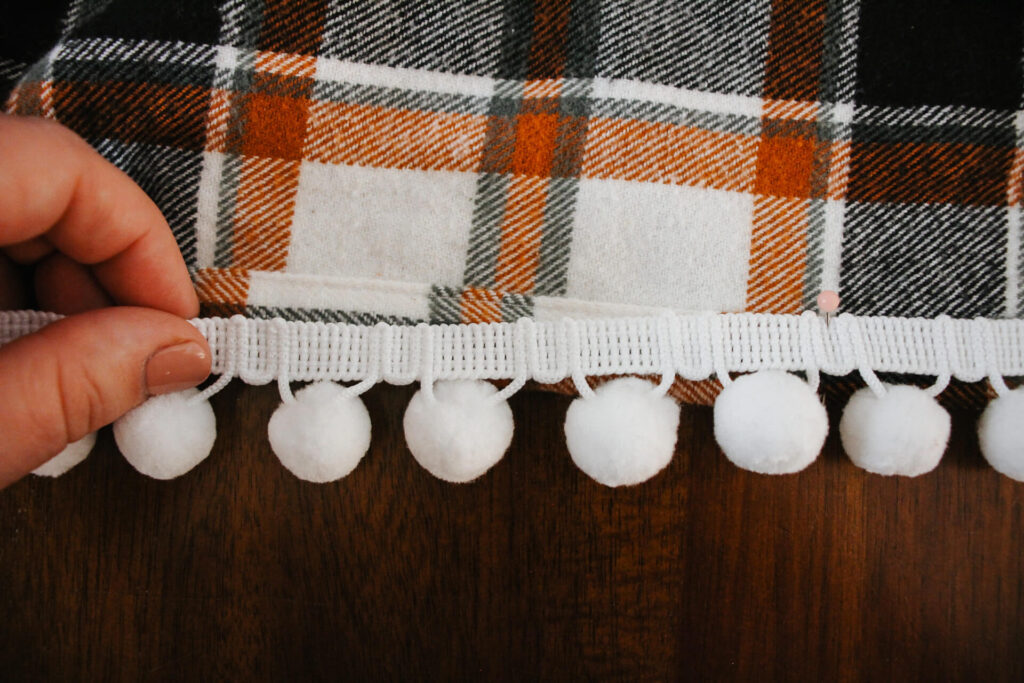
Line the top of the trim up to the top of the hem. You should only be able to see the poms hanging off the edge when you flip the blanket to the right side.
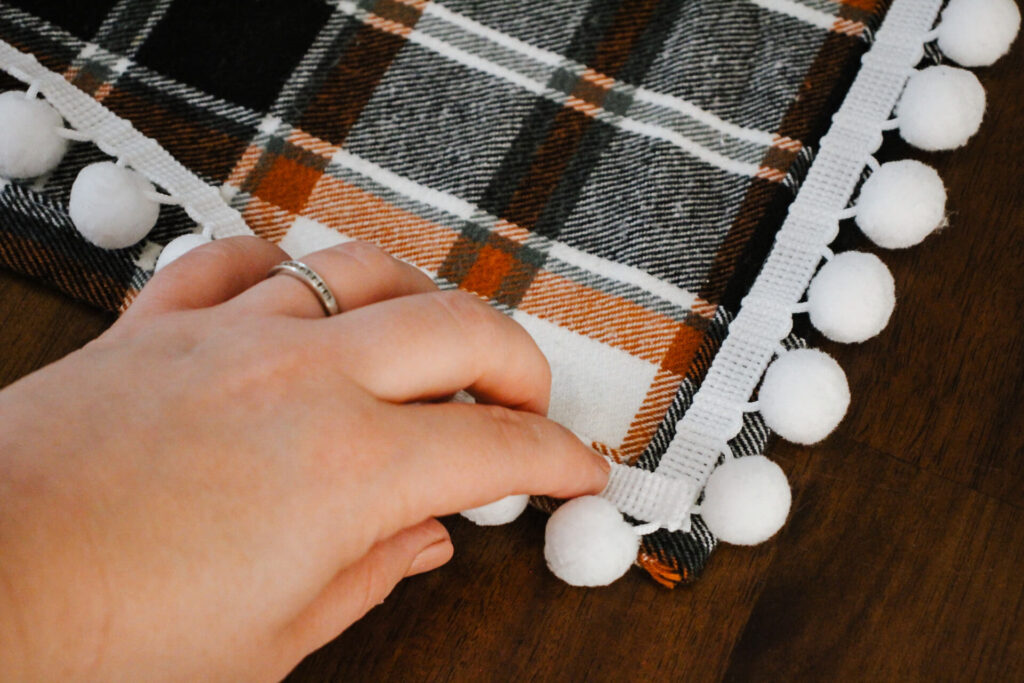
Stitch along the top and bottom of the trim to secure or use fabric glue.
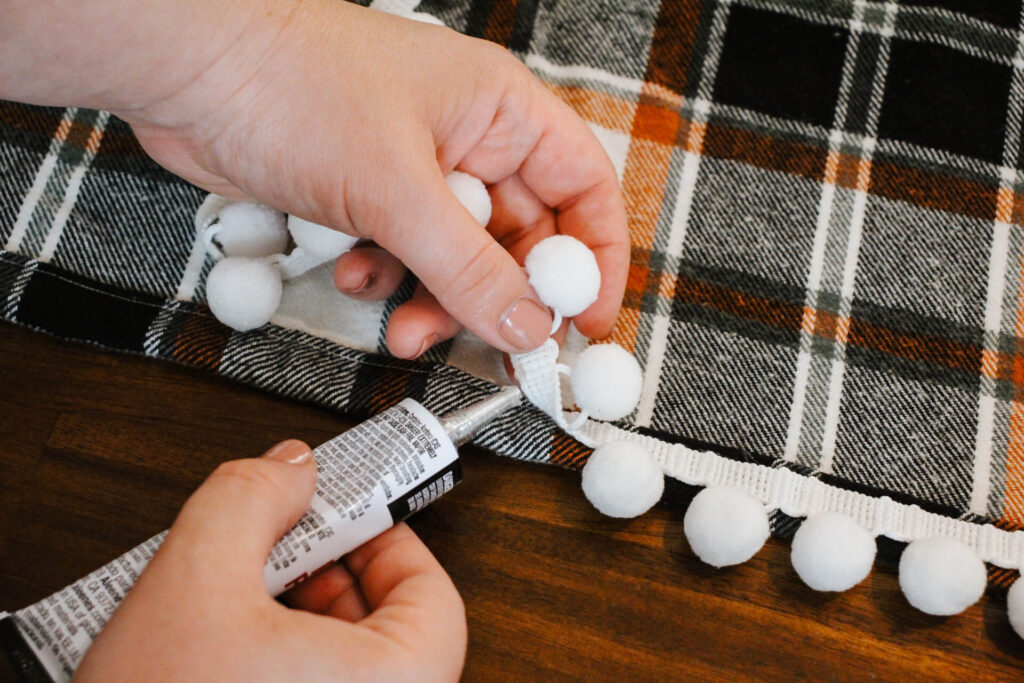
Allow the glue to dry according to the directions on the back and your flannel throw blanket with a pom edge is complete!
NOTES
- Use flannel shirting, not printed flannel. I will ensure you have the pattern on both sides.
- Be sure to wash and dry your fabric prior to starting this process because flannel does shrink. It’s recommended you wash on the hottest setting and dry on the hottest setting to pre-shrink prior to making your flannel throw blanket.
- If the flannel you’re using has a pattern, be sure to line up the lines while you’re hemming.
- Steam and press the hem to get the straightest hem.
- Be careful not to pull on the fabric when you’re sewing because it could cause an uneven hem.
- For the pom edge, either cut four separate pieces or fold it over in the corners so there’s a pom on each corner.
- Gluing the pom edge is the easiest, but either method is fine.

How to Make a Flannel Throw Blanket
Curl up next to a cozy fire this fall with these fireside flannel blankets. They’re simple to make, can be customized to your liking and turn out absolutely beautifully!
Tools
- 2 yards of flannel shirting (45” wide x 72” long)
- Coordinating thread or fabric glue
- 7 yards of pom trim (pom blankets)
- 225 yards of crochet thread
- Sewing machine
- Iron and ironing board
- Fabric ruler
- Fabric pins or clips
- Scissors
- 3.25 mm Crochet hook (crochet edge only)
- Yarn needles (crochet edge only)
- Tapered Awl (crochet edge only)
Instructions
How to Create the Fireside Flannel Blanket with Pom Trim
- Wash and dry the flannel fabric.
- Trim frayed edges, then iron the fabric.
- Fold the fabric edges over 1/2” and press, then 3/4” and press. Place pins to keep the hem in place.
- Unpin and unfold each corner of the hem one at a time:
- Fold the hem on the right side as you normally would to 3/4” and mark where it ends on the fabric.
- Unfold the right hem, then fold the hem on the bottom to 3/4" and mark where that ends.
- Measure from the top of the bottom to the edge of the fabric vertically.
- Measure to the halfway point, then add 1/4” and make a mark.
- Draw a line horizontally from the top of the right side hem mark to the right edge of the fabric at the halfway mark.
- Draw a line vertically from the top of the line you just created, down to the bottom edge of the fabric, creating a rectangle.
- Cut off the rectangle of fabric.
- Refold the bottom hem, then refold the right side hem and pin.
- Repeat for all four corners.
- Hem using a 1/2” or 3/8” hem on the sewing machine. You could also use fabric glue.
- Pin the pom edge to the wrong side of the fabric with the wrong side facing up.
- Line the top of the trim up to the top of the hem. You should only be able to see the poms hanging off the edge when you flip the blanket to the right side.
- Stitch along the top and bottom of the trim to secure or use fabric glue.
Notes
Use flannel shirting, not printed flannel, to ensure you have the pattern on both sides.
Wash and dry your fabric prior to starting this process because flannel does shrink. It's recommended you wash on the hottest setting and dry on the hottest setting to pre-shrink prior to making your flannel throw blanket.
If the flannel you’re using has a pattern, be sure to line up the lines while you’re hemming.
Steam and press the hem to get the straightest hem.
Be careful not to pull on the fabric when you’re sewing because it could cause an uneven hem.
For the pom edge, either cut four separate pieces or fold it over in the corners so there’s a pom on each corner.
Gluing the pom edge is the easiest, but either method is fine.
LOOKING FOR MORE SEWING & CROCHET TUTORIALS?
Looking for more easy sewing and crochet tutorials like this? Check these out:
- How to Make a Homemade Reusable Rice Heating Pad
- How to Make a Reusable DIY Bread Bag
- How to Crochet a Hot Pad
- How to Crochet a Sturdy Textured Washcloth
Did you make one of these flannel throw blankets? Tag me on Instagram (@thesimplehomeplace) to show me your own recreation of this project!


Leave a Reply