Learn how to crochet a border on a blanket to add a simple, yet beautiful touch in just a few simple steps.
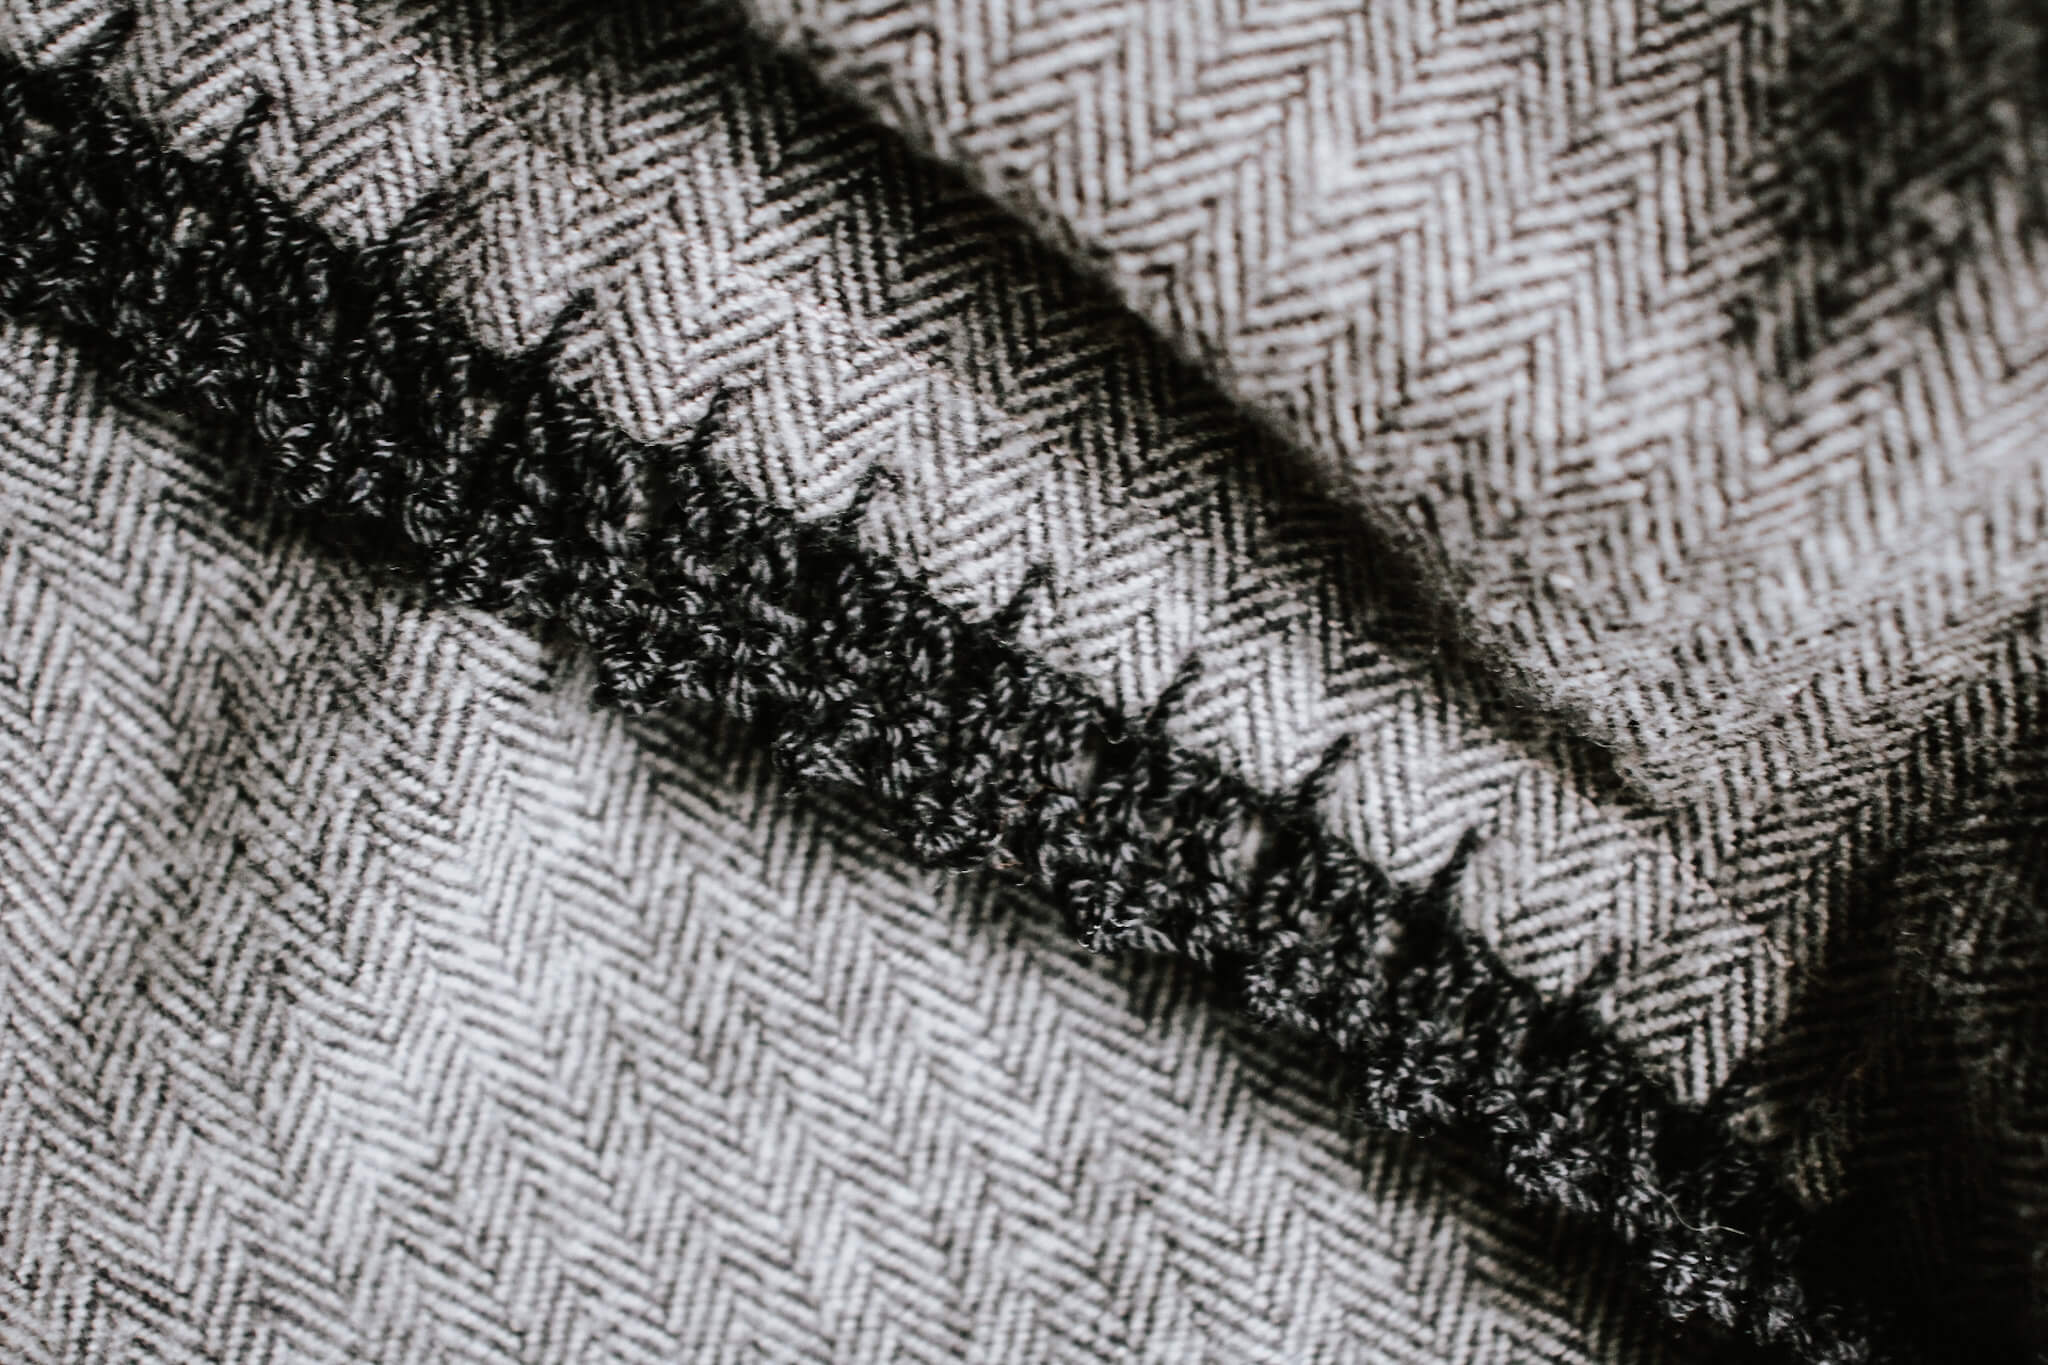
I was tasked last year by my friend Abbie from Our Living Journal Magazine to create some fireside flannel blankets that would be featured in the magazine. This was a project I had never done, but was determined to do and do well! I did some research and dove headfirst. The blankets were so fun to make and can be customized to any look you’re going for! You can make them have more of a rustic feeling or add a pretty border and make them more feminine.
Since last year, I’ve added these blankets flannel blankets with a crochet border to my Etsy Shop and enjoy making them in all shapes, colors and styles. I’ve even made a few baby blankets, which are so precious. In this tutorial, you’ll learn how to make the blanket stitch, as well as one of many crochet patterns that you can add to any blanket you wish. It adds a special touch and makes the perfect gift for someone close to you!
PIN FOR LATER!
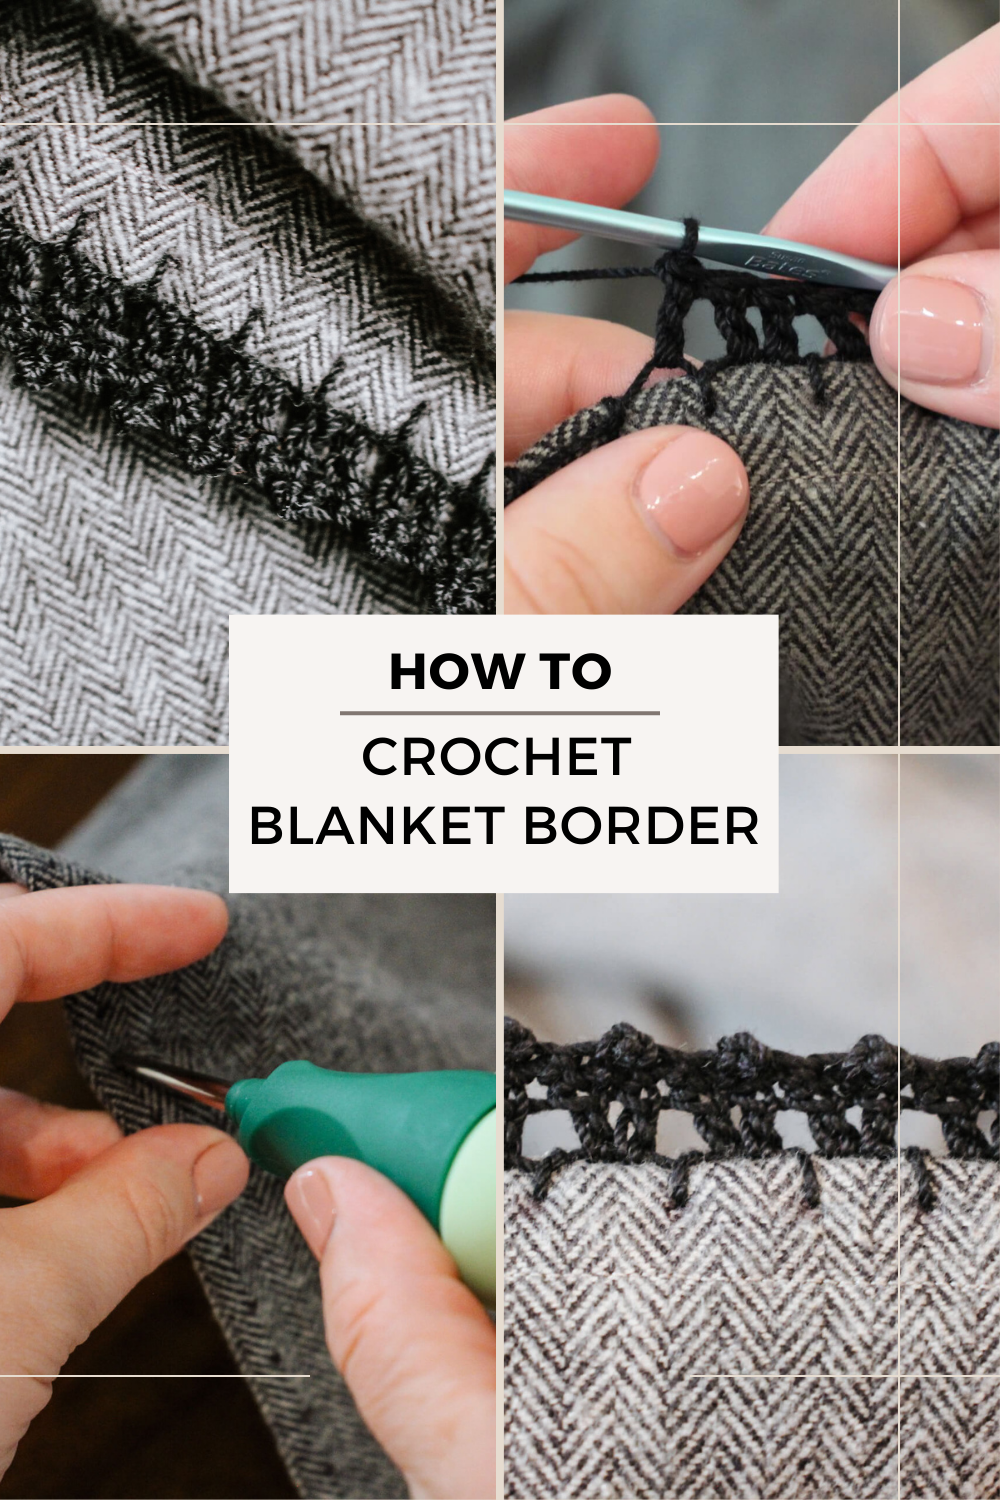
HOW TO CROCHET A BORDER ON A BLANKET
This post may contain affiliate links, which means I may receive a commission, at no extra cost to you, if you make a purchase through a link. Please see our full disclosure here for further information.
TOOLS YOU MAY NEED
MATERIALS YOU MAY NEED
STEP 1: HOW TO MAKE A BLANKET STITCH
Start with a clean and dry flannel blanket (or any fabric blanket).
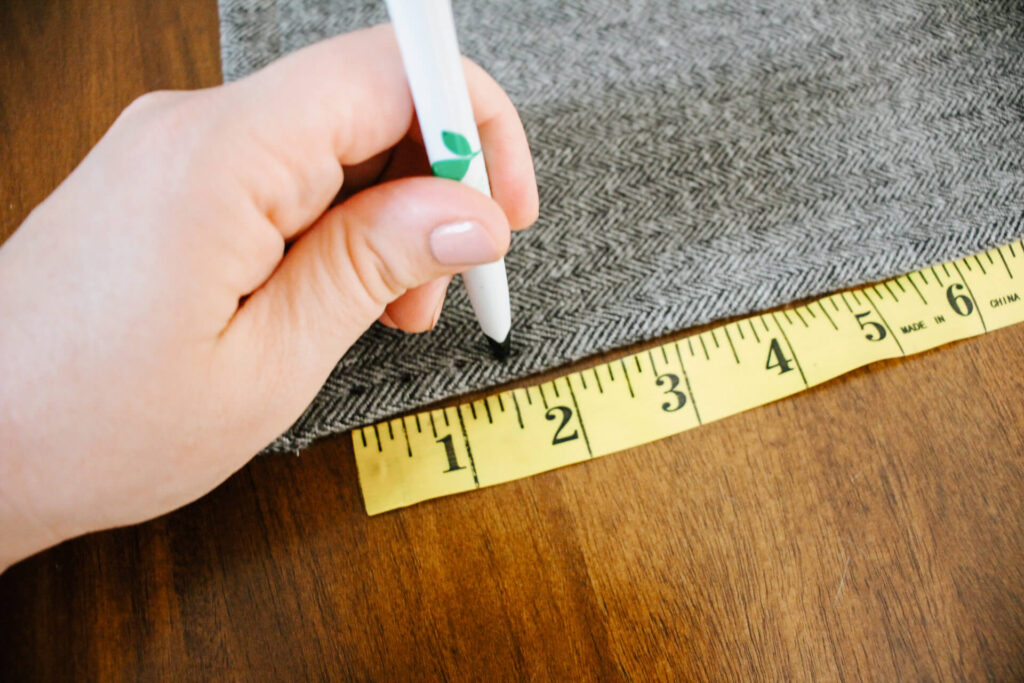
Turn the blanket with the right side facing up. Using the fabric ruler and a pen, make a mark halfway on the hem every 1/2”.
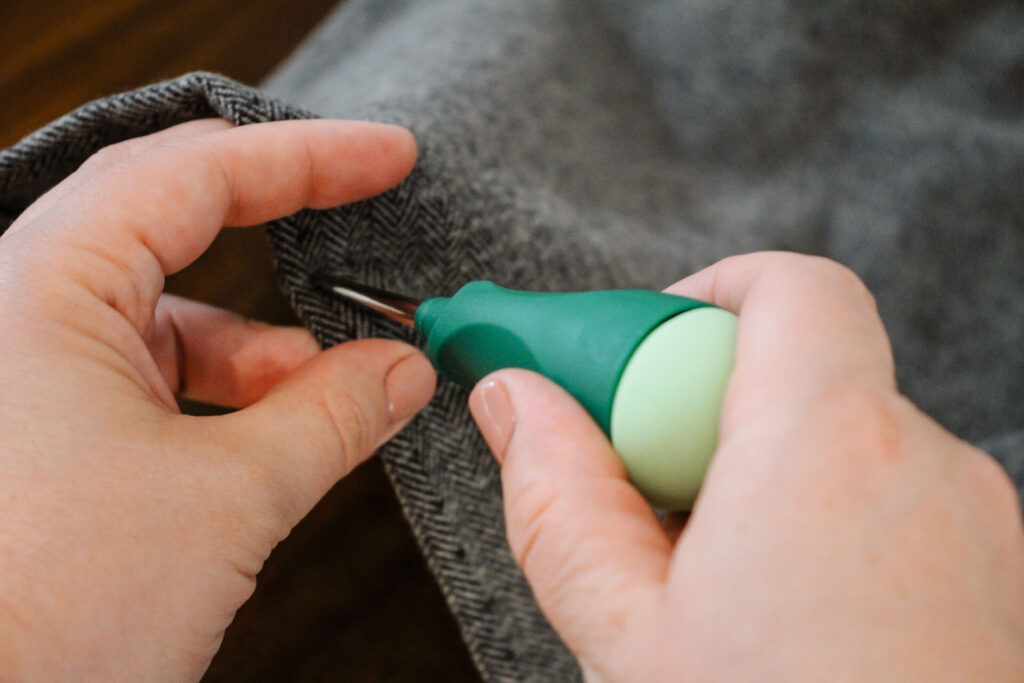
Using a tapered awl or a blunt needle, poke a hole in each pen mark.
Take the crochet thread and measure out three times the length of the first side of the blanket. Then tie a knot at the end of the thread, and thread a yarn needle onto the opposite end.
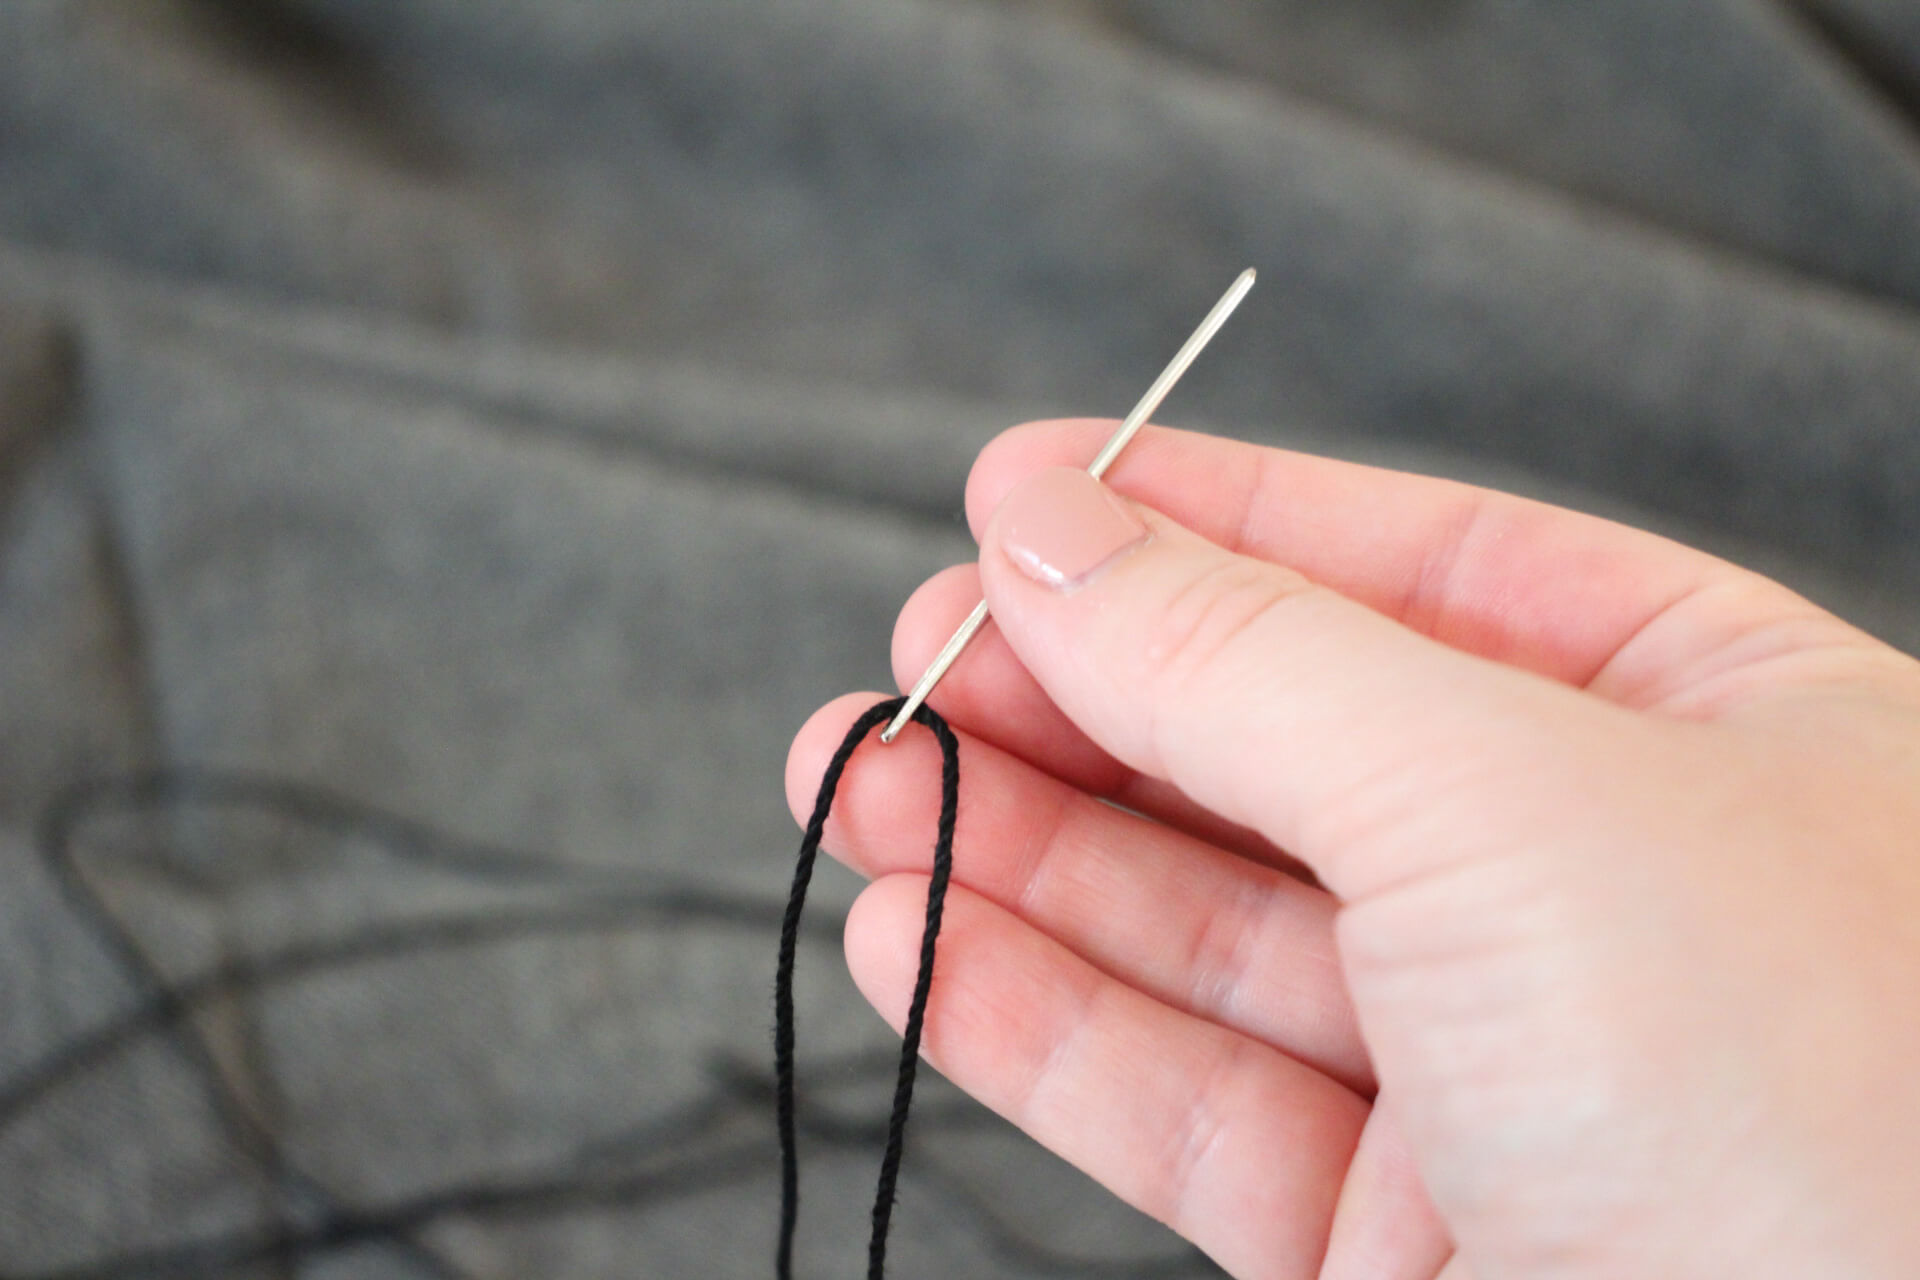
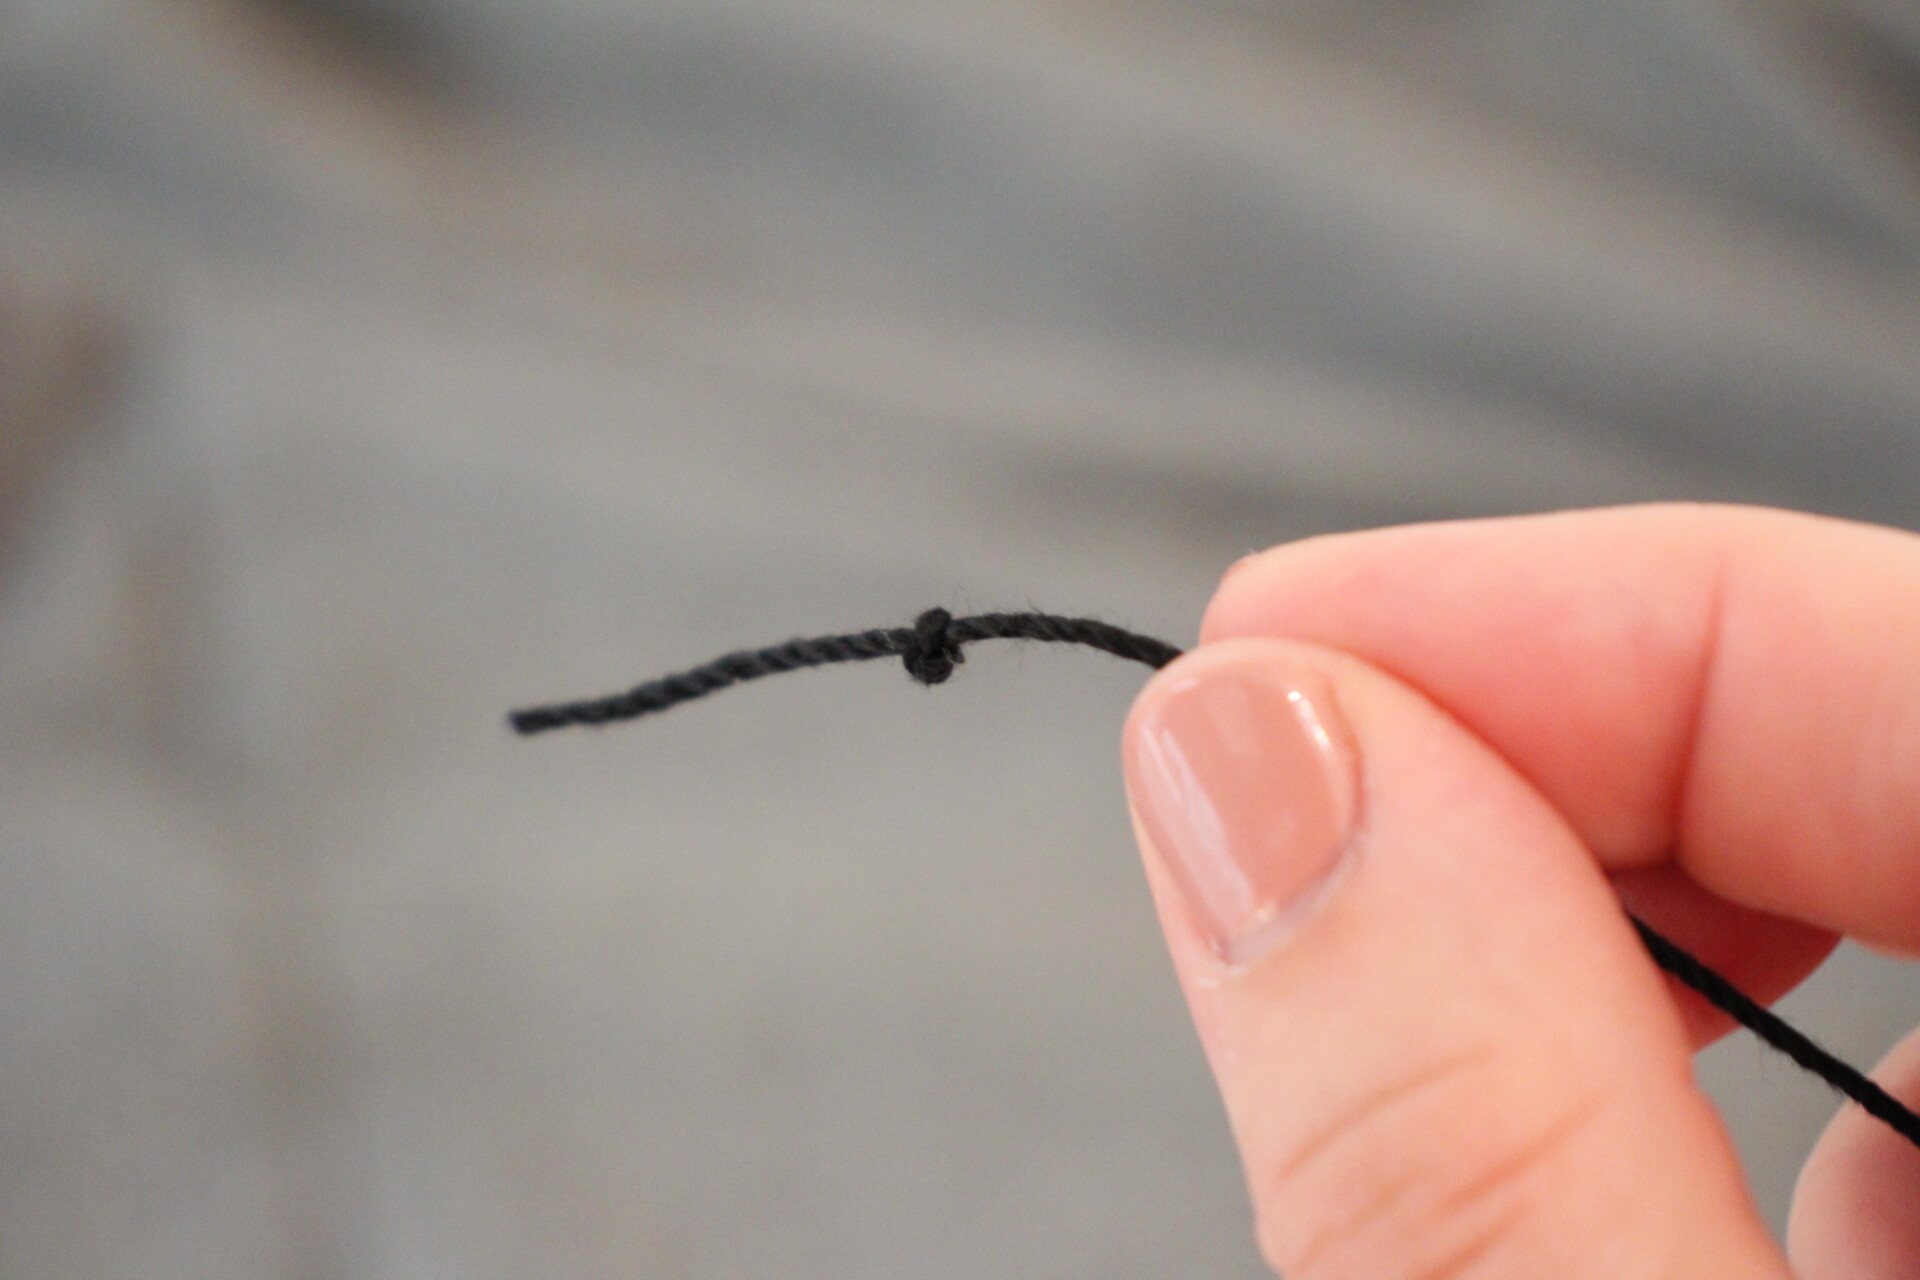
Create the blanket stitch by placing the needle through the bottom corner of the hem on the back of the blanket. Push the needle through the top.
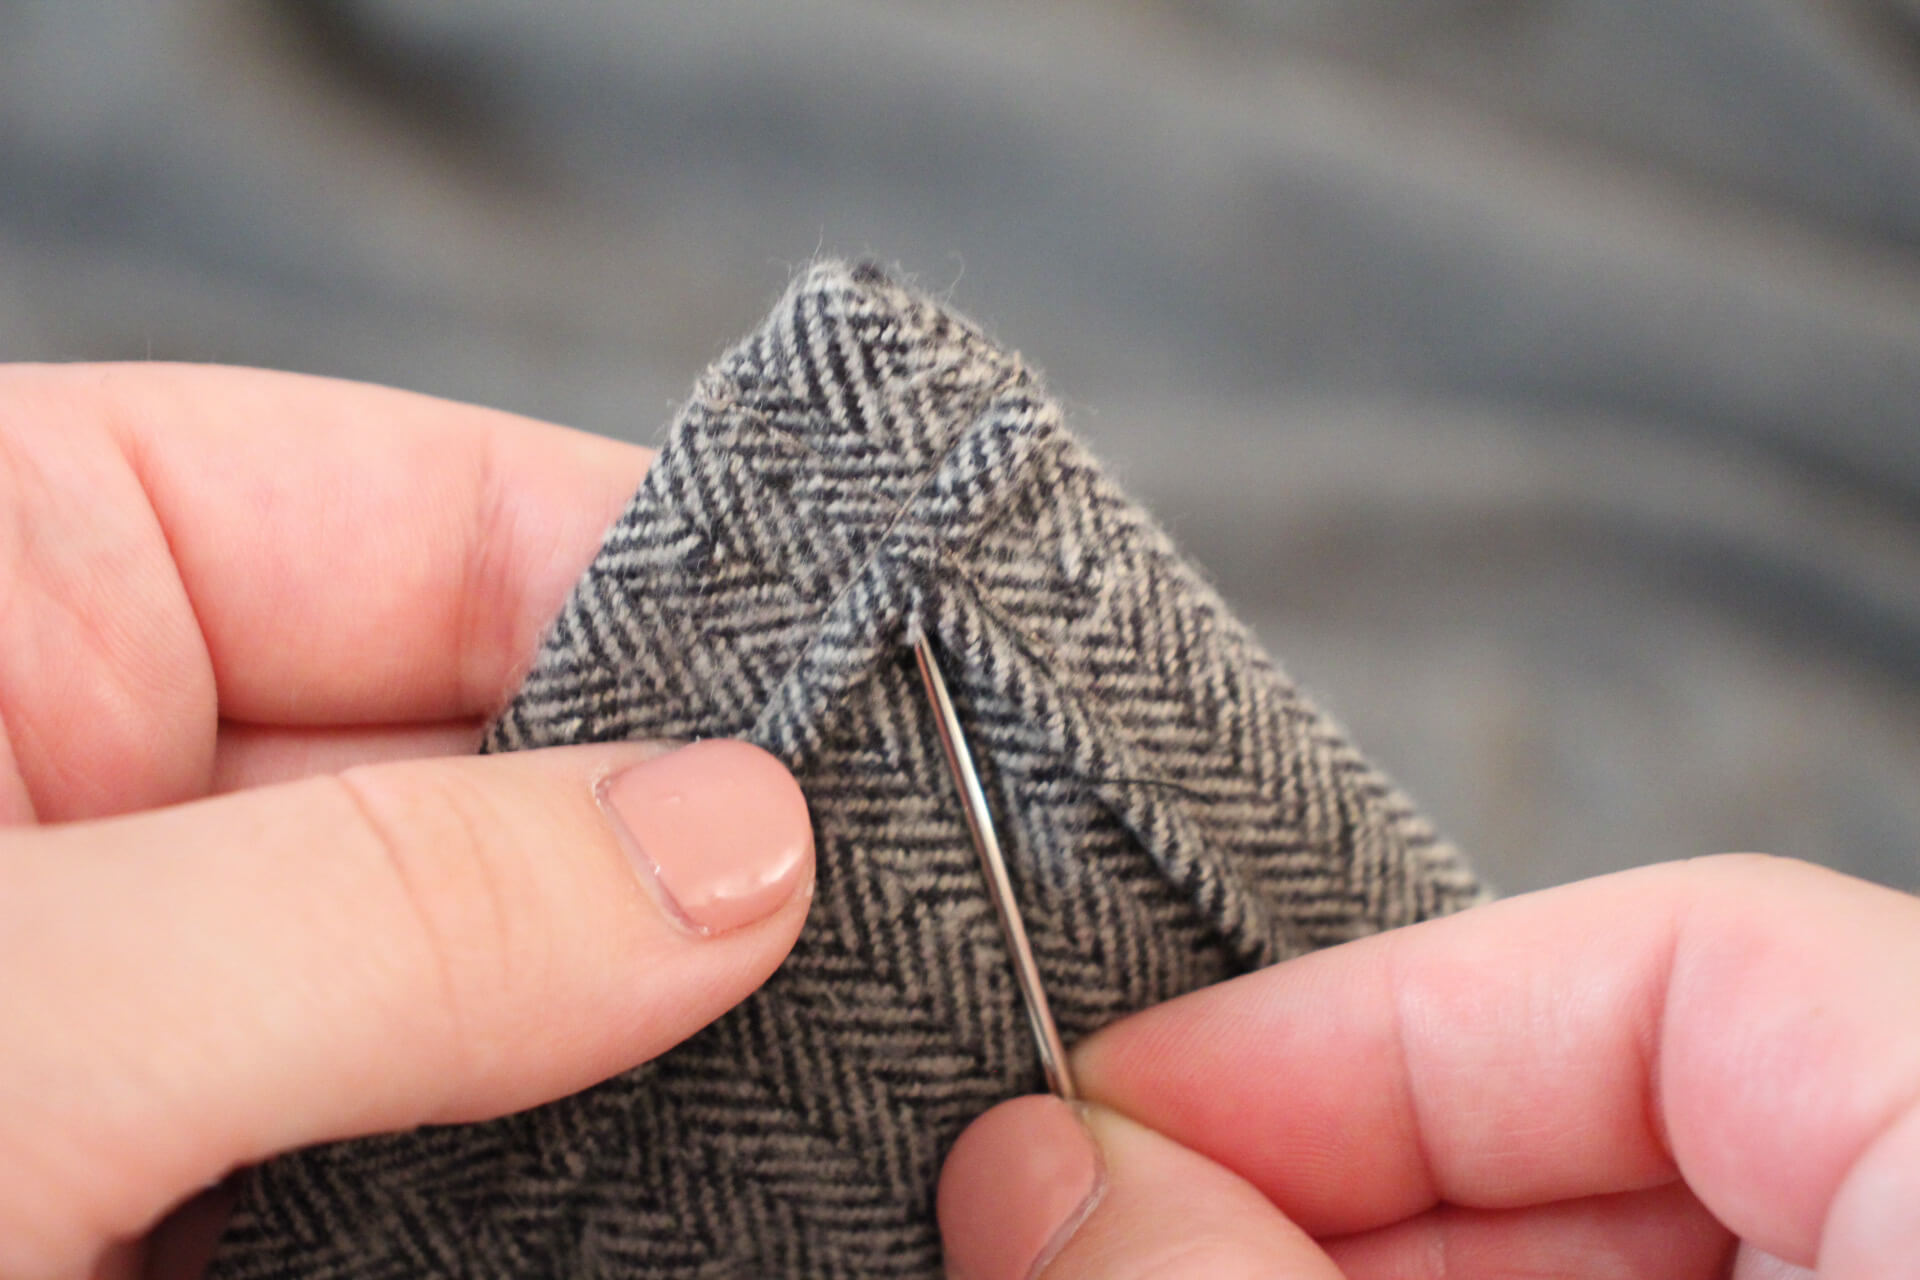
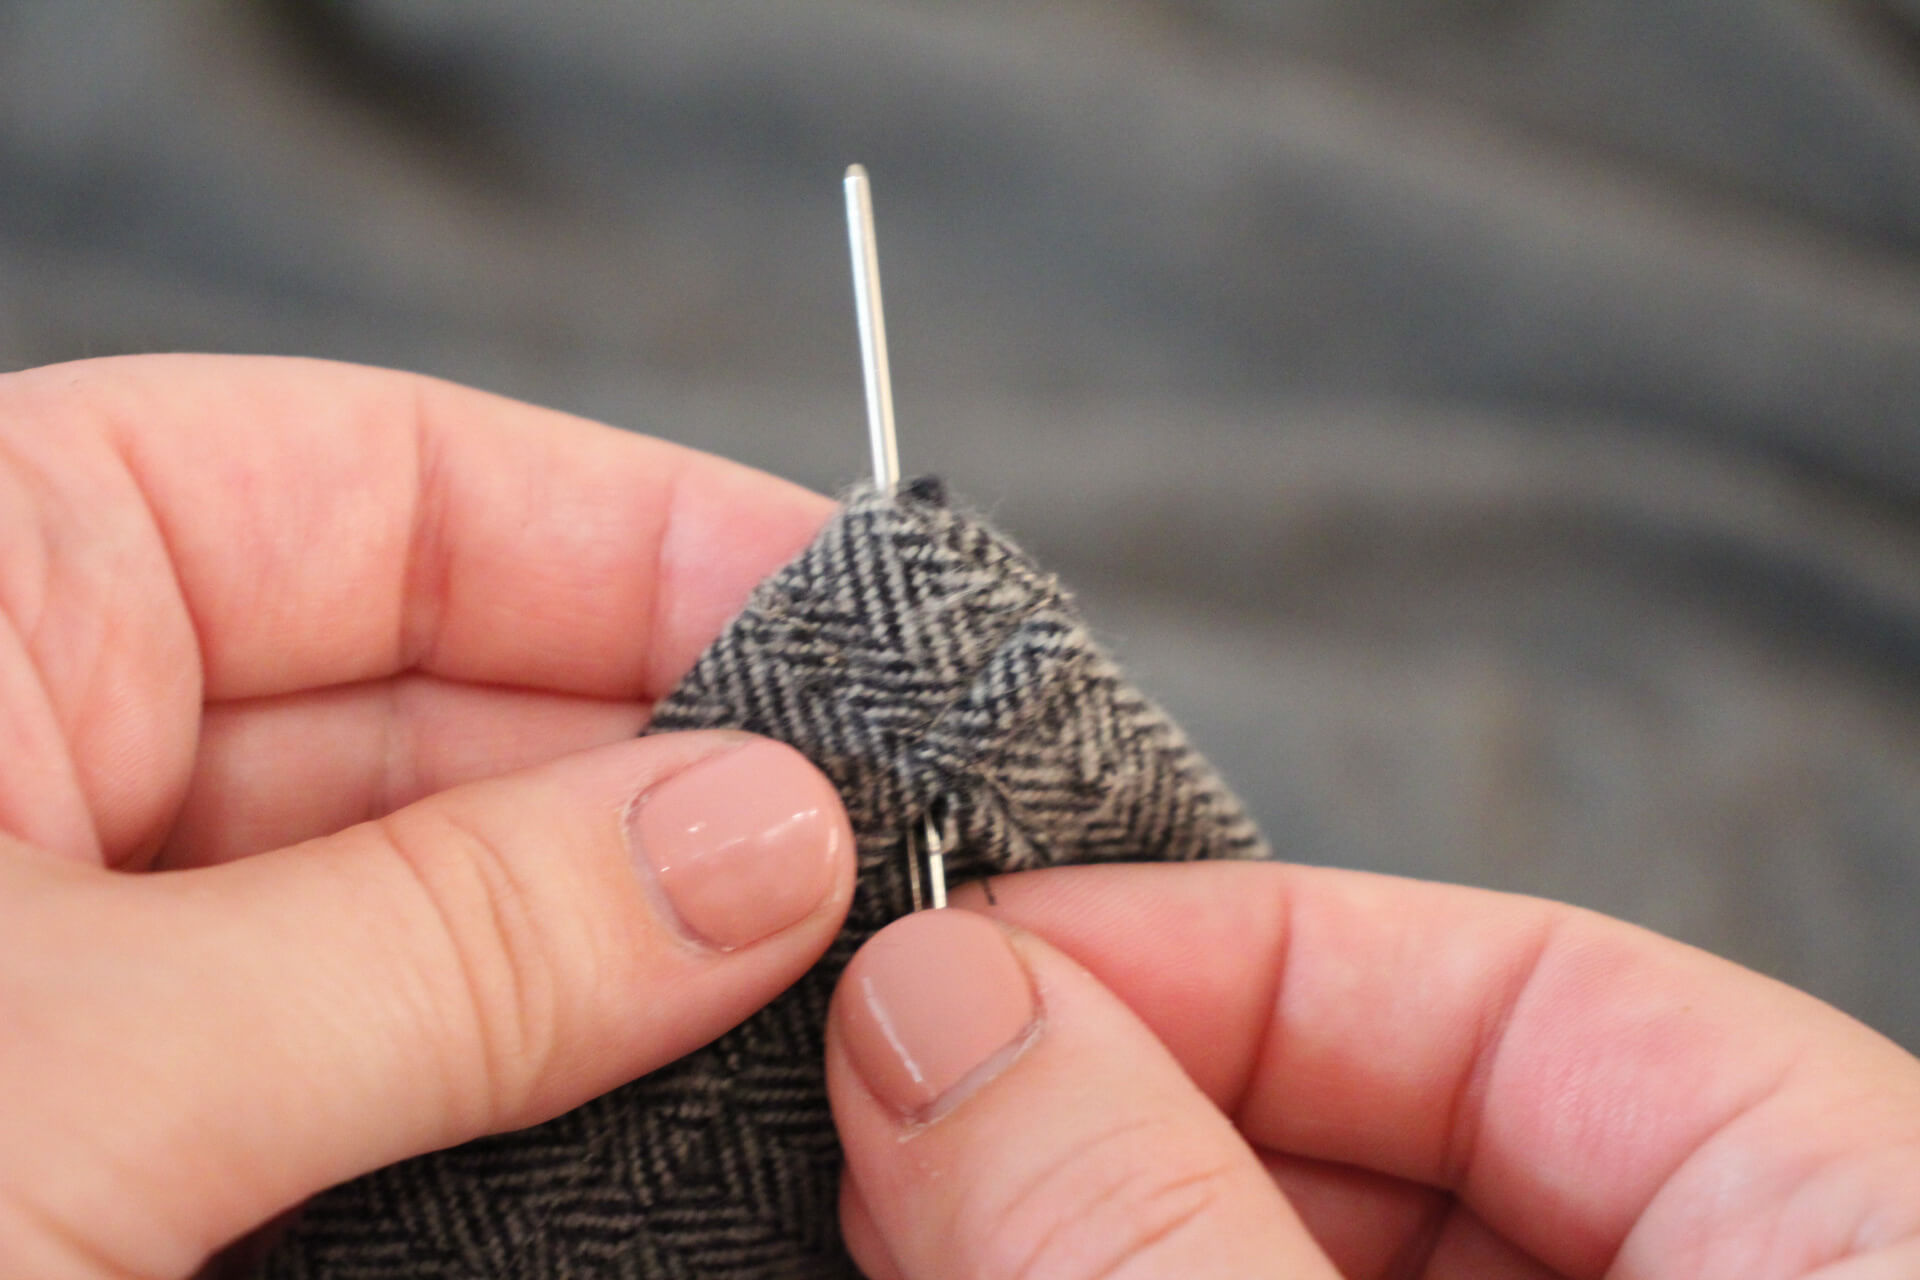
Flip the blanket back to the right side and thread the needle into the first hole.
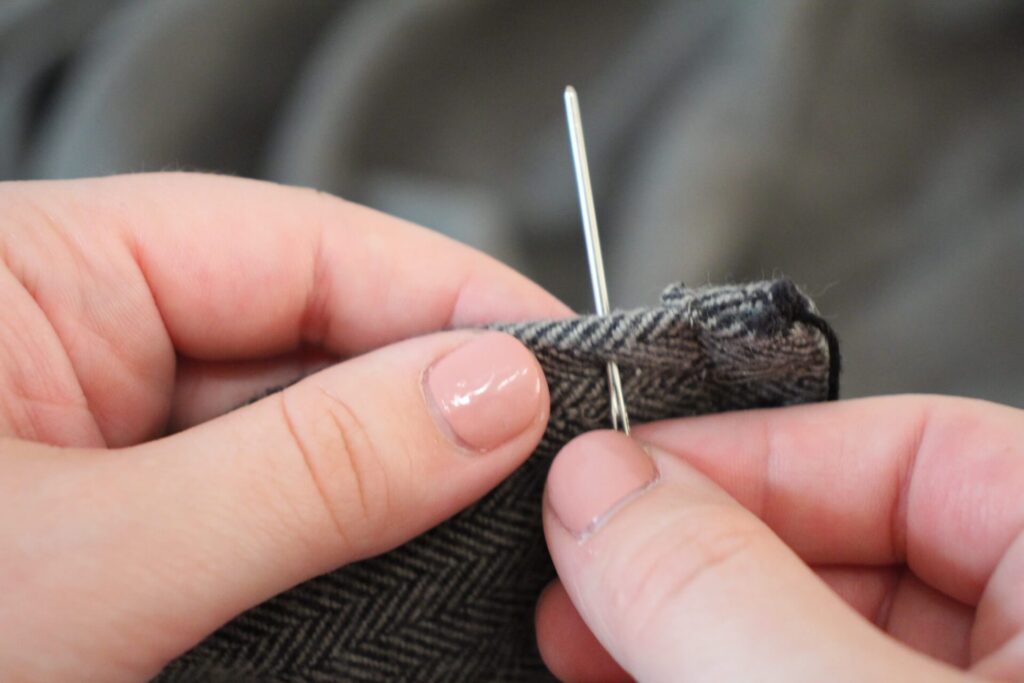
Bring the needle back to the front and place it underneath the loop on the front. Pointing the needle diagonally to the left, thread the needle and thread back through that loop and pull.
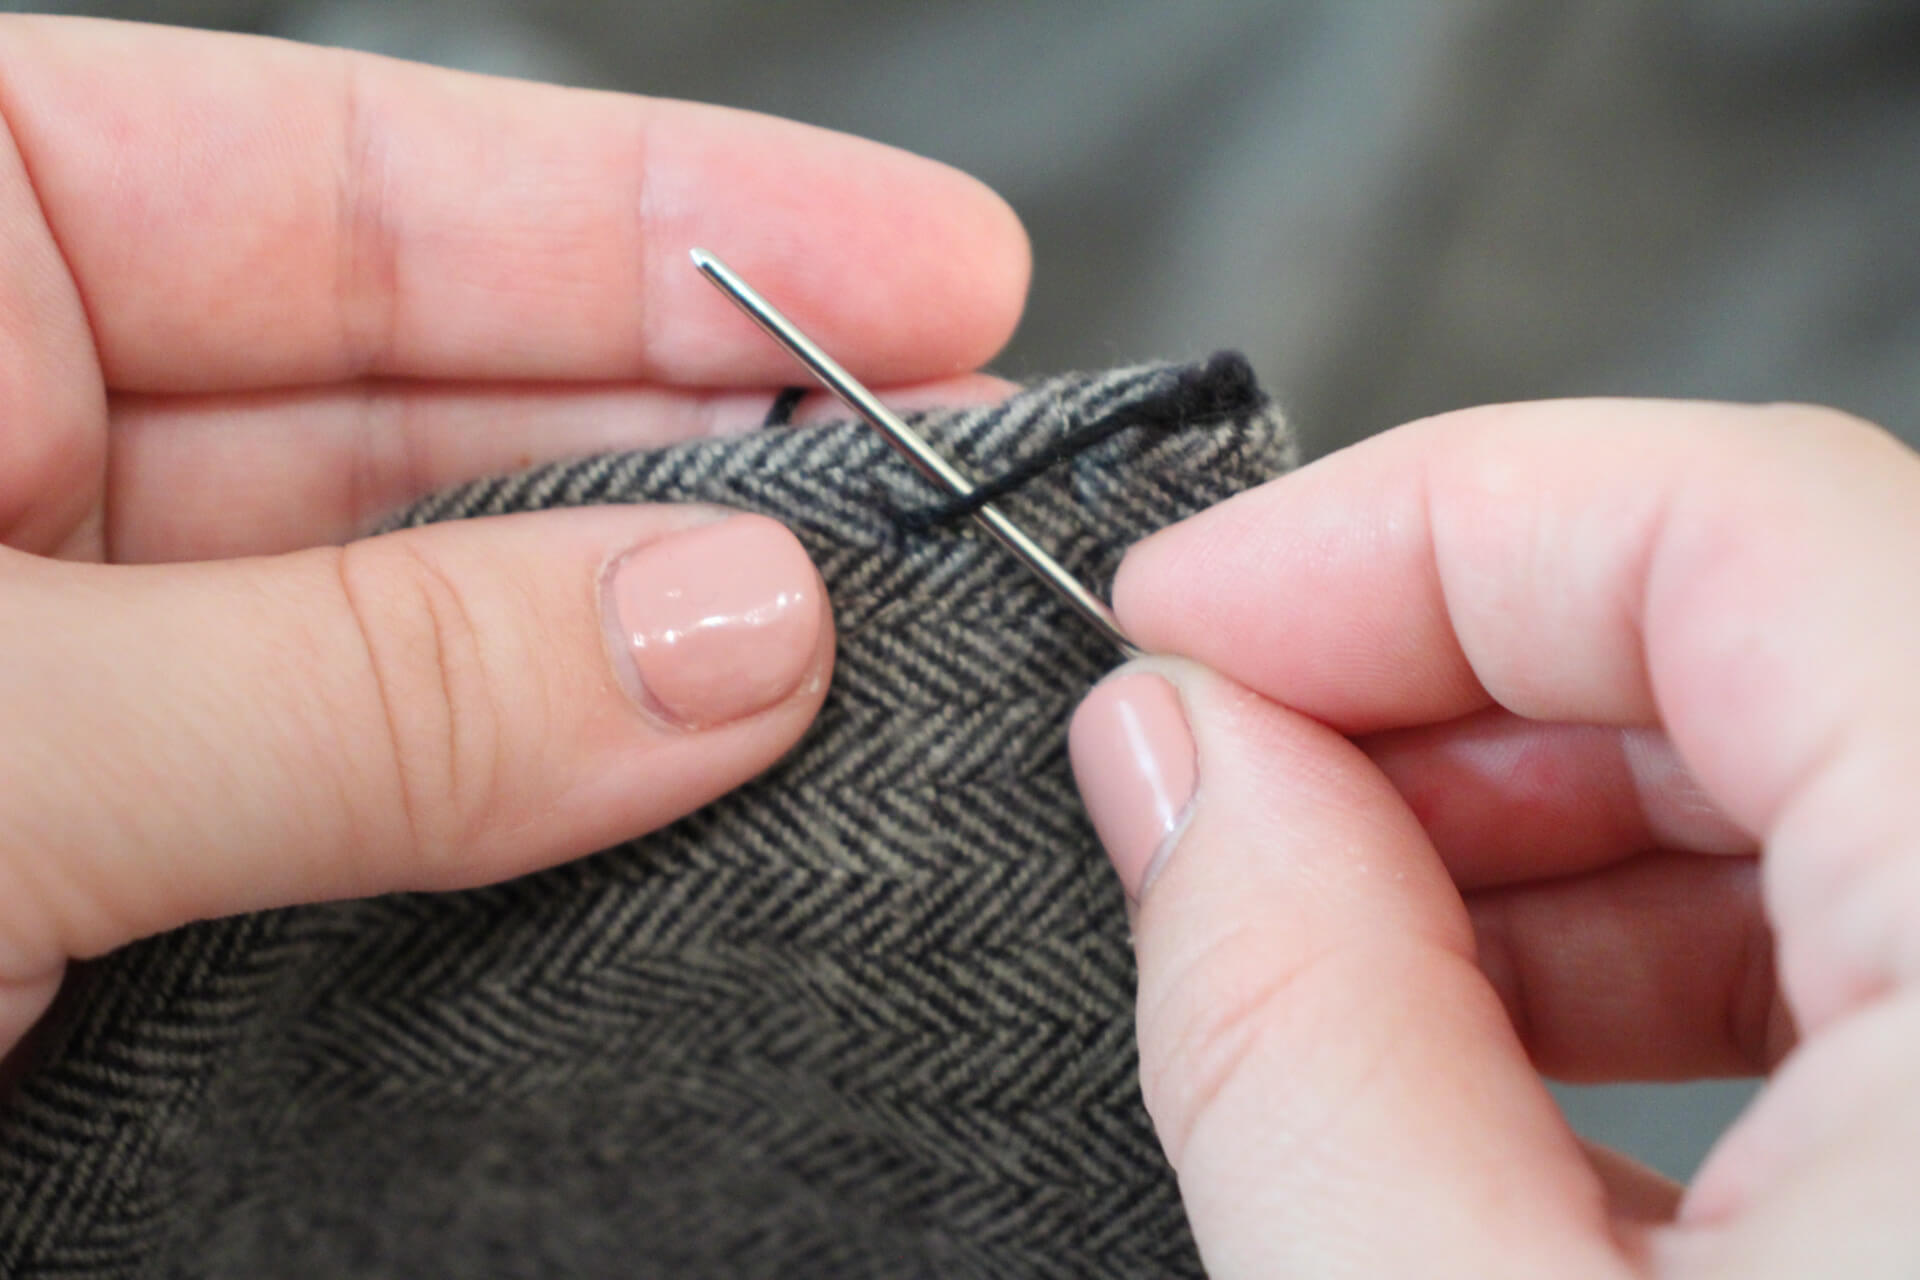
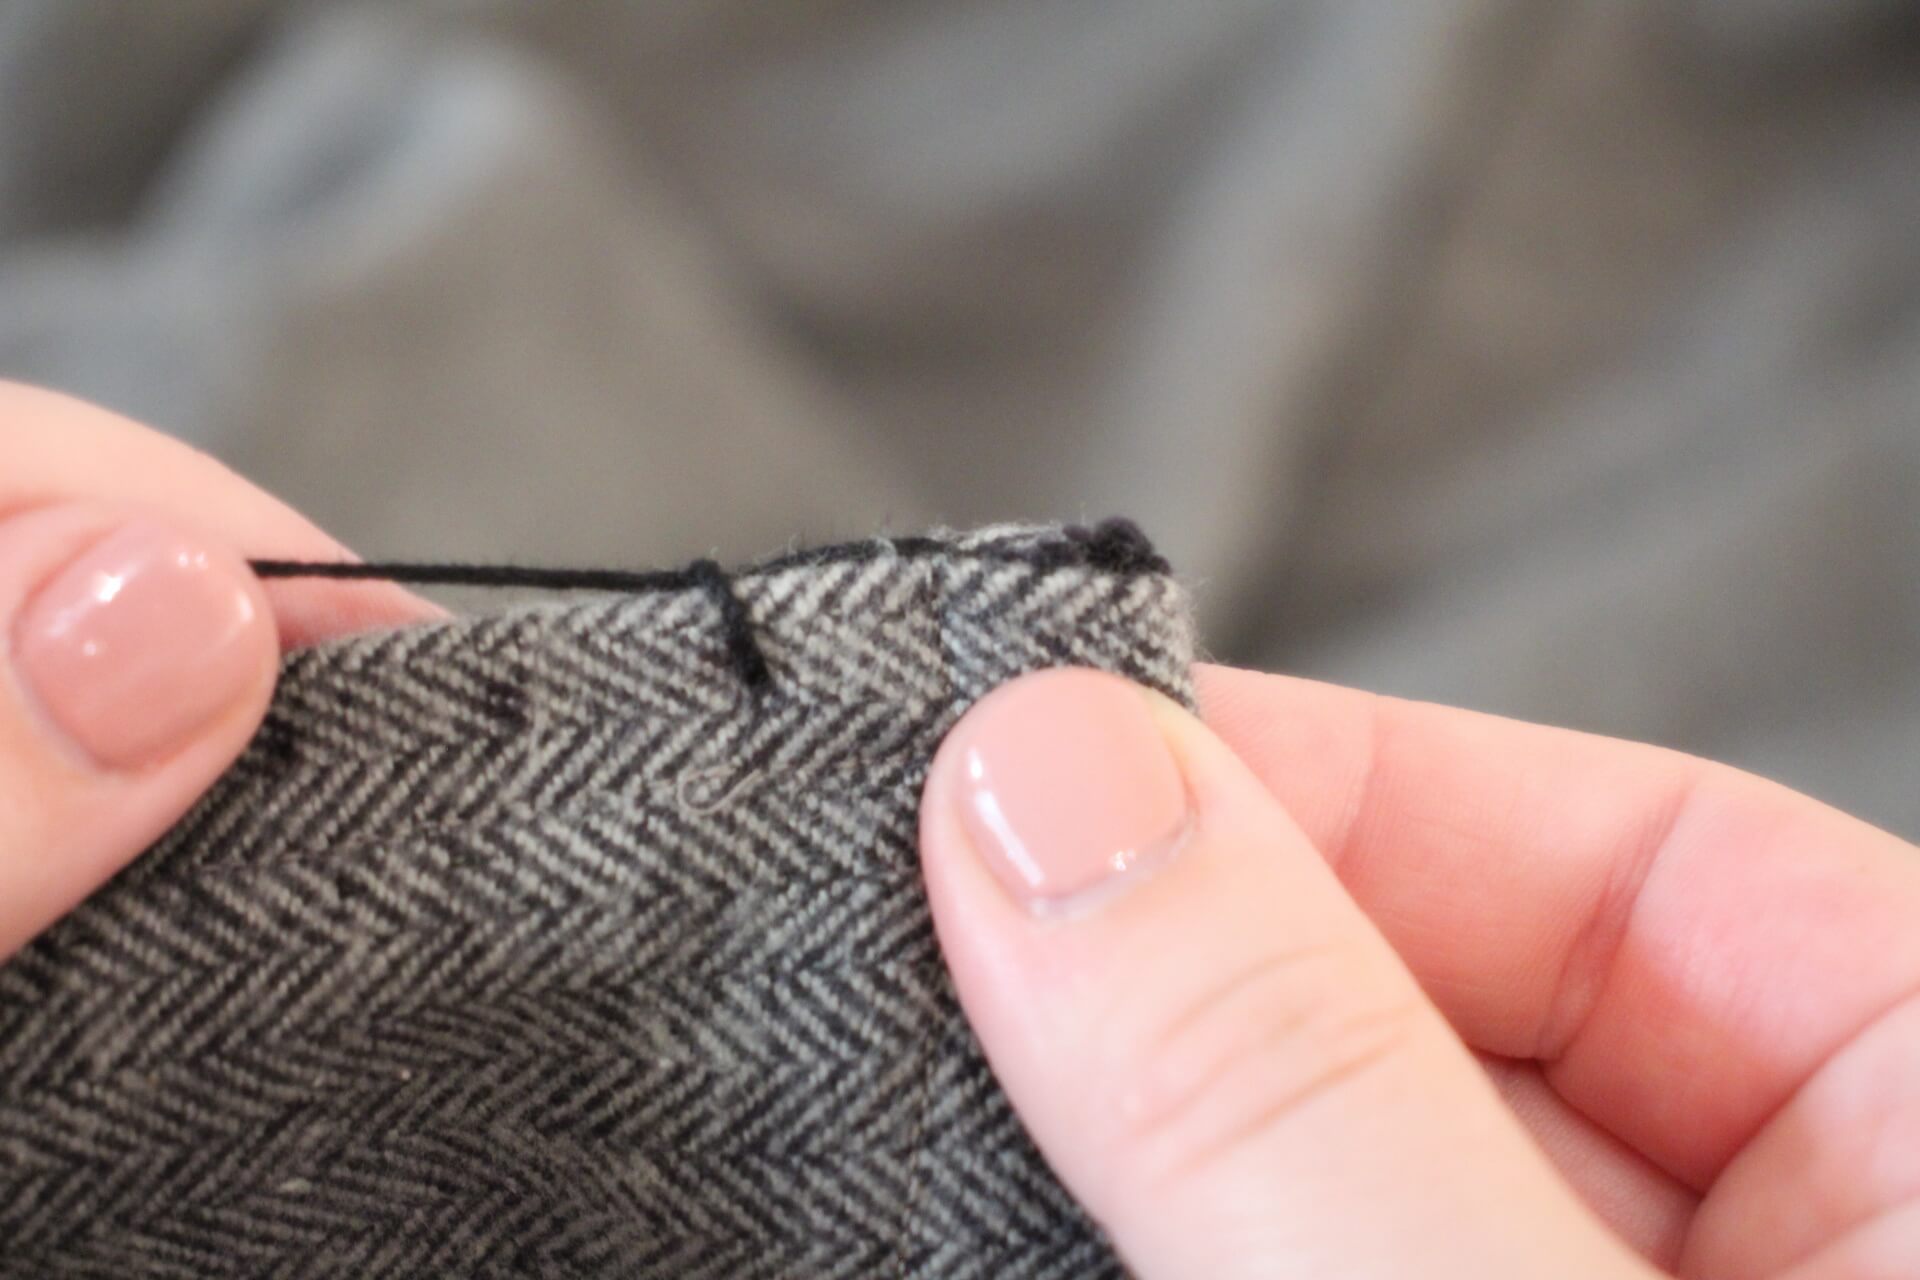
Repeat the blanket stitch in each pre-made hole to the end of the side.
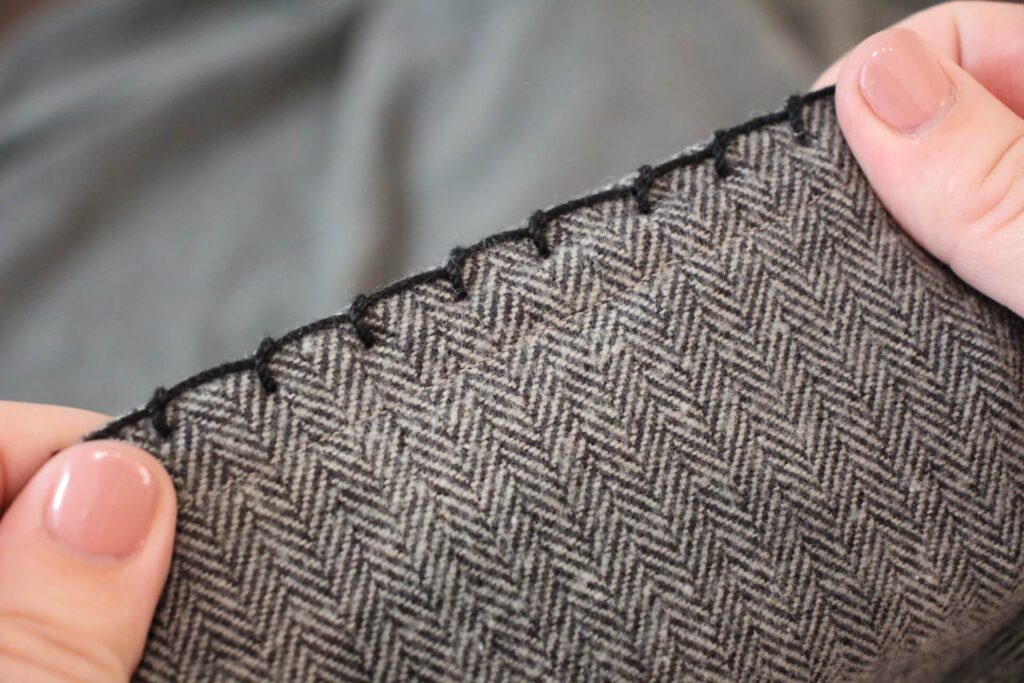
Leave a tail at the end, then repeat the above steps for the remaining three sides of the blanket.
STEP 2: HOW TO CROCHET A BORDER ON A BLANKET
CROCHET TERMS TO KNOW
- DC = Double Crochet
- SC = Single Crochet
- HDC = Half Double Crochet
- SS = Slip Stitch
Place 2 DC in each blanket stitch all the way around the blanket with 3 DC in each corner. Chain one and turn the blanket so you’re working the other way.
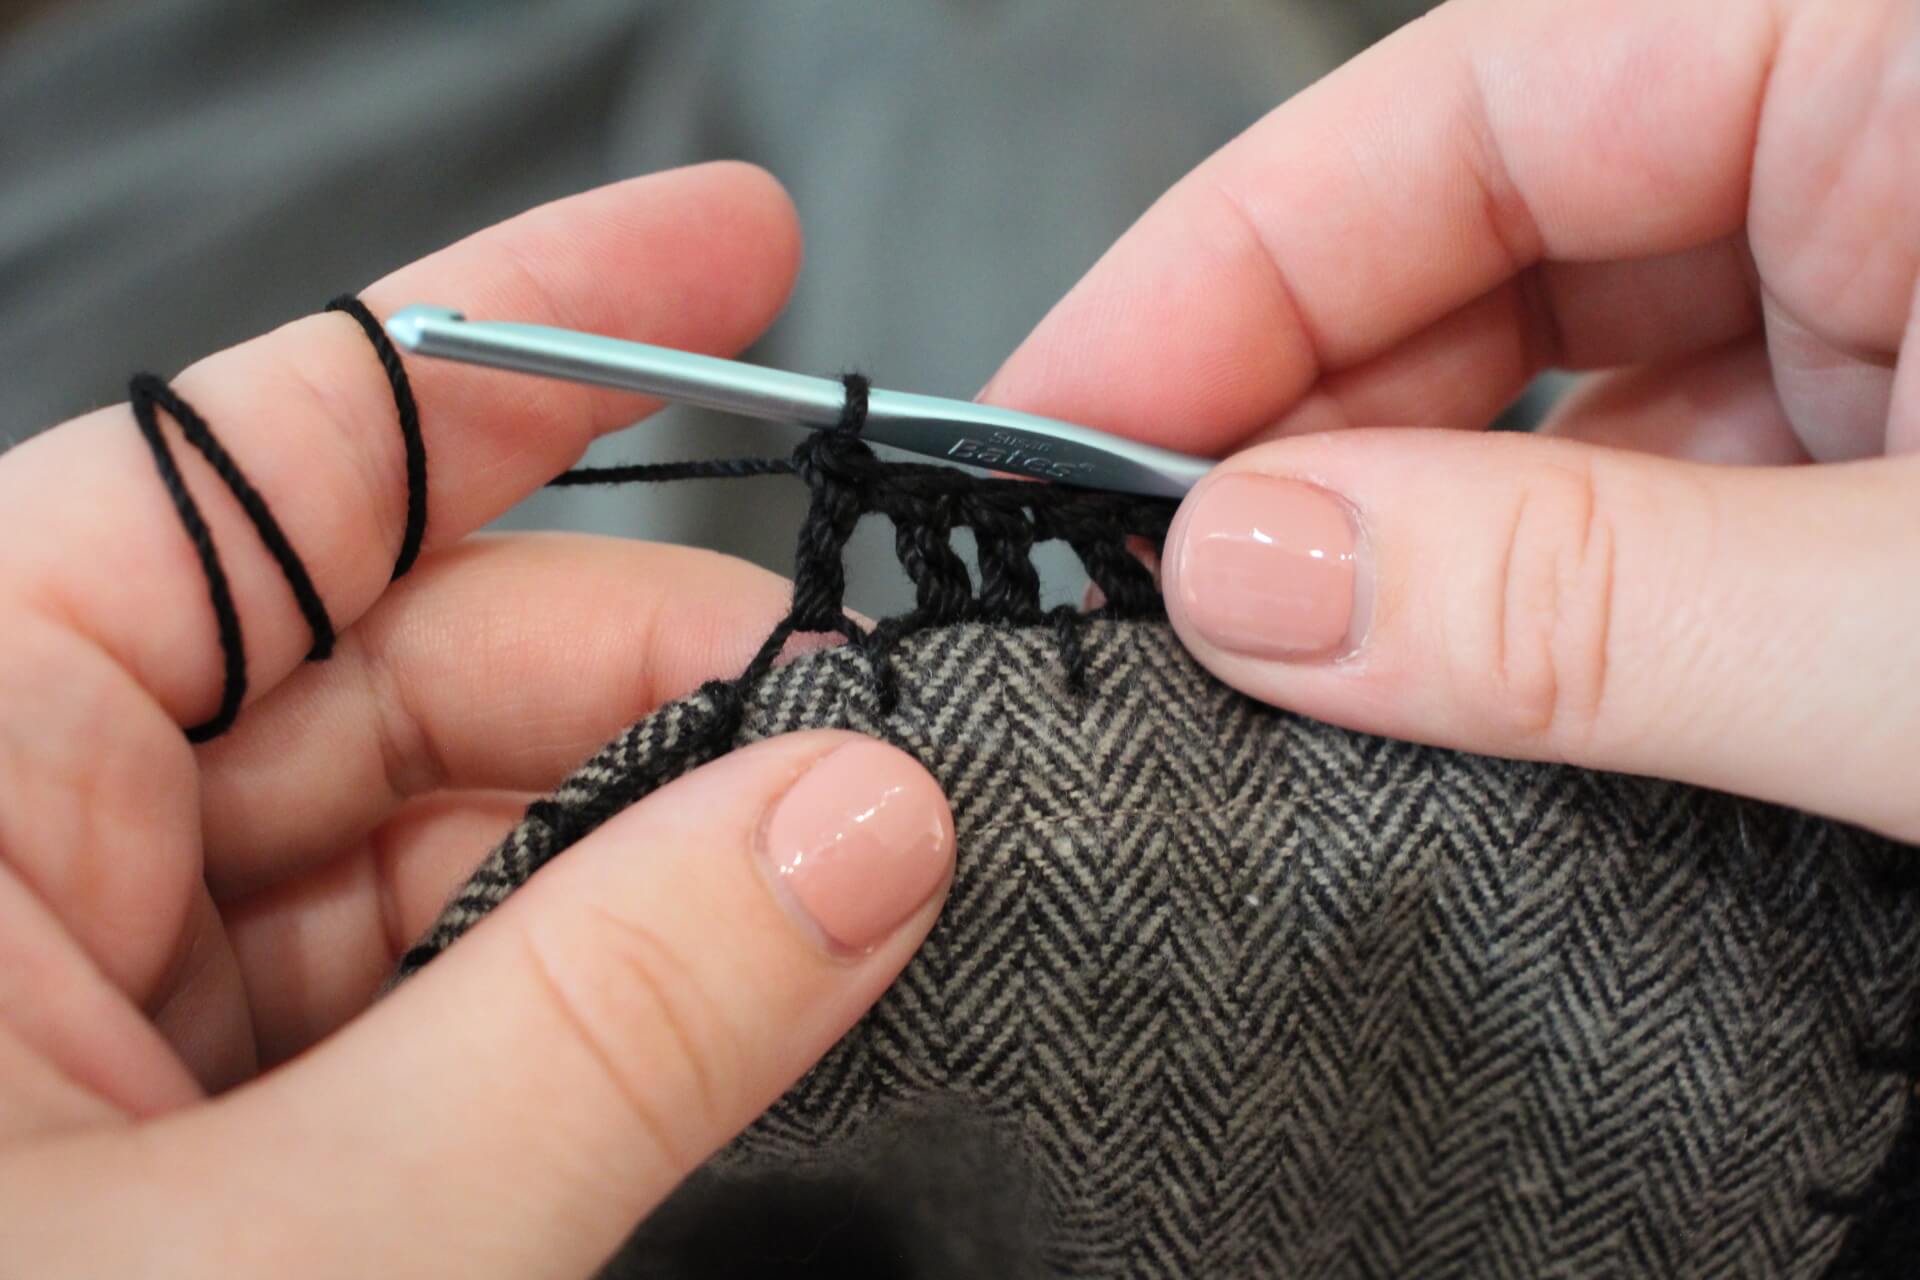
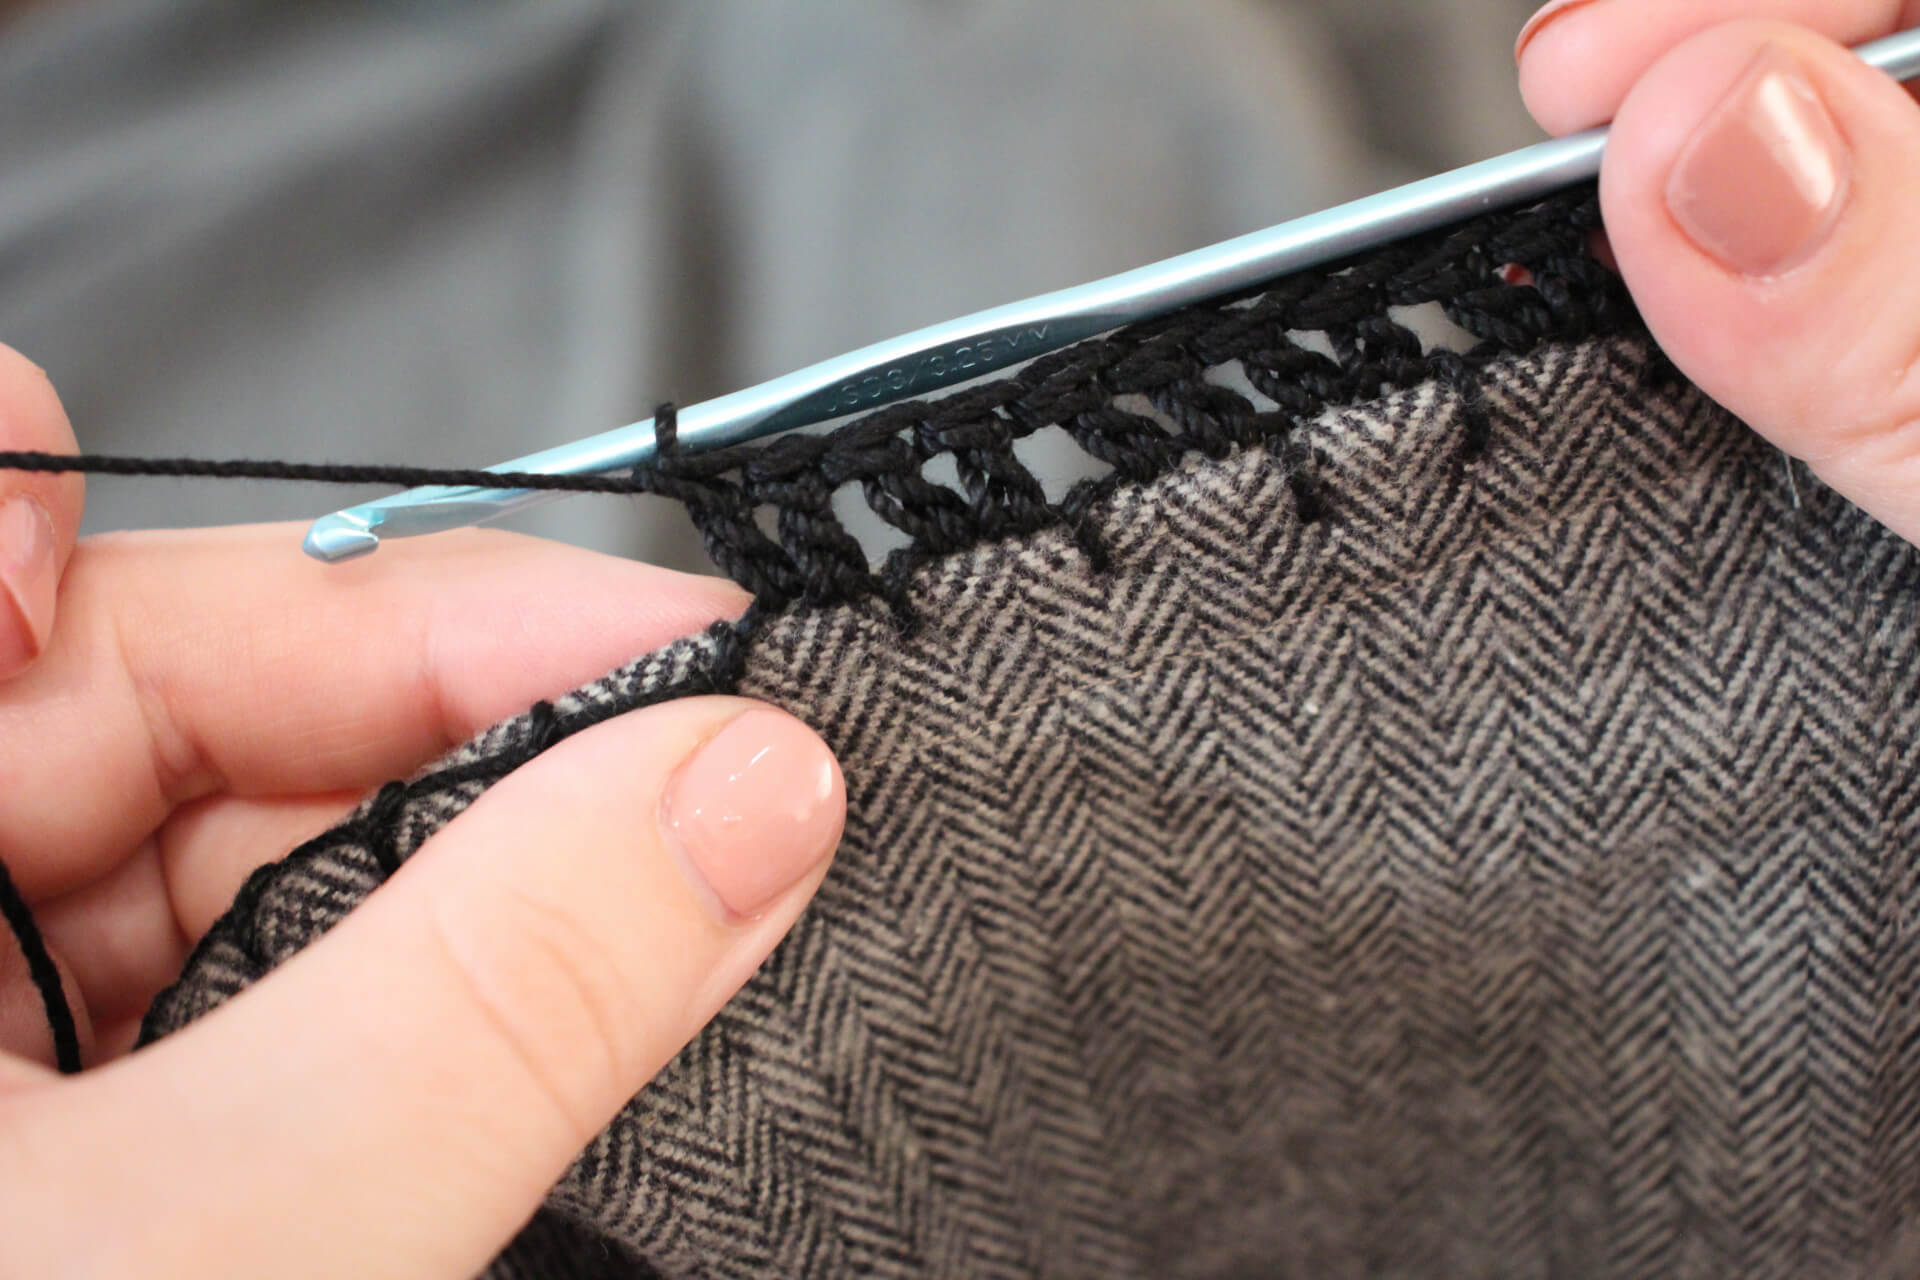
SC in next two stitches
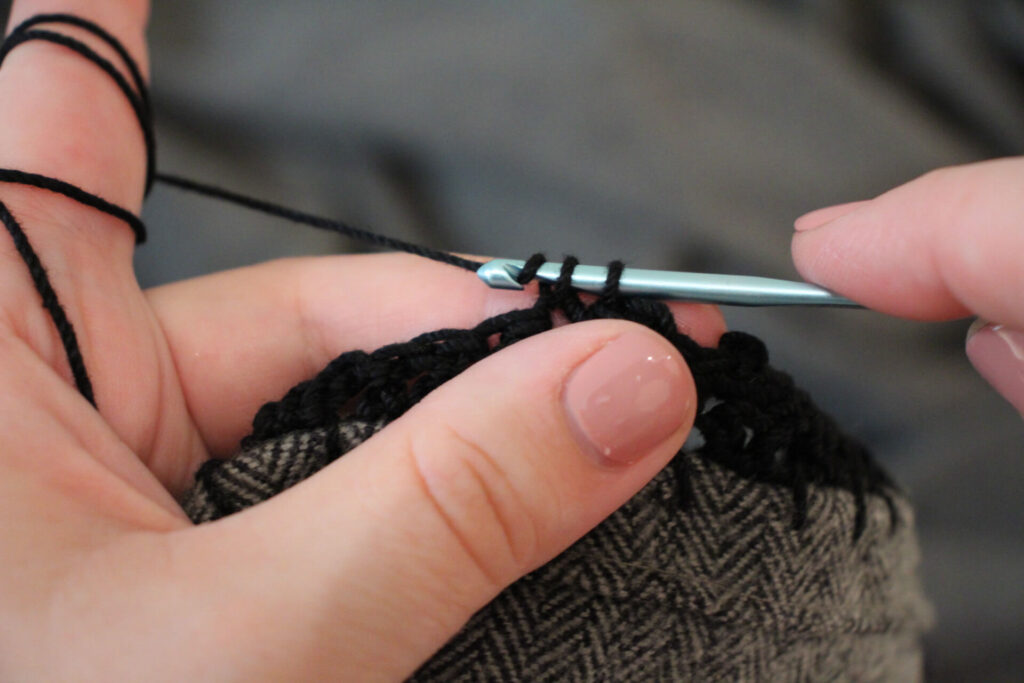
On the second SC, chain two, insert hook into the front two loops and SS through both loops.
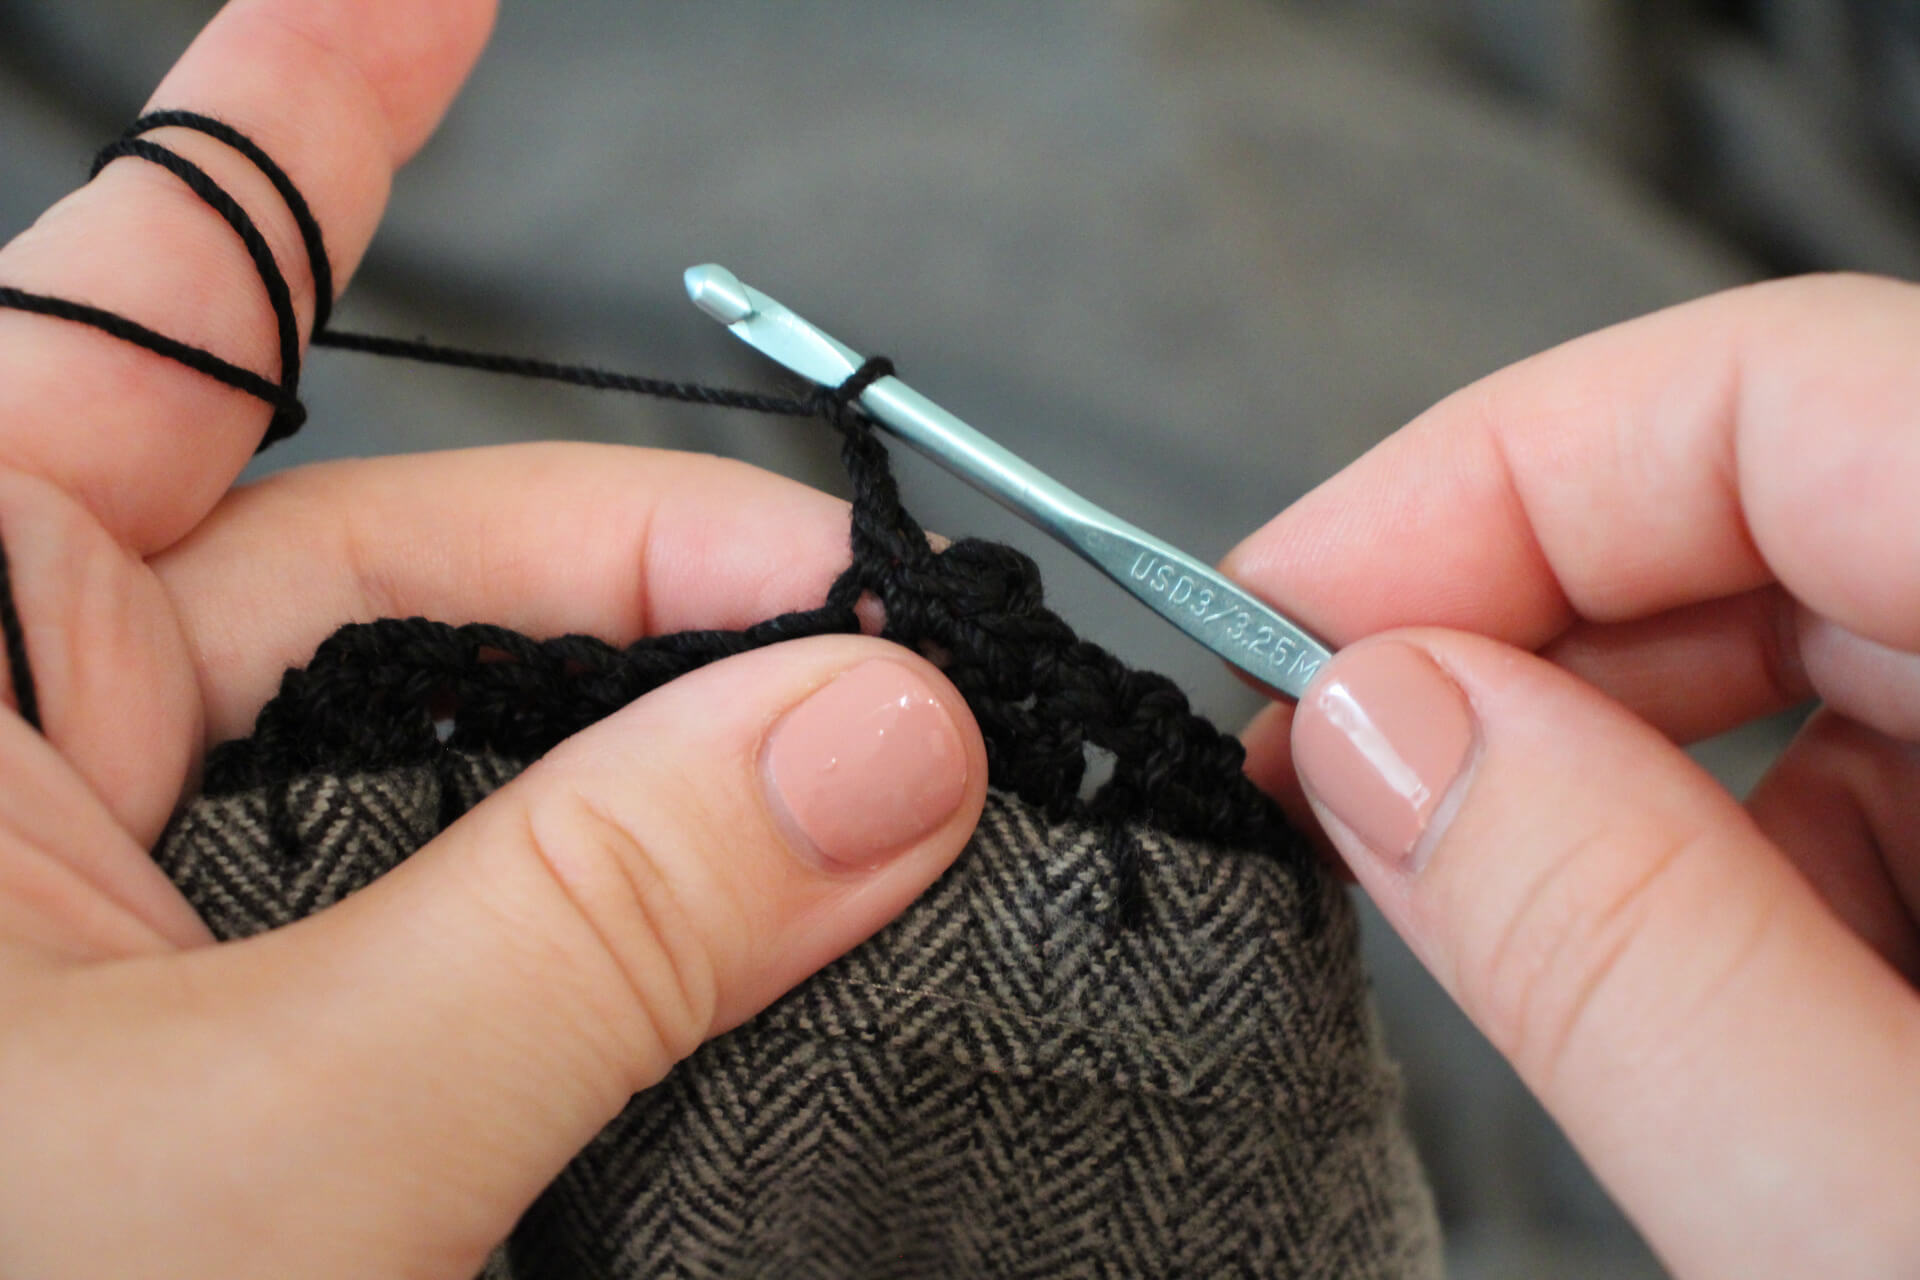
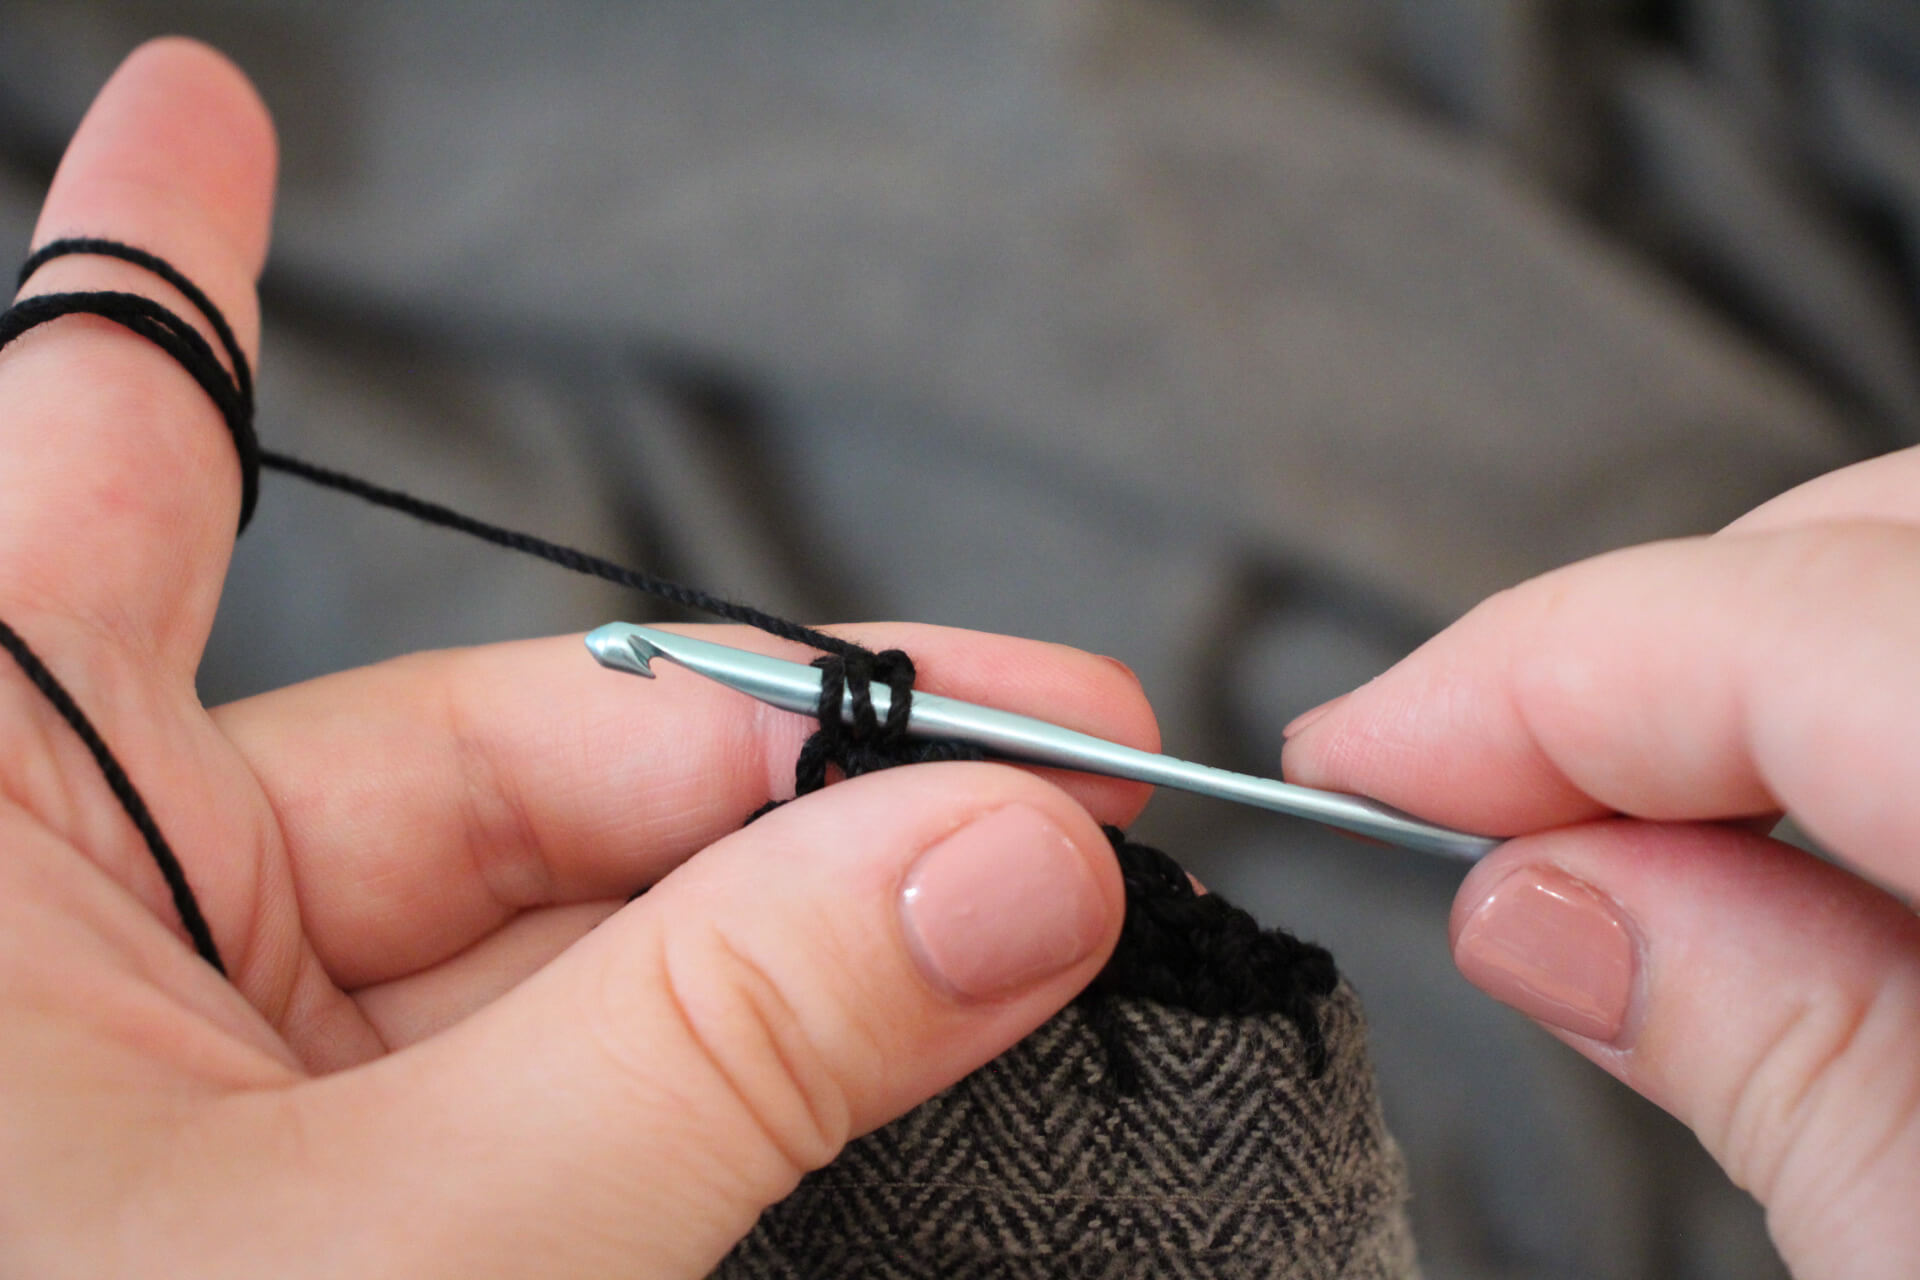
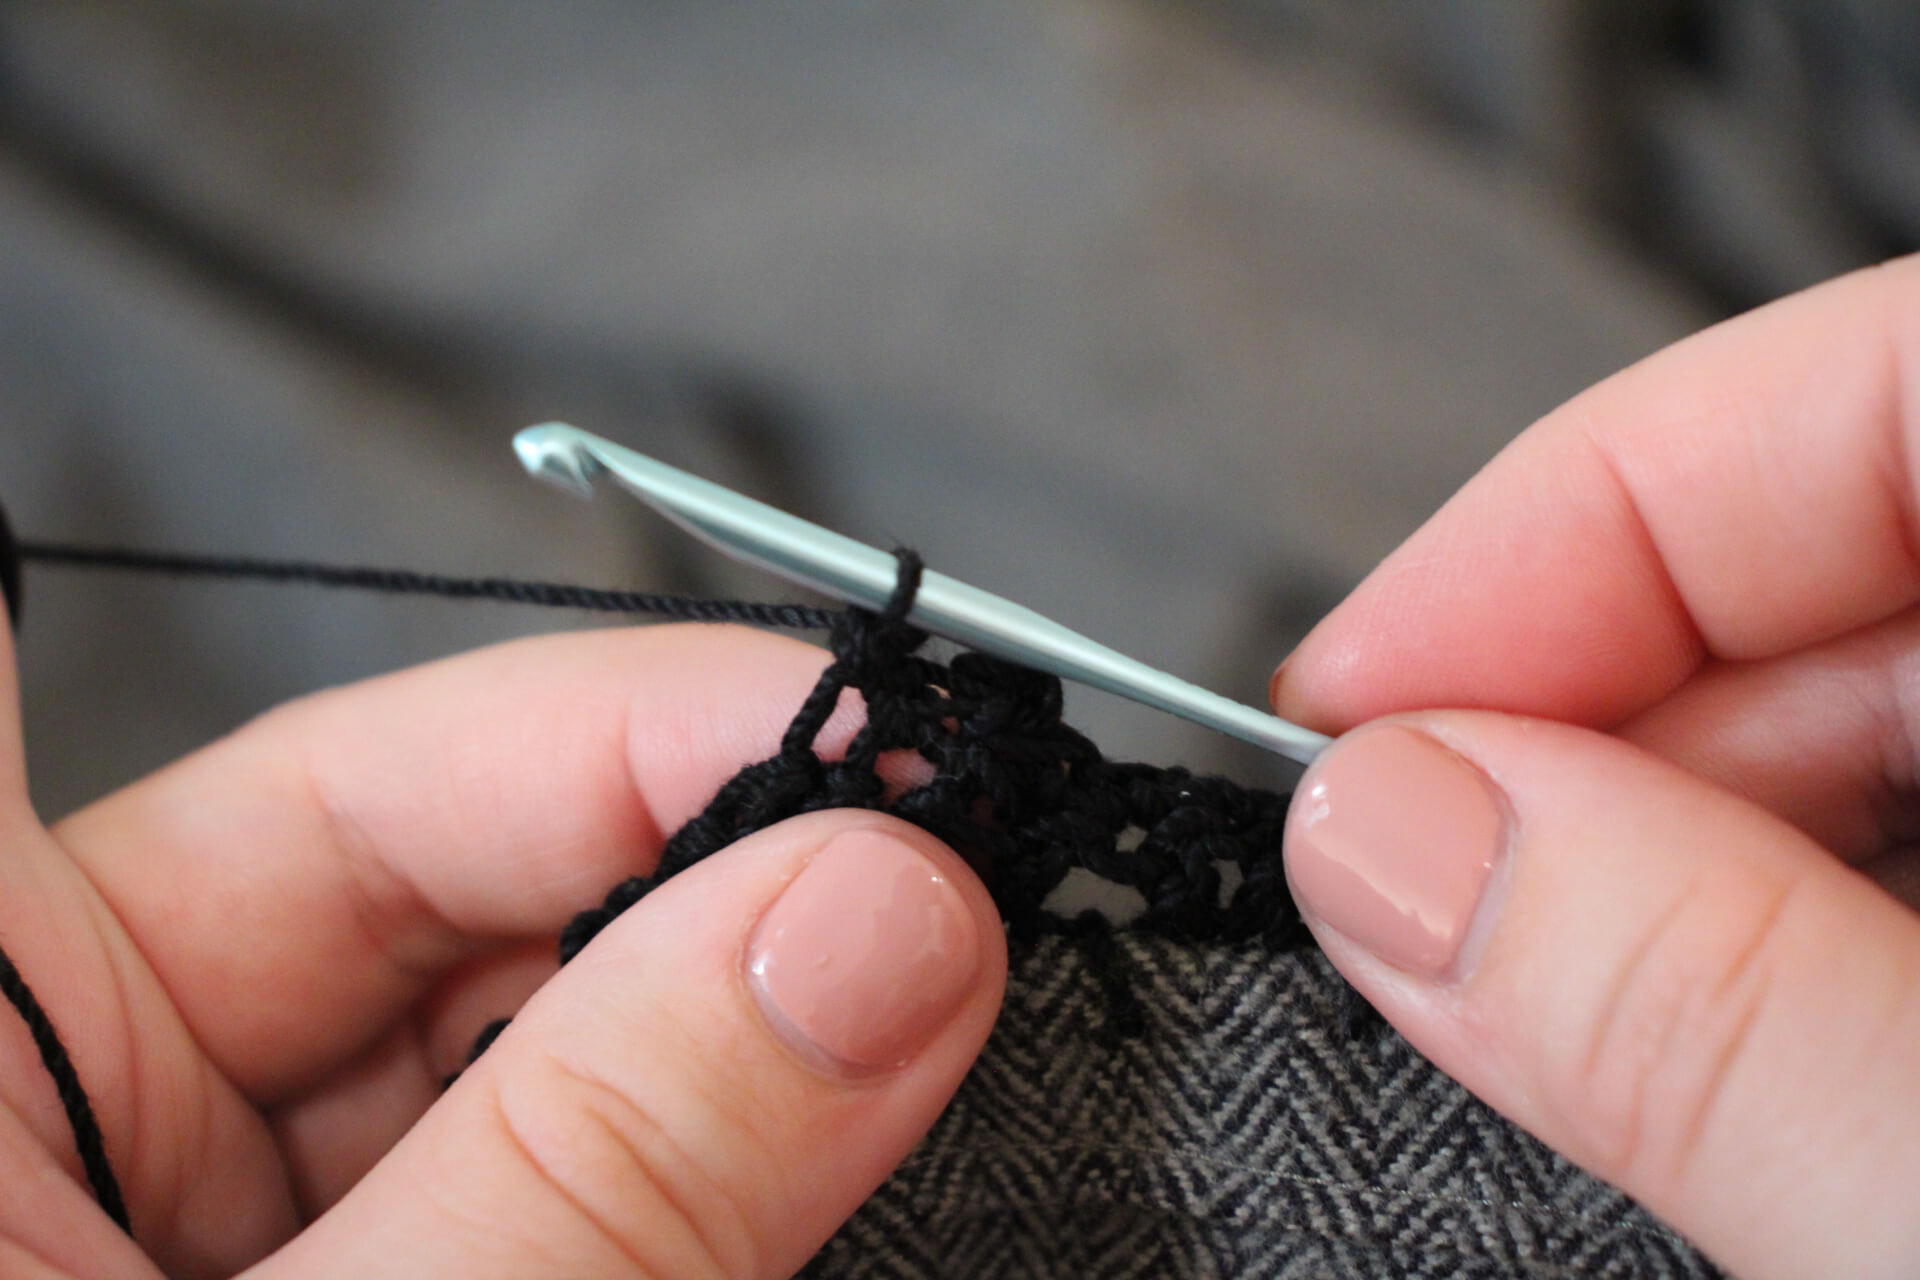
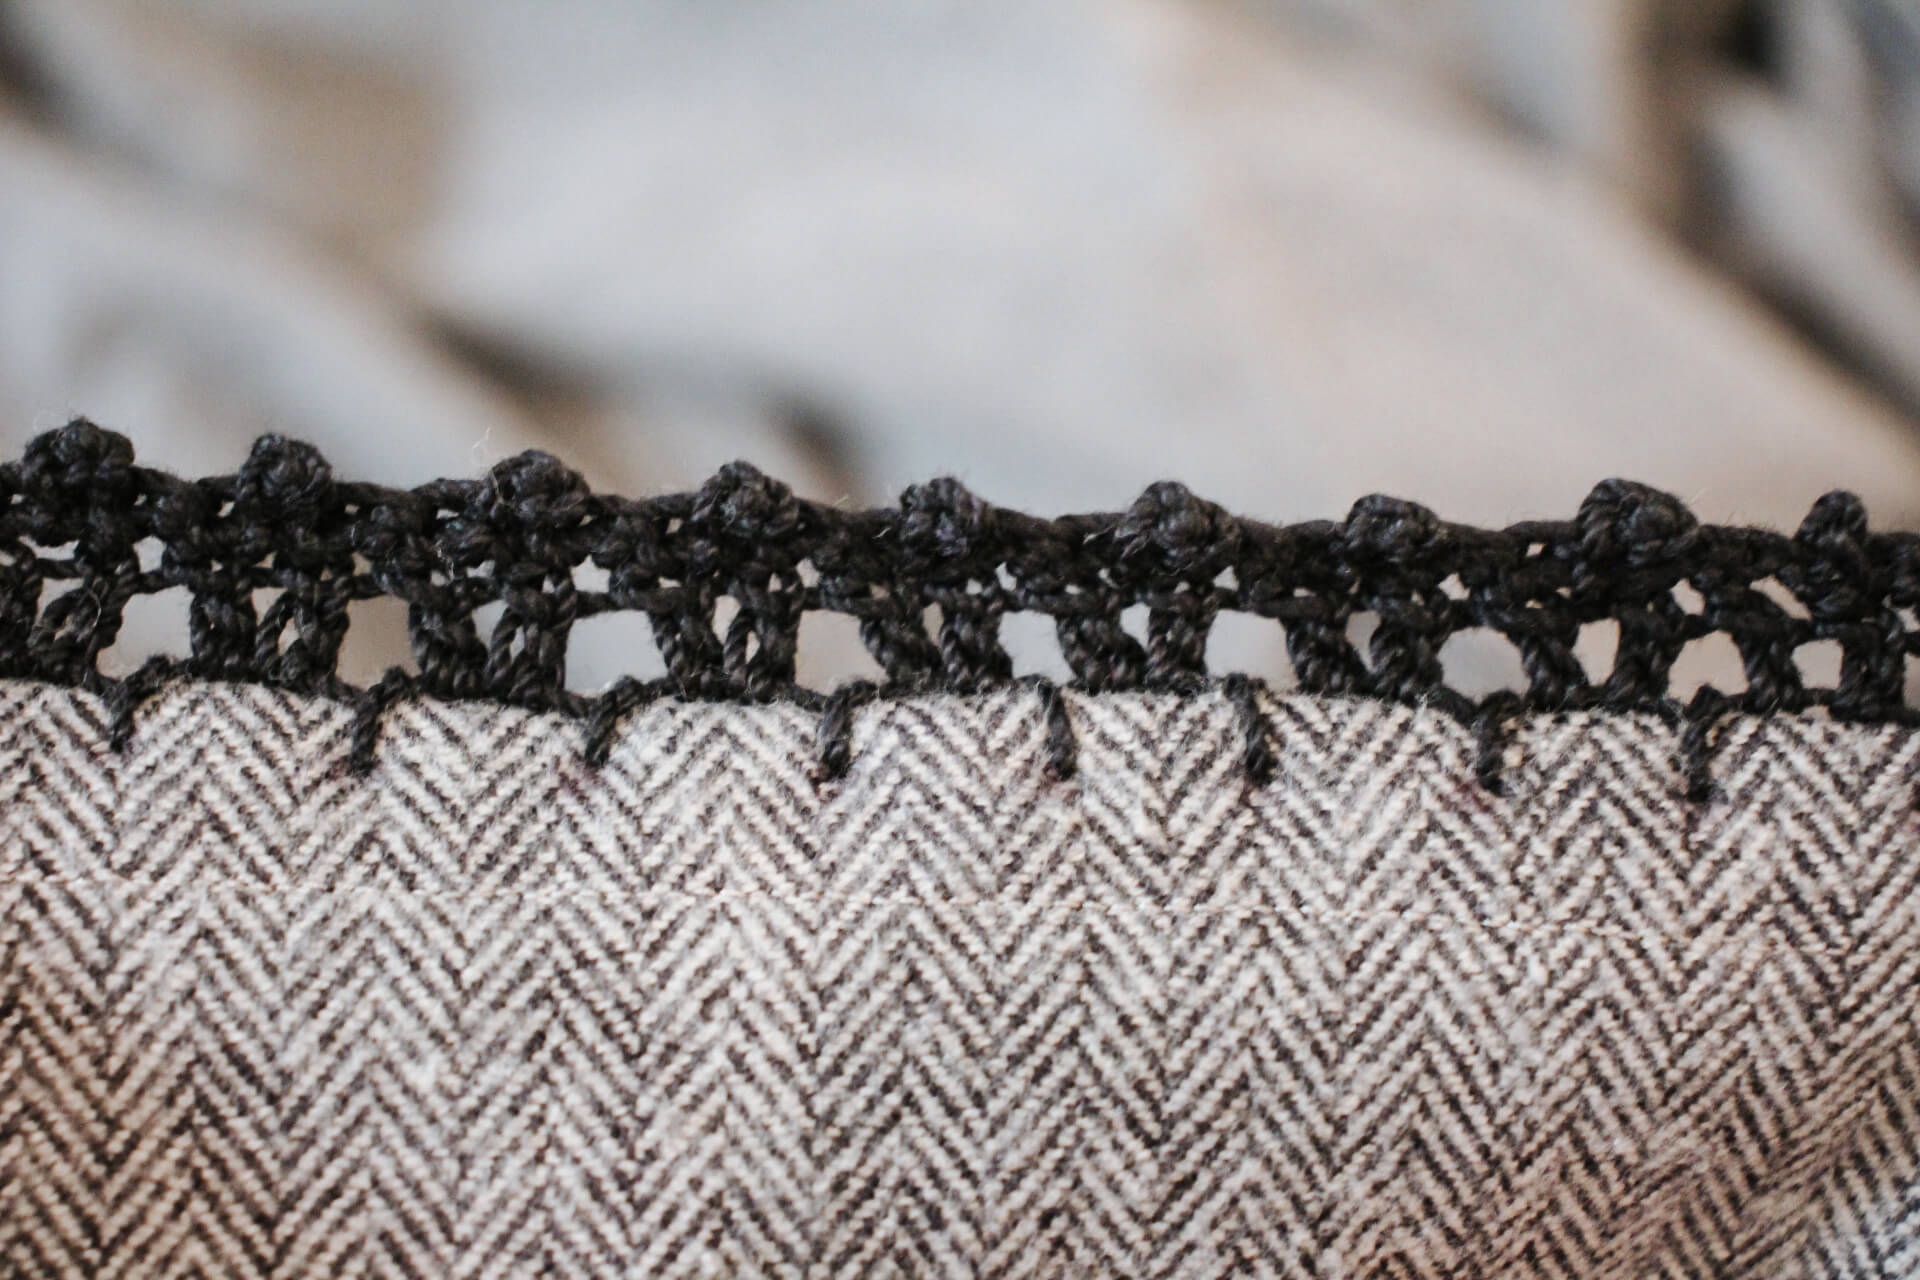
Repeat the pattern all the way around and weave in the ends.

NOTES
- You can use any fabric blanket in this tutorial. If you want to make your own flannel blanket, check out this tutorial.
- I like using a crochet thread for this, but I’ve used heavier weighted yarn and it works great too!
- After the blanket stitch is created, you can use any crochet stitches or pattern you’d like. I’ve tried many different crochet stitches and they’ve all turned out really nicely.
- This method can be used to crochet a border on tea towels too!
LOOKING FOR MORE SEWING & CROCHET TUTORIALS?
Looking for more easy sewing and crochet tutorials like this? Check these out:
- How to Crochet a Hot Pad
- How to Crochet a Mason Jar Cover
- How to Sew a Flannel Throw Blanket
- How to Crochet a Sturdy Textured Washcloth
Did you add a crochet border to a blanket? Tag me on Instagram (@thesimplehomeplace) to show me your own recreation of this project!


Leave a Reply