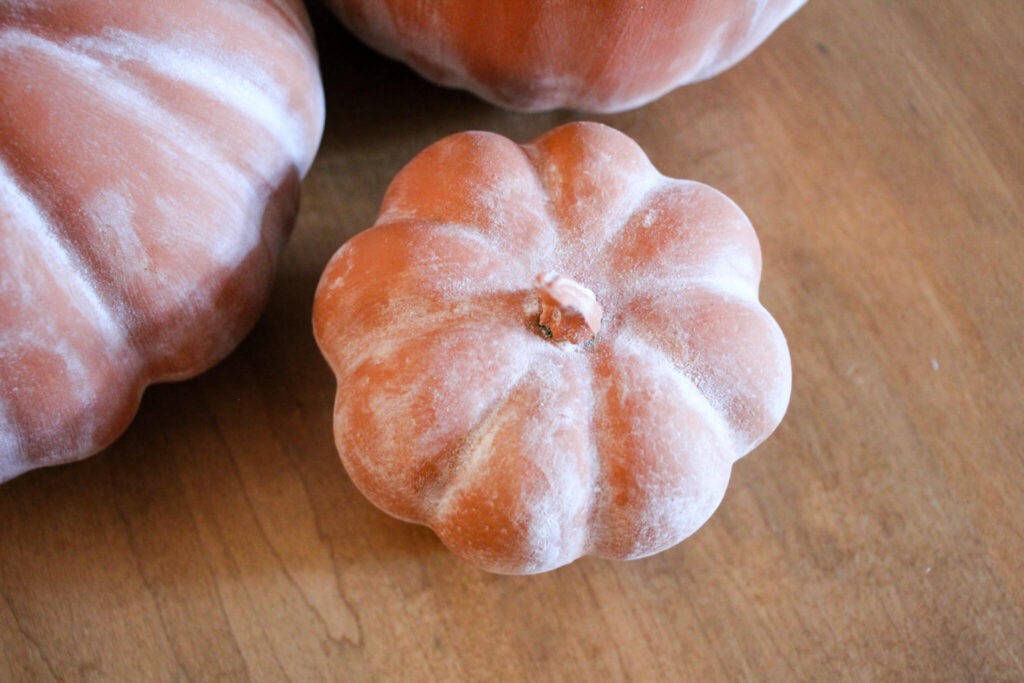
All you need is a little paint and baking soda to create these high end Pottery Barn dupe terra cotta pumpkins!
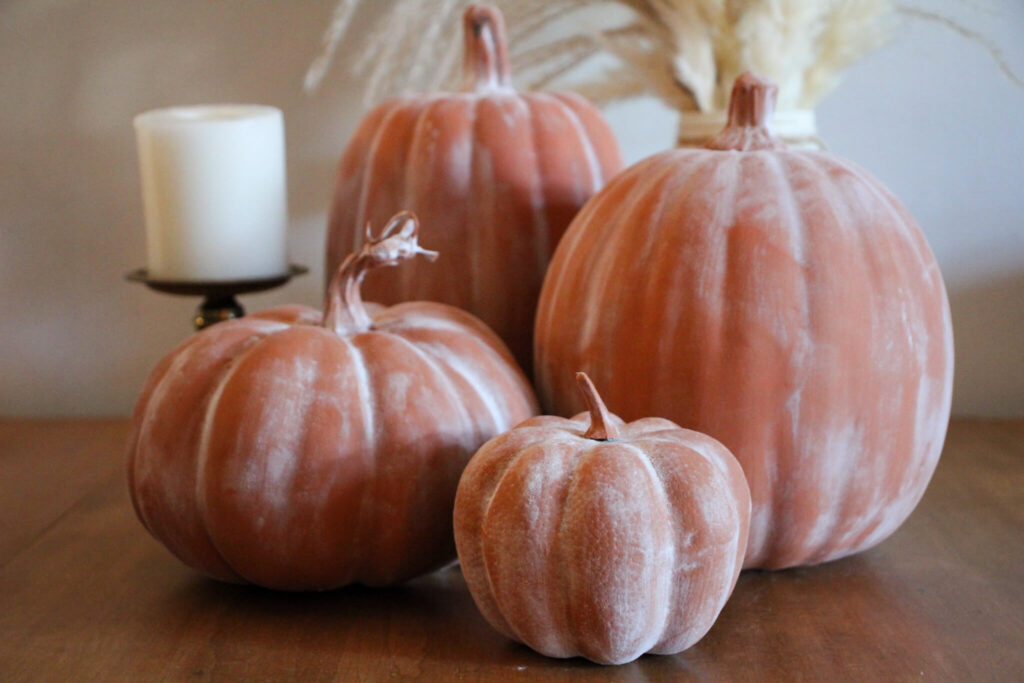
If you’ve been hear a while, you’ll know that fall is my favorite season. It’s the perfect time of year with the crisp air, the falling leaves and the beautiful colors. Now that I live in the South, I don’t get that beautiful fall (which makes me so sad), so I try to bring fall to me. Every year I try to add a bit more to my collection of fall decor, so this year one of the pieces are terra cotta pumpkins. Now, these terra cotta pumpkins have been the rage for the past few years and I’m just now jumping on the band wagon, but they are so pretty and perfect for a moody, muted fall color palette.
I love to have unique pieces in my home, but with places like Pottery Barn selling these pumpkins for around $50, that’s a no-go for me. Instead, I found out how easy it is to make a Pottery Barn dupe for a literal tiny fraction of the cost. All you need is a little paint and some baking soda and you can transform just about any faux pumpkin into a high end fall decoration. So saddle up, head to the Dollar Tree, the thrift store, Hobby Lobby, anywhere to grab some cheap faux pumpkins, and let’s get to duping (that’s a word right?)!
PIN FOR LATER!
YouTube Video Tutorial
This post may contain affiliate links, which means I may receive a small commission, at no extra cost to you, if you make a purchase through a link. Please see our full disclosure here for further information.
FAQs
What kind of paint should I use for DIY terra cotta pumpkins?
I used acrylic paint on faux styrofoam pumpkins that I got at Hobby Lobby and the Dollar tree. Acrylic paint adhered beautifully to these pumpkins, even the ones that had a slight sheen to the outside. If you’re doing this project on a plastic pumpkin, I advise priming the pumpkin with a primer that is meant for plastic. Once you’ve primed, you should be able to paint over top using the technique in this tutorial. You can also any other type of water-based paint to make DIY terra cotta pumpkins.
What else can I use besides flour for terra cotta pumpkins?
Many tutorials for these terra cotta pumpkins call for the use of flour. And while the pumpkins look beautiful, I’m worried about the flour attracting bugs. So, I opted to use baking soda to create the dusty effect on my faux pumpkins. You can also use crushed white chalk to achieve the same look. No matter which route you go, you’ll see about the same effect and overall look.
Should I paint the stem of my faux pumpkins or leave them?
I opted to paint the stems of my faux pumpkins because a true terra cotta pumpkin would be completely made of clay. That being said, you can opt to keep the stems of your pumpkins as they are or paint them. You can also order real pumpkin stems from places like Etsy and swap the fake ones with the real ones.
Can you use the faux terra cotta pumpkins for outdoor decor?
I would recommend using your pumpkins for indoor decor for a few reasons. First, any rain will wash off the baking soda and maybe some paint. Additionally, these faux pumpkins are very light and could easily blow away in the wind. Heat could also play a part in ruining the pumpkins. So with that being said, I would keep these pumpkins inside or in a covered porch to keep them looking their best.
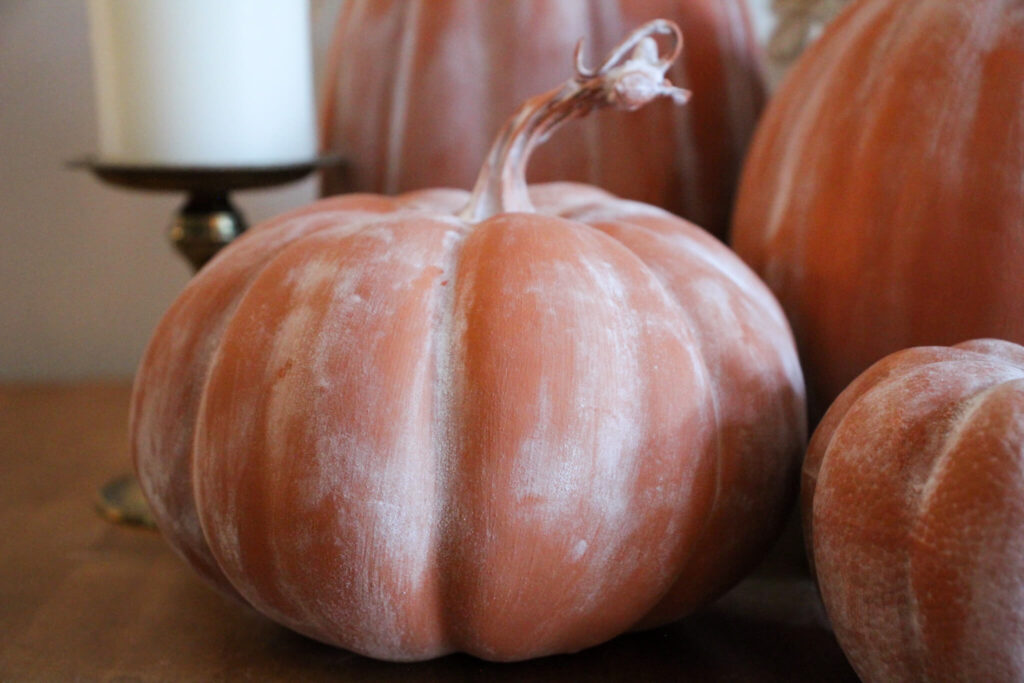
How to Make DIY Terra Cotta Pumpkins
Tools You May Need:
- Paint brush
- Foam brush
- Hair dryer (optional)
Materials Needed:
- Faux pumpkins (any size)
- Acrylic paint
- Baking soda (1 tsp per 1/2 cup of paint)
Directions
Step 1: Create the perfect paint color.
Use one or several acrylic paints to create a rusty orange type color.
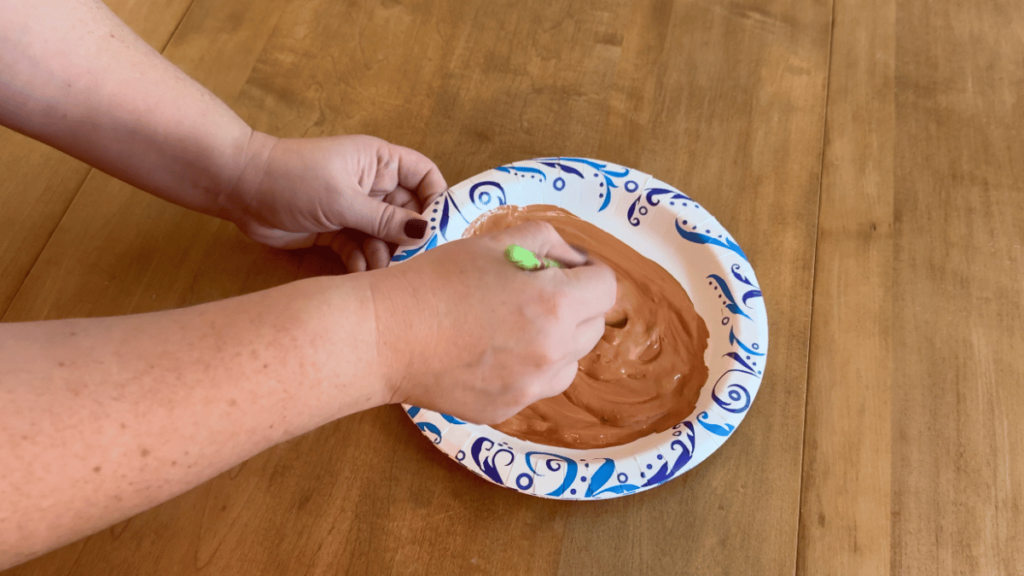
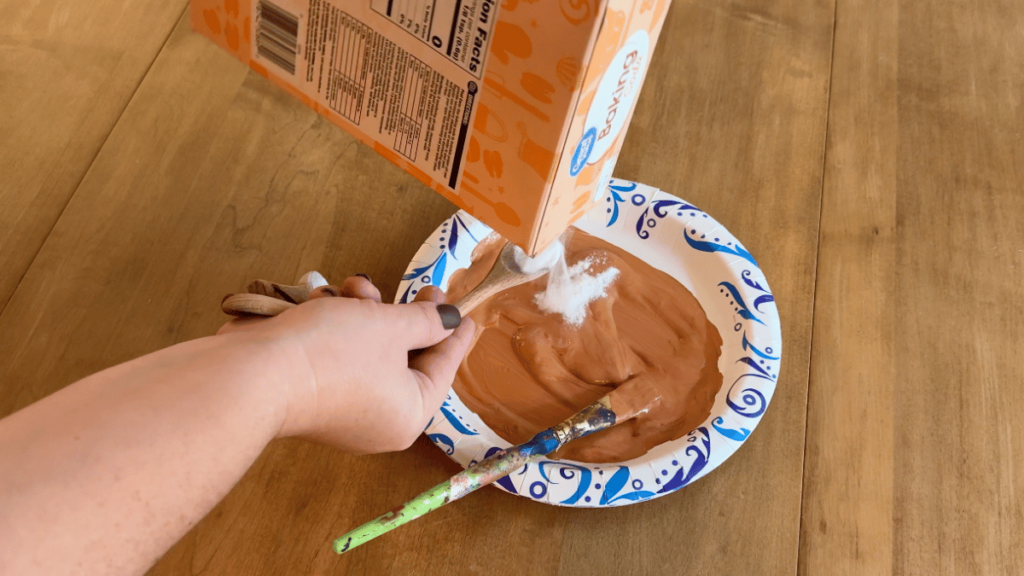
Once the paint is mixed, add 1/2 to 1 tsp of baking soda to the paint and mix to get a grainy baking soda paint.
Step 2: Paint
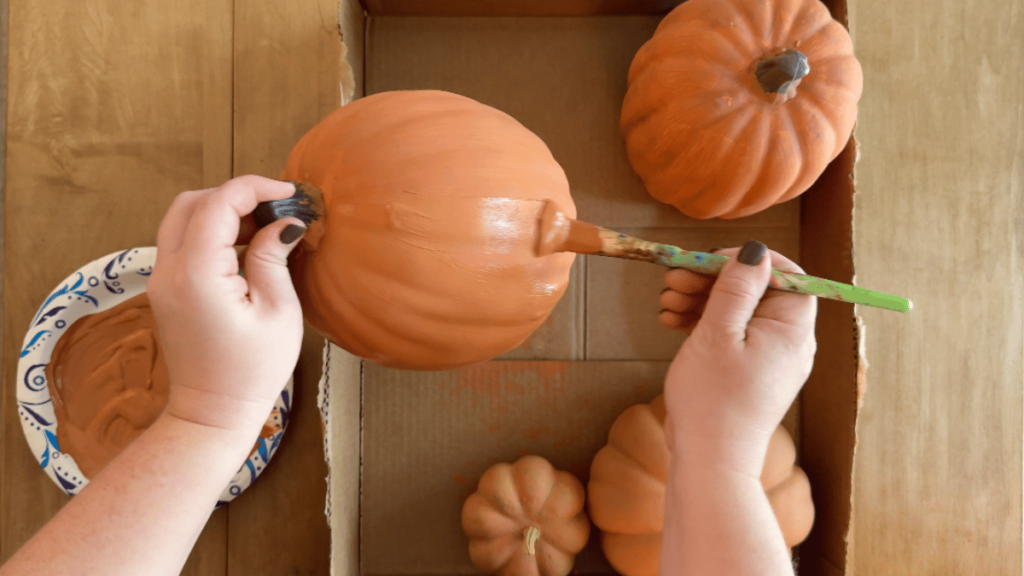
Use a paint brush to paint the first layer onto the faux pumpkins, leaving the stem unpainted.
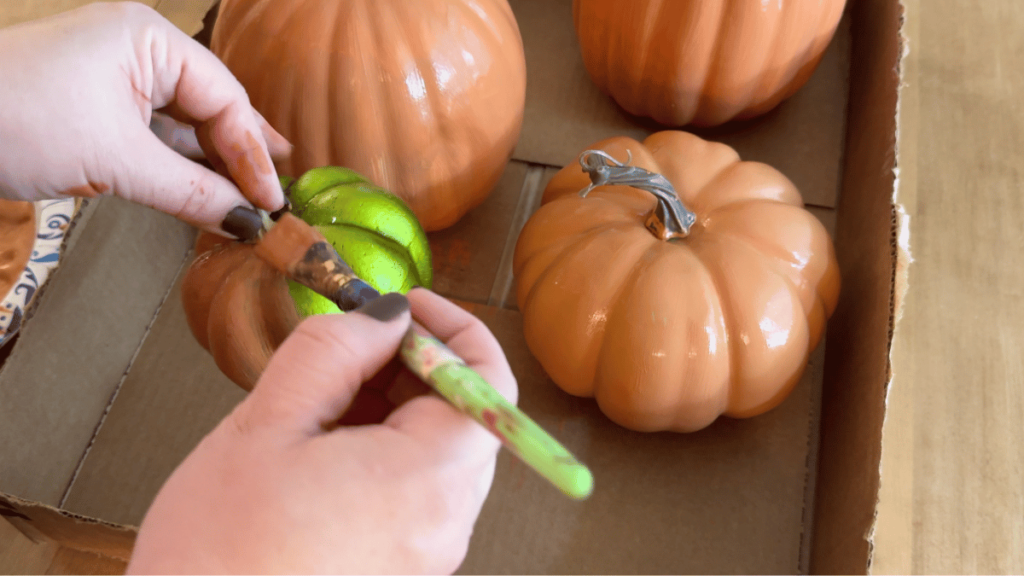
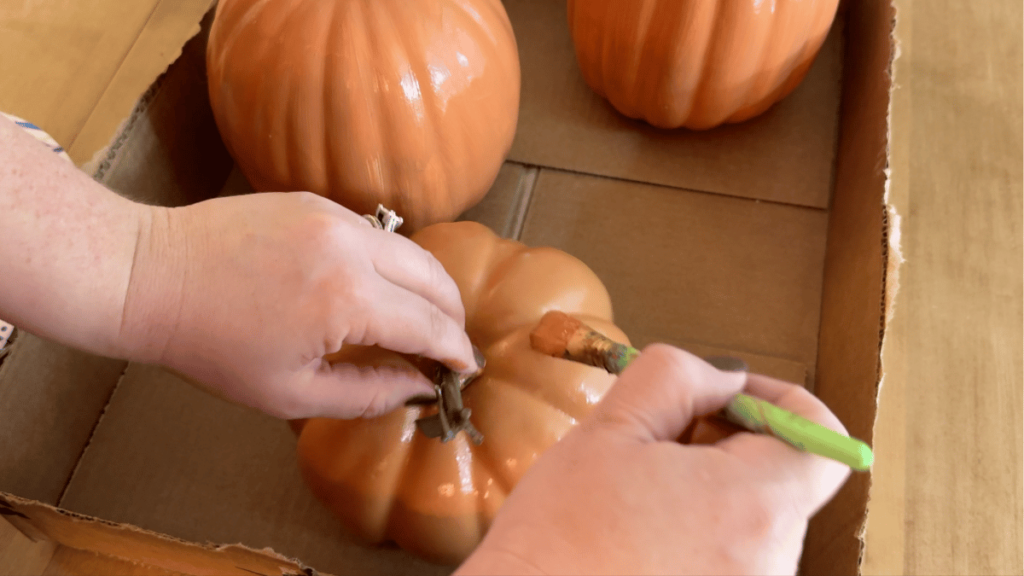
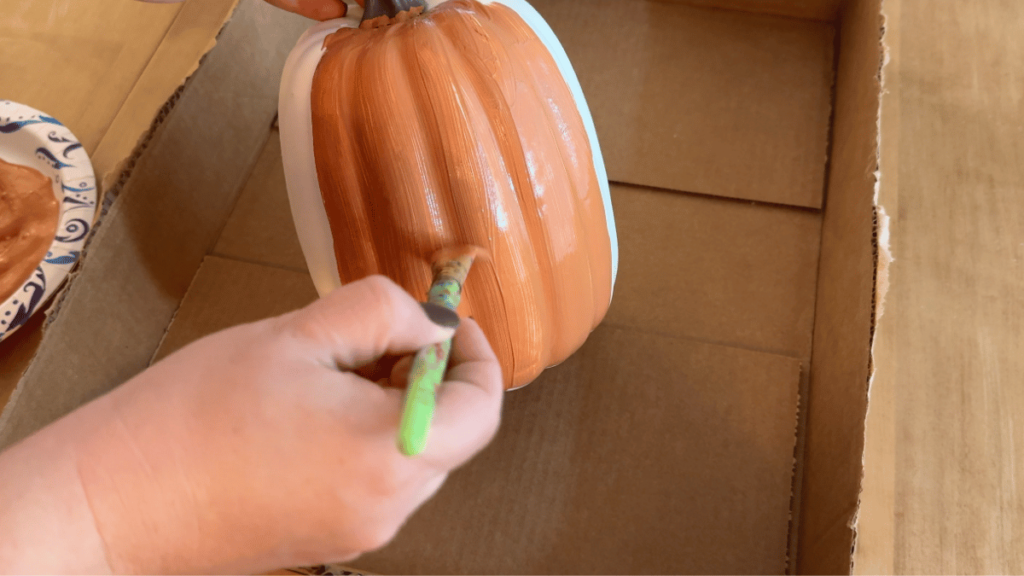
Allow the first layer of paint to dry completely, then add a second coat of baking soda paint to the pumpkins.
Step 3: Add Additional Baking Soda
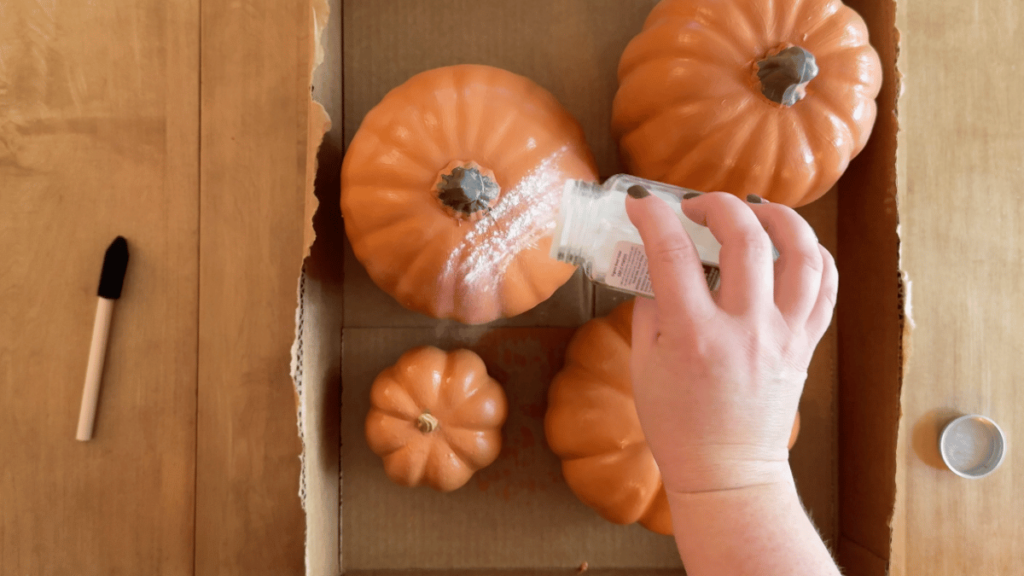
Allow the second layer of paint to dry about 75% of the way, then sprinkle baking soda all over the pumpkin.
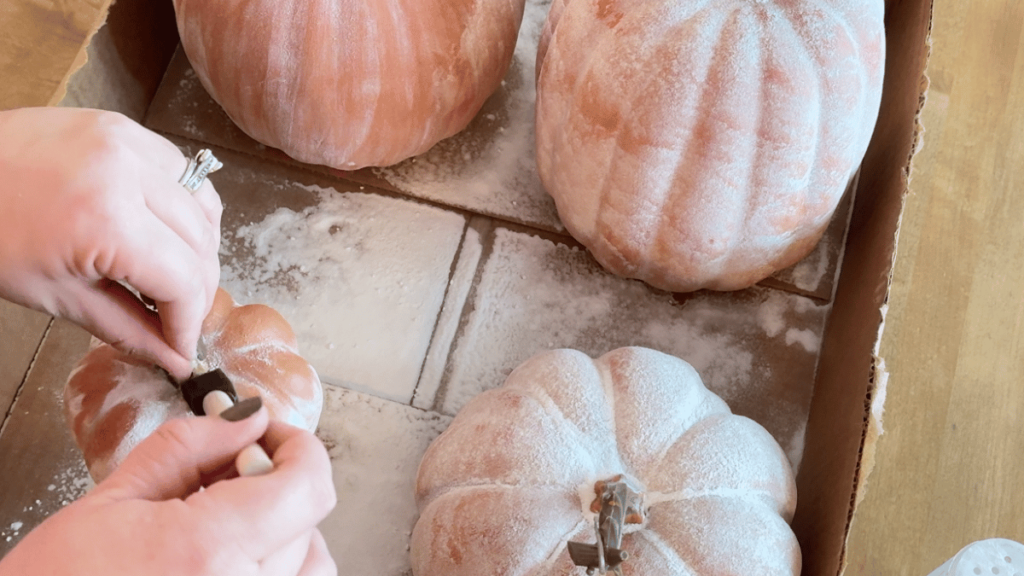
Once the pumpkin is mostly dry, use a dry foam brush or your hands to remove the excess baking soda for the pumpkins.
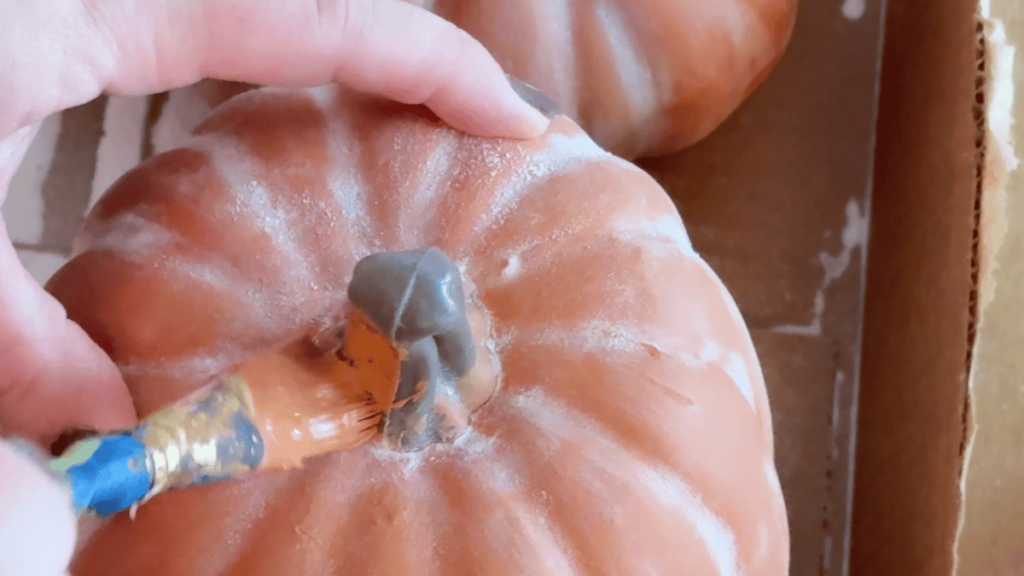
Lastly, paint the pumpkin stems, allow them to dry, add another coat of paint, then add baking soda and brush it off once it’s dry.
Step 4: Style
Style your DIY terra cotta pumpkins in your home to add a high end look for a fraction of the cost!
Notes
- Use a hair dryer on medium heat to help the pumpkins dry faster in between coats of paint.
- You can achieve the same terra cotta look with flour or crushed chalk.
- You remove the faux pumpkin stems can add real ones if you desire.
- Any color of acrylic paint can be used in this tutorial.
- Use an empty spice jar to hold the baking soda to make it easier to sprinkle.

DIY Terra Cotta Pumpkins
All you need is a little paint and baking soda to create these high end Pottery Barn dupe terra cotta pumpkins!
Materials
- Faux pumpkins (any size)
- Acrylic paint
- Baking soda (1 tsp per 1/2 cup of paint)
Tools
- Paint brush
- Foam brush
- Hair dryer (optional)
Notes
Step 1: Create the perfect paint color.
Use one or several acrylic paints to create a rusty orange type color.
Once the paint is mixed, add 1/2 to 1 tsp of baking soda to the paint and mix to get a grainy baking soda paint.
Step 2: Paint
Use a paint brush to paint the first layer onto the faux pumpkins, leaving the stem unpainted.
Allow the first layer of paint to dry completely, then add a second coat of baking soda paint to the pumpkins.
Step 3: Add Additional Baking Soda
Allow the second layer of paint to dry about 75% of the way, then sprinkle baking soda all over the pumpkin.
Once the pumpkin is mostly dry, use a dry foam brush or your hands to remove the excess baking soda for the pumpkins.
Lastly, paint the pumpkin stems, allow them to dry, add another coat of paint, then add baking soda and brush it off once it's dry.
Step 4: Style
Style your DIY terra cotta pumpkins in your home to add a high end look for a fraction of the cost!
Looking for more easy seasonal DIY projects like this?
Looking for more easy seasonal DIY projects like these DIY terra cotta pumpkins? Check these out:
- How to Upcycle Christmas Ornaments with Baking Soda Paint
- How to Make a Handmade Hearth Broom with Pine Needles
- DIY Fall Garland
- How to Make a Metal Hoop Wreath for Fall
Did you try making these DIY terra cotta pumpkins? If you did, I’d really love to see it. Tag me on Instagram (@thesimplehomeplace) to show me your own recreation of this tutorial!


Leave a Reply