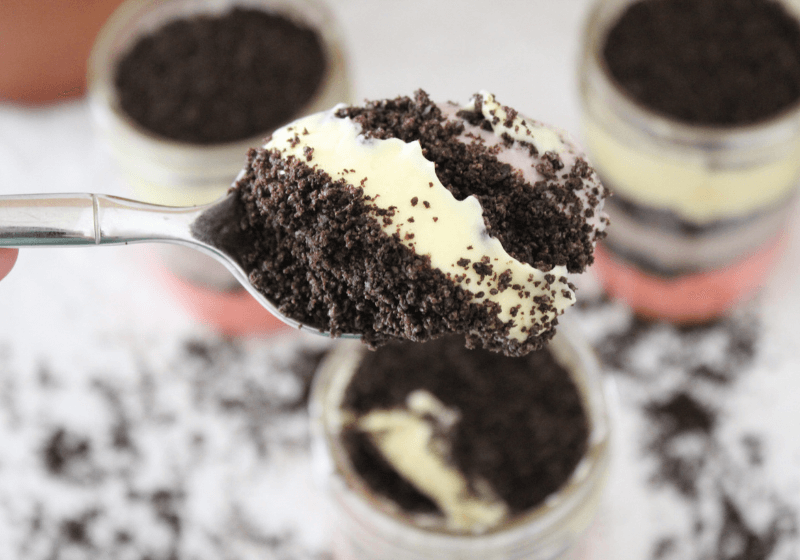
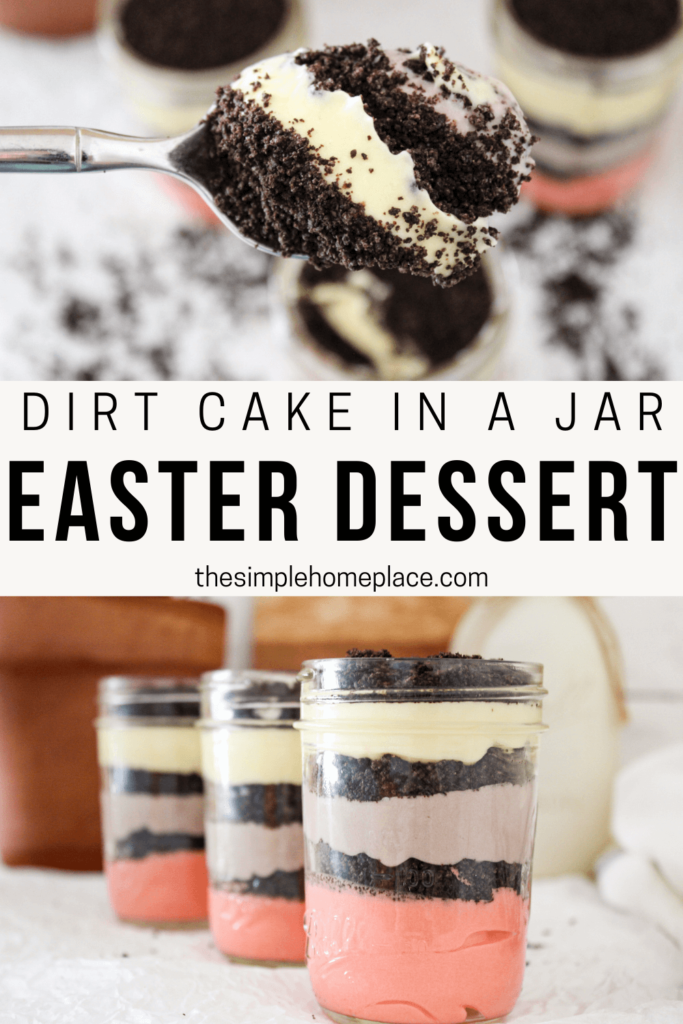
Easter dirt cake is a dessert that combines colorful layers of a light vanilla pudding mixture and crumbled Oreo cookies. Assembled in a jar and topped with little homemade digging Easter bunnies, it’s the perfect Easter dessert the whole family will enjoy!
**POST UPDATED: MARCH 3, 2022**
Dirt cake is a nostalgic dessert for me and one that I had growing up, mostly on special occasions. It’s a deliciously sweet dessert that is easy to make and can be customized in so many ways, which makes it perfect for any holiday or event.
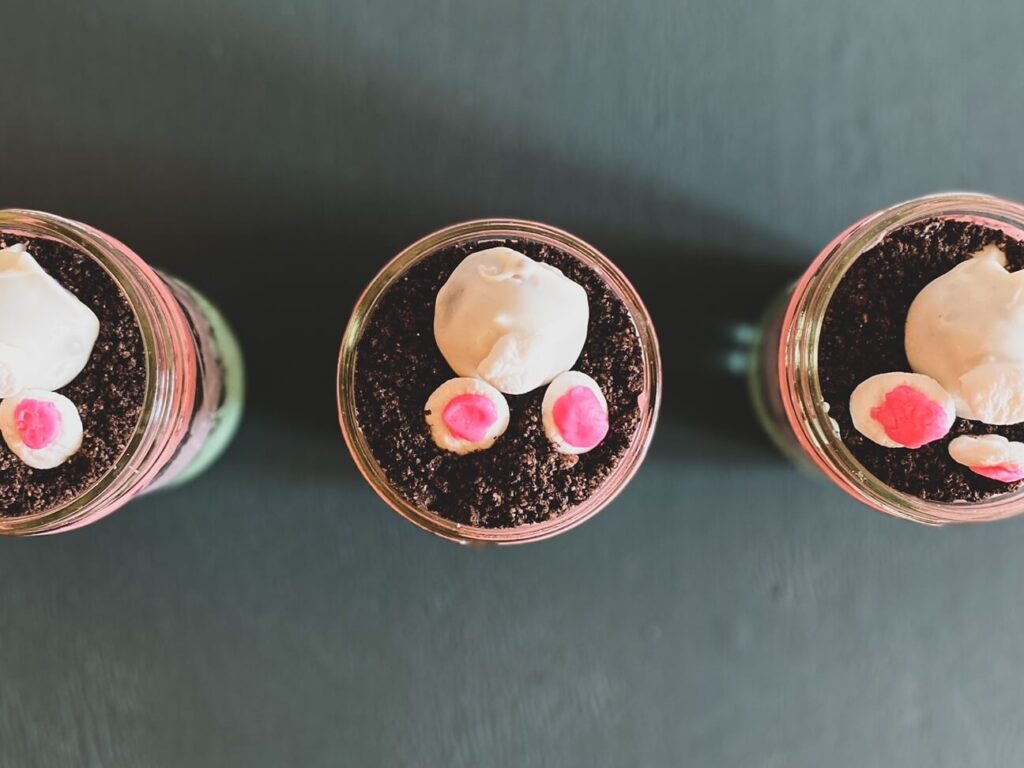
To customize this dirt cake for Easter, I decided to color the vanilla pudding layers pink, blue (green) and purple, as well as added a little homemade digging Easter bunny on top! Although it’s a bit time consuming and totally optional, I thought it was a fun addition and one that my kids loved! You also get an extra little dessert out of it.
If you’re looking for some cute Easter basket ideas for teenage girls, check out this post from Mimmie over at Daily Christmas Inspo! She has lots of great ideas!
PIN FOR LATER!

TOOLS YOU MAY NEED
- Stand mixer or hand mixer
- Food processor
- Tin foil or parchment paper
- Liquid measuring cup
- Measuring cups and spoons
- Medium mixing bowl and whisk
- 4 small/medium mixing bowls and spoons
- Spatula
INGREDIENTS
- 45 Oreos crushed
- 5 oz instant vanilla pudding 1 large packet
- 3 cups milk
- 1/2 cup heavy whipping cream
- 1 tbs powdered sugar
- 1 tsp vanilla extract
- 8 oz softened cream cheese
- 4 tbs softened butter
- 1 cup powdered sugar
OREO BALLS (DIGGING EASTER BUNNIES)
- 12 Oreos crushed
- 2 oz softened cream cheese
- 6 oz almond bark melted
- 5 drops pink food coloring gel
- 40 mini marshmallows
HOW TO MAKE DIRT CAKE IN A JAR
HOW TO PREPARE THE OREOS
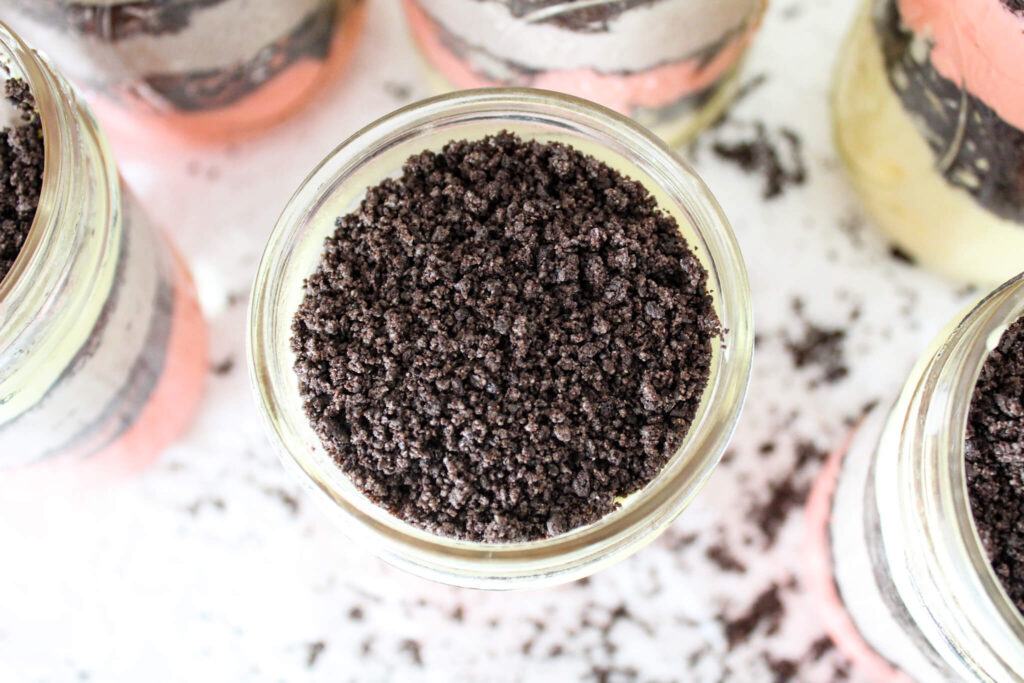
Use a food processor to crush 45 Oreos for the dirt cake and set them aside. Then crush 12 Oreos and set them aside in a different bowl for the Oreo balls. You could also place the Oreos in a bag, seal it and use a rolling pin to crush them.
HOW TO MAKE OREO BALLS (DIGGING EASTER BUNNIES)
This step is totally optional, but if you want to make this Easter dirt dessert a little more special, you can make some digging Easter bunnies to place on top of the dirt cake! Here’s how to do this! Make a quarter batch of my Oreo balls, but make them about a 1 tsp in size. This will give you about 16-18 Oreo balls. Place them on tin foil or a silicone baking mat to dry.

Cut 8 mini marshmallows in half and place one half marshmallow on each Oreo ball before it dries for the tail.

For the remaining marshmallows, use your fingers to press them flat and set aside.

Melt the remaining 2 oz of almond bark in the microwave in 30 second intervals. Add 5-6 drops of pink gel food coloring to the almond bark to make a paste.
Roll the paste into balls and flatten with your fingers to make the soles of the bunny’s feet. Apply the pink paste onto the flattened marshmallows by squeezing them together. Set the feet aside to dry.

PREPARE THE INSTANT VANILLA PUDDING
Add the instant vanilla pudding packet and milk into a mixing bowl and whisk for 2 minutes until it thickens. Place in the refrigerator.
MAKE HOMEMADE WHIPPED CREAM
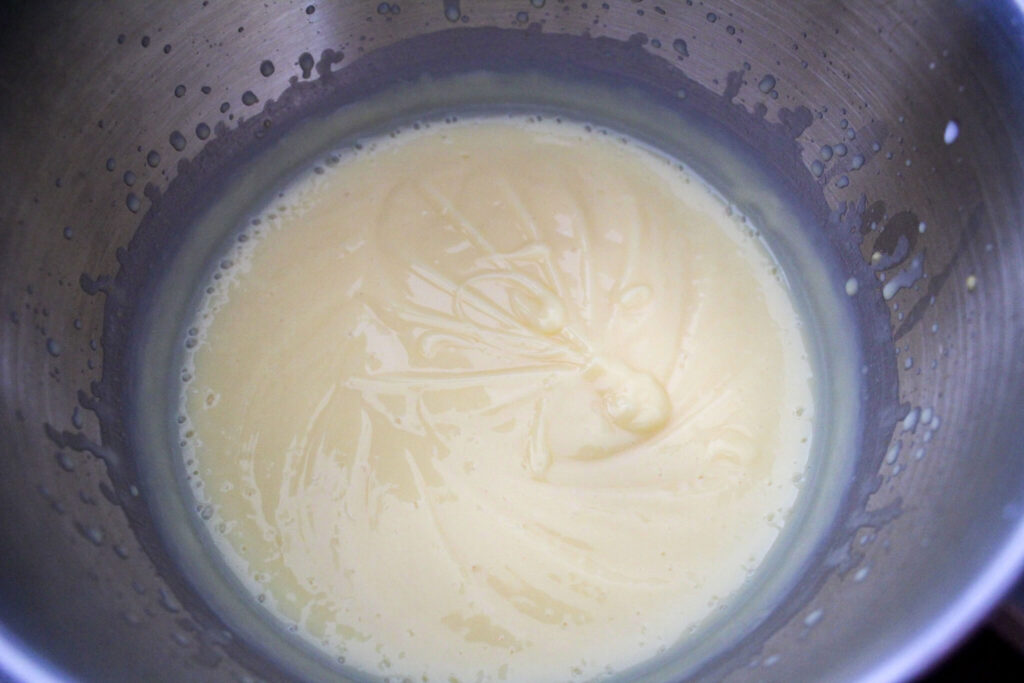
In the bowl of a stand mixer, beat heaving whipping cream, powdered sugar and vanilla on high until stiff peaks form. Place the whipped cream in a bowl in the refrigerator. You could also use Cool Whip.
CREAM CHEESE MIXTURE
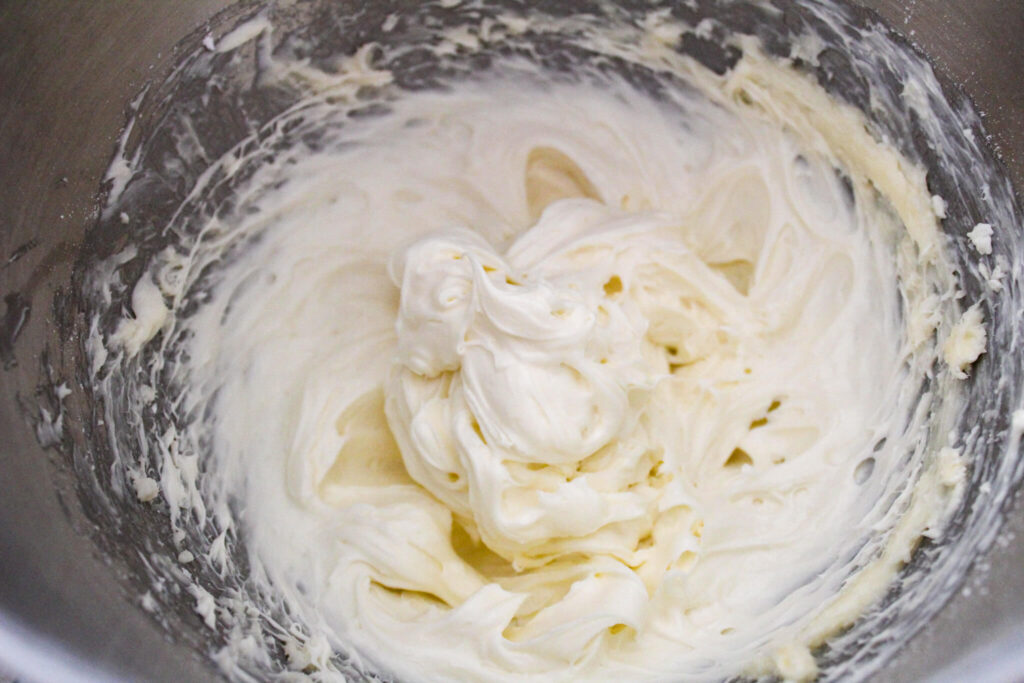
In the bowl of a stand mixer, combine softened cream cheese, softened butter and powdered sugar until thoroughly mixed.
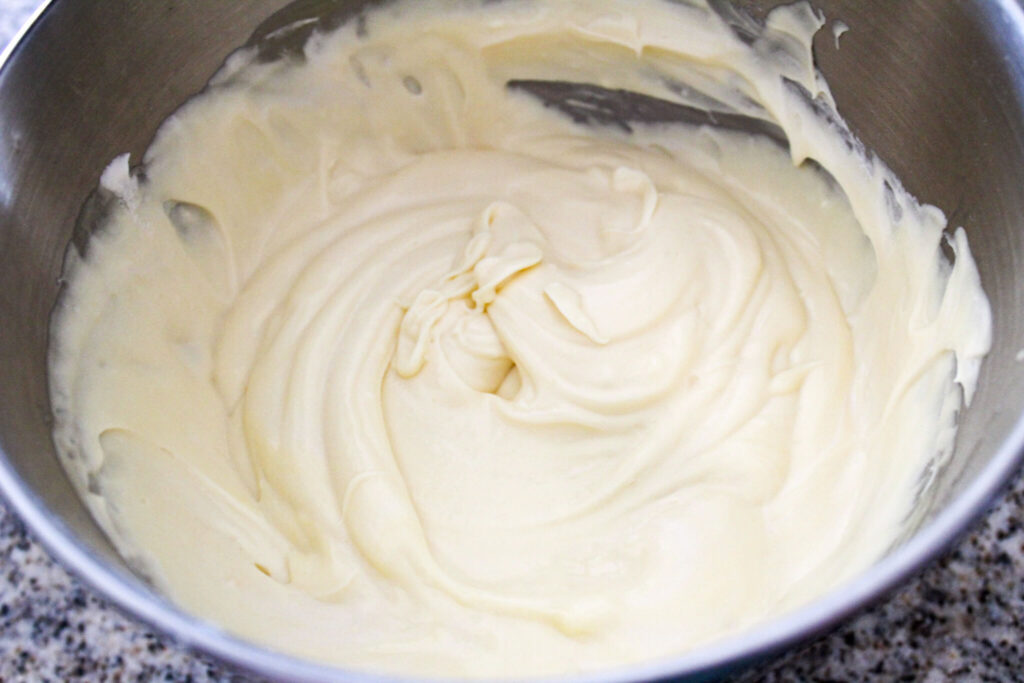
Fold in the vanilla pudding and homemade whipped cream.
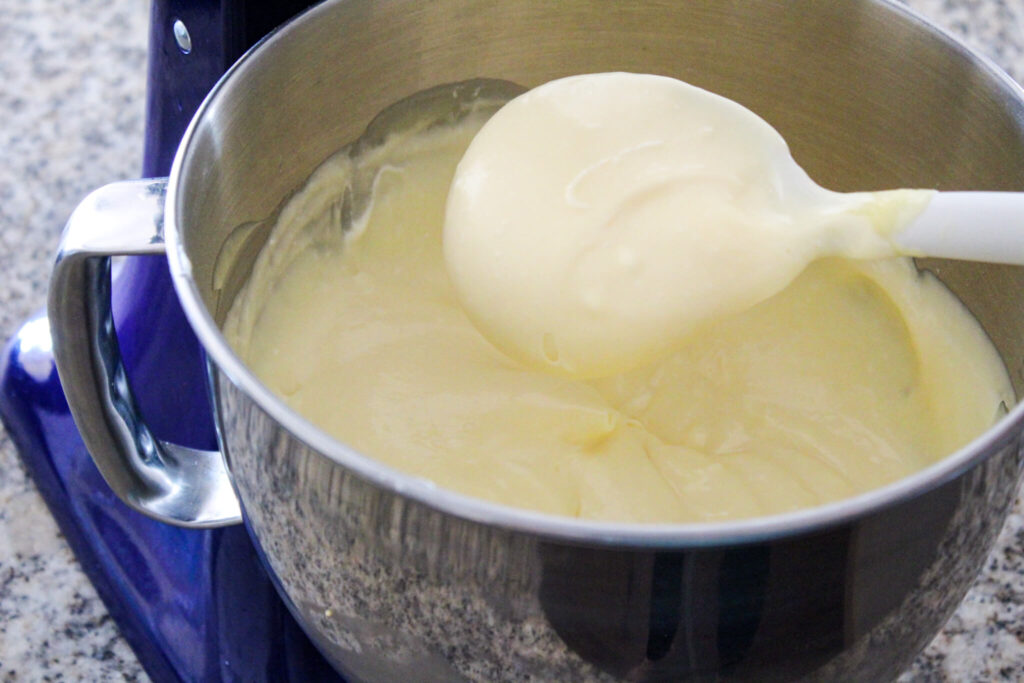
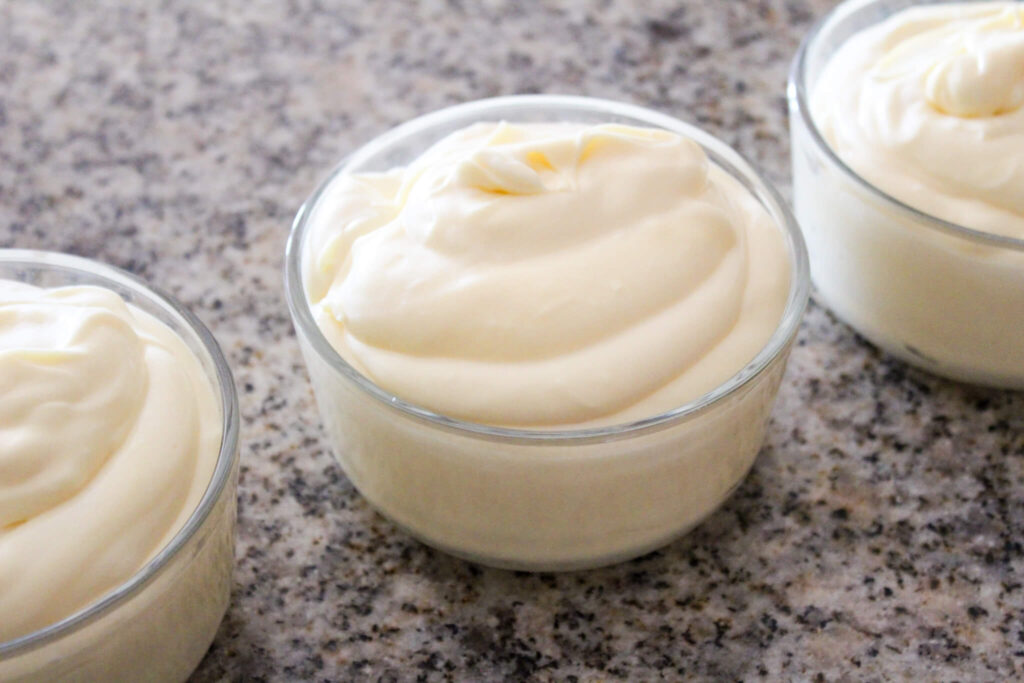
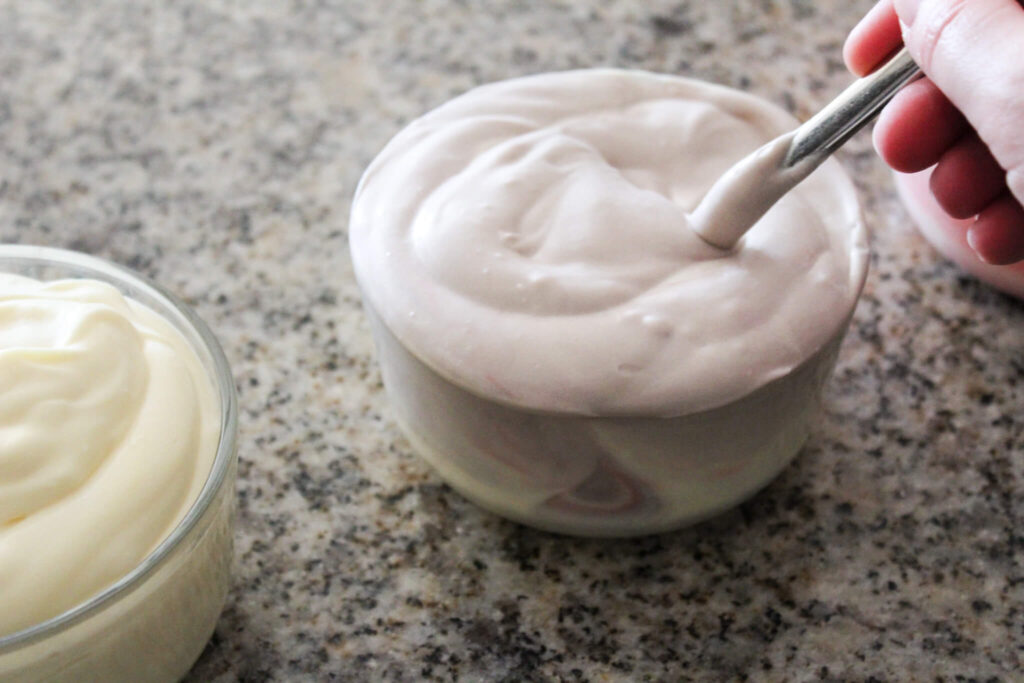
Separate the pudding mixture into three separate bowls (about 1 ⅓ cup per each bowl), add about 5-6 drops food coloring to each and about 2- and mix thoroughly. I chose to do pink, purple and yellow.
HOW TO ASSEMBLE DIRT CAKE
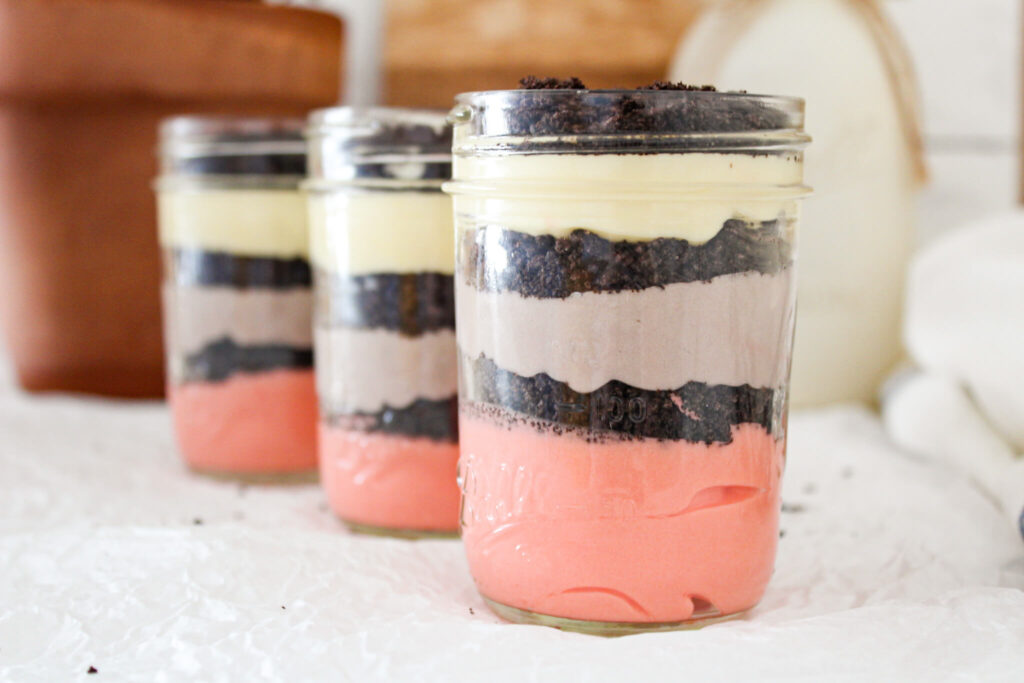
Start with 2 tablespoons of your first color of filling, followed by one tablespoon of crushed Oreos. Add your second color, followed by crushed Oreos. Then your third color, followed by the final layer of crushed Oreos.
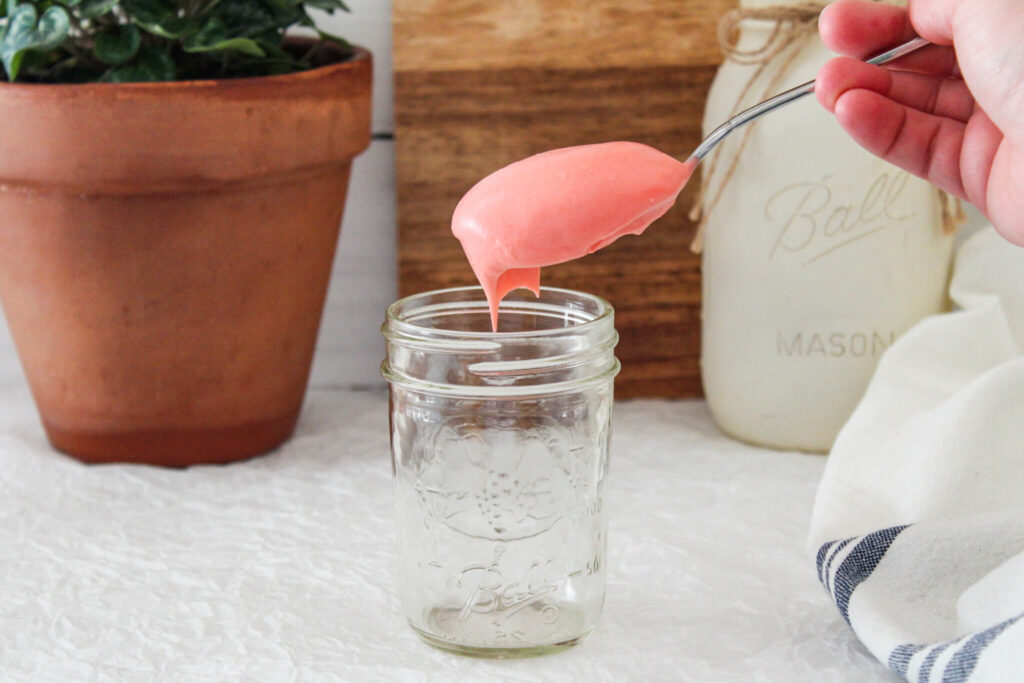
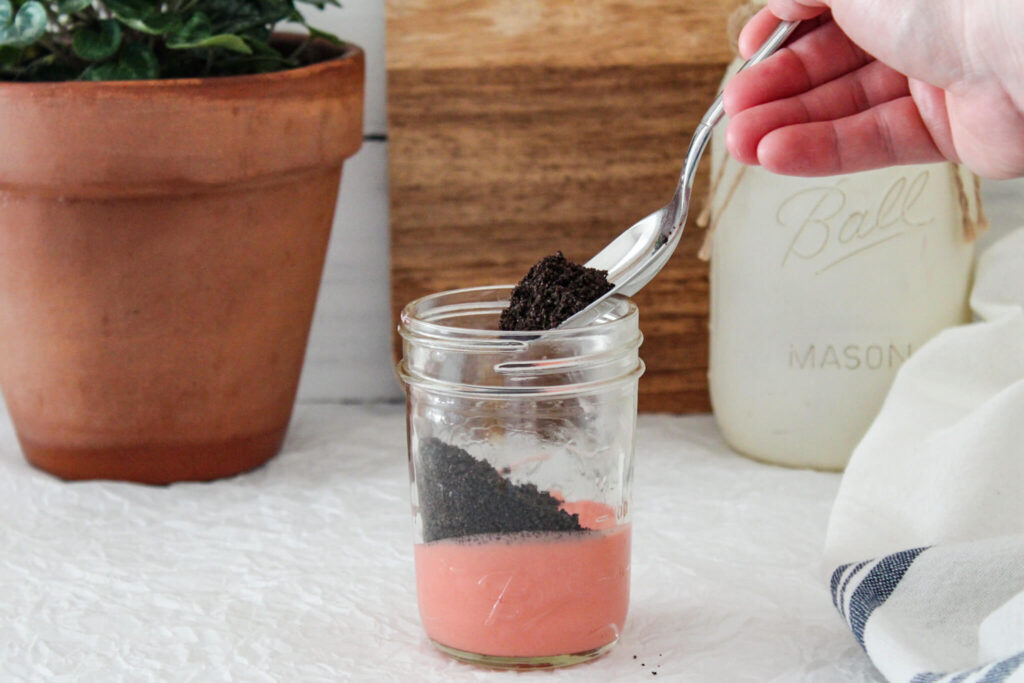
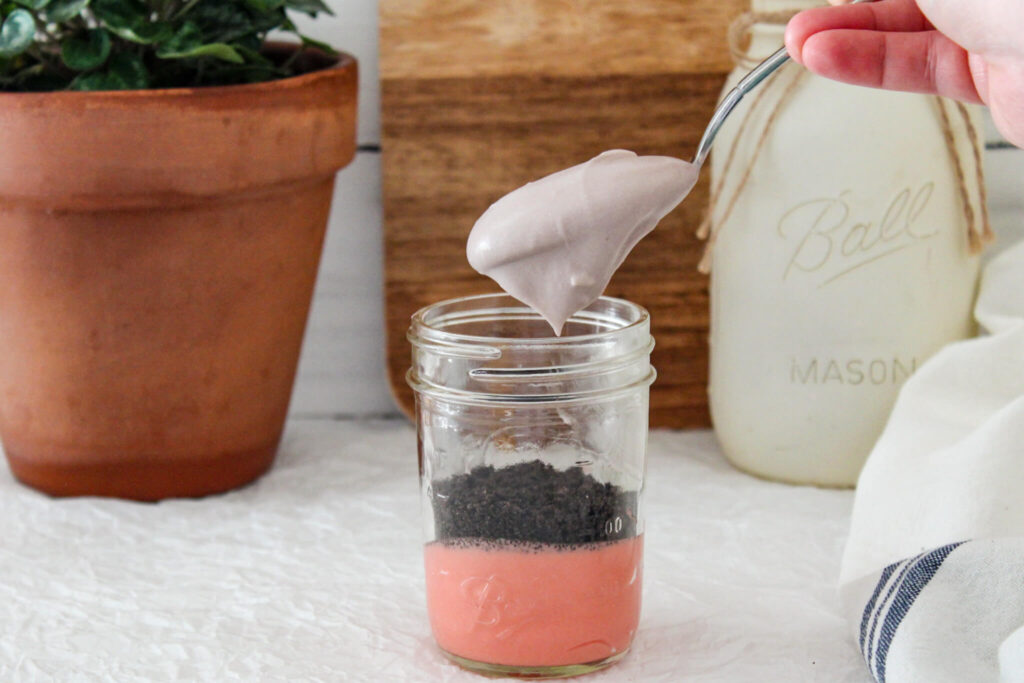
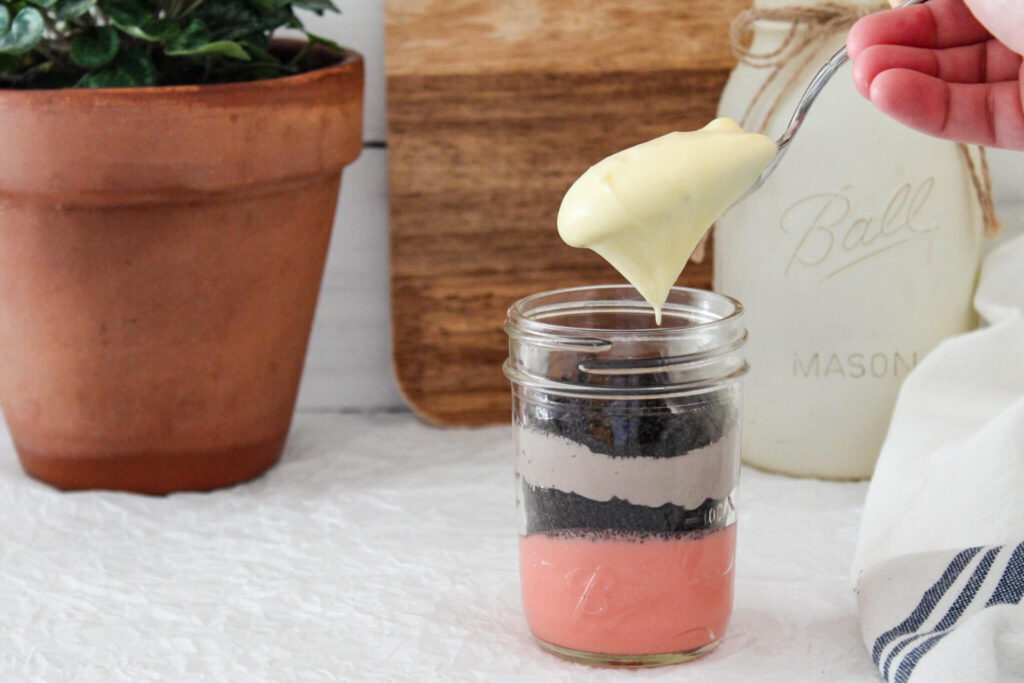
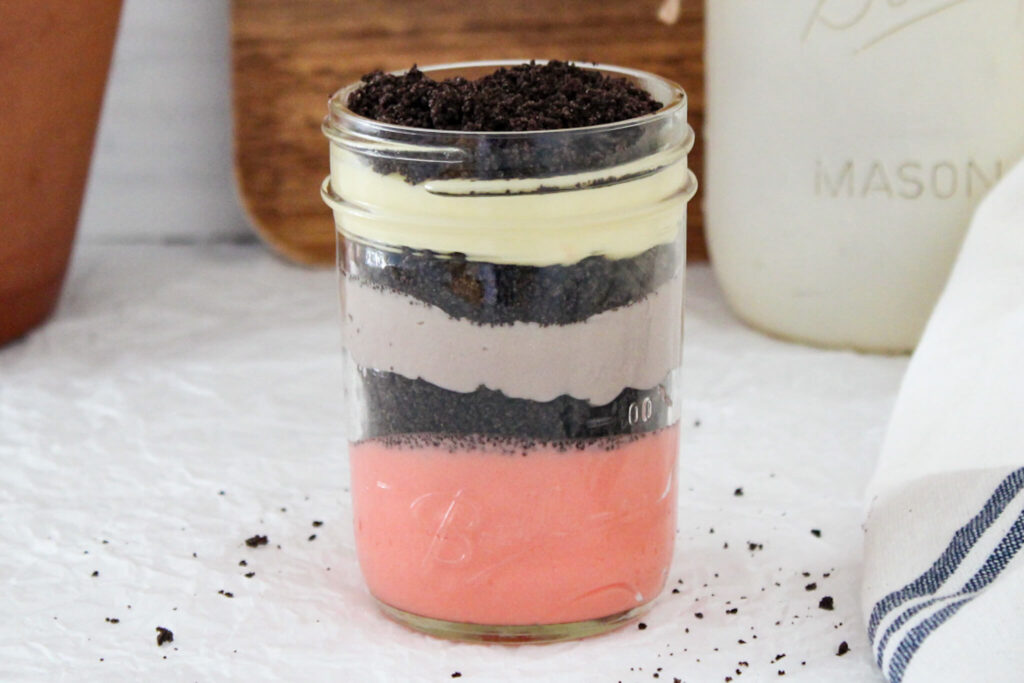
If you’re using a larger serving dish and not cups, add one color of the filling, followed by 1/3 of the crushed Oreos and alternate until you’ve added the remaining colors and Oreos. If you want to, you can add the digging Easter bunnies on top (this is a photo from my original post).
Store this dirt cake in an airtight container for up to a week or add lids to mason jars!
NOTES
- Buy the party pack of Oreos.
- Crush the Oreos ahead of time. For the dirt cake, you’ll need about 45 Oreos. Crush them, place them in a bowl and set aside. If you choose to make the little bunnies, you’ll need about 12 Oreos. Crush those Oreos separately, place in a separate bowl and set aside until you need them.
- For the vanilla pudding mixture, feel free to reuse the same mixing bowl you used for the whipped cream, since everything will end up being mixed together anyway.
- Use 8 oz mason jars, small plastic disposable cups, a 9 x 13 pan or serving bowl to serve this dirt cake.
- When assembling, shake the mason jar back and forth to allow each layer to settle and be an even layer.
VIDEO

Dirt Cake in a Jar {Easter Dessert}
Ingredients
Oreo Balls (Digging Easter Bunnies)
- 12 Oreos crushed
- 2 oz softened cream cheese
- 6 oz almond bark melted
- 5 drops pink food coloring gel
- 40 mini marshmallows
Crushed Oreos
- 45 Oreos crushed
Vanilla Pudding
- 5 oz instant vanilla pudding 1 large packet
- 3 cups milk
Whipped Cream
- ½ cup heavy whipping cream
- 1 tbs powdered sugar
- 1 tsp vanilla extract
Cream Cheese Mixture
- 8 oz softened cream cheese
- 4 tbs softened butter
- 1 cup powdered sugar
Instructions
Crushed Oreos
- Use a food processor to crush 45 Oreos for the dirt cake and set them aside. Then crush 12 Oreos and set them aside in a different bowl for the Oreo balls.
Oreo Balls (Digging Easter Bunnies)
- Mix the crushed Oreos and cream cheese until thoroughly combined.
- Roll the Oreo mixture into balls using 1 tsp measure (should make about 16-18).
- Melt 4 oz of almond bark in the microwave in 30 second intervals until completely melted.
- Coat the Oreo calls in the almond bark and place them on tin foil or a silicone baking mat to dry.
- Cut 8 mini marshmallows in half and place one half marshmallow on each Oreo ball before it dries for the tail.
- For the remaining marshmallows, use your fingers to press them flat and set aside.
- Melt the remaining 2 oz of almond bark in the microwave in 30 second intervals.
- Add 5-6 drops of pink gel food coloring to the almond bark to make a paste.
- Roll the paste into balls and flatten with your fingers to make the soles of the bunny's feet.
- Apply the pink paste onto the flattened marshmallows by squeezing them together. Set the feet aside to dry.
Vanilla Pudding
- Add the instant vanilla pudding packet and milk into a mixing bowl and whisk for 2 minutes until it thickens. Place in the refrigerator.
Whipped Cream
- In the bowl of a stand mixer, beat heaving whipping cream, powdered sugar and vanilla on high until stiff peaks form. Place the whipped cream in a bowl in the refrigerator.
Cream Cheese Mixture
- In the bowl of a stand mixer, combine softened cream cheese, softened butter and powdered sugar until thoroughly mixed.
- Fold in the vanilla pudding and homemade whipped cream.
- Separate the pudding mixture into three separate bowls (about 1 ⅓ cup per each bowl), add about 5-6 drops food coloring to each and about 2- and mix thoroughly. I chose to do pink, purple and yellow.
How to Assemble Dirt Cake
- Start with 2 tablespoons of your first color of filling, followed by one tablespoon of crushed Oreos. Add your second color, followed by crushed Oreos. Then your third color, followed by the final layer of crushed Oreos.
- Store this dirt cake in an airtight container for up to a week or add lids to mason jars!
Notes
- Buy the party pack of Oreos.
- Crush the Oreos ahead of time. For the dirt cake, you’ll need about 45 Oreos. Crush them, place them in a bowl and set aside. If you choose to make the little bunnies, you’ll need about 12 Oreos. Crush those Oreos separately, place in a separate bowl and set aside until you need them.
- For the vanilla pudding mixture, feel free to reuse the same mixing bowl you used for the whipped cream, since everything will end up being mixed together anyway.
- Use 8 oz mason jars, small plastic disposable cups, a 9 x 13 pan or serving bowl to serve this dirt cake.
- When assembling, shake the mason jar back and forth to allow each layer to settle and be an even layer.
CHECK OUT MORE DELICIOUS DESSERT RECIPES
Looking for other delicious dessert recipes like this? Check these out:
- Cinnamon Butterscotch Cookies
- No-Bake Ritz Cracker Cookies
- 3 Ingredient Oreo Balls
- Orange Spiced Sugar Cookies
Did you make this Easter dirt dessert? If you enjoyed it, I’d really appreciate if you came back and gave it a five star rating! Tag me on Instagram (@thesimplehomeplace) to show me your own recreation of this recipe!


This is both adorable and looks so good!
Thank you!
Oh I completely overlooked the little bunnies they are great. I will have to make this recipe with my kids.
Thanks for sharing
Thank you! I hope you enjoy. My kids loved these 🙂
These are absolutely adorable Easter desserts. I think my daughter would go crazy over these. Super yummy!
Thank you! They were so fun to make and my kids really enjoyed them 🙂
It’s a perfect Easter dessert. My kids would love to have this. Thanks for sharing.
Thank you so much!
These are so cute! And yummy.
Thank you!
So pretty! I love the cream cheese part. I never would’ve thought to do that.
Thank you so much! It was a fun little treat!
These are fun!
Thank you!
Love Oreo cookies so this is perfect dessert for me!
Love it!
This is so perfect for Easter with the pastel layers. And the bunny butt on top is adorable!
These look so adorable! Such a sweet idea. Thank you for sharing!
Thank you 🙂
What a cute dessert! This looks like a lot of fun to make and I love the colors!
Thank you so much!
This is a really cute recipe. I’ll have to share this with our granddaughter who loves baking, this would be right up her alley.
Thank you so much! I hope she enjoys it!
These look so good and the bunnies on top are adorable. Great idea!
Thank you so much!
Wow! This is a great idea for Easter treats and dessert!
Thank you!!
This is the cutest dessert I’ve ever seen! I love everything about it and can’t wait to make it!
Thank you so much, Leah! I hope you enjoy it 🙂
This looks like so much fun! Thanks for sharing!
Thank you!
I love this recipe! I like that you added marshmallows. Very unique idea I did not think of!
Thank you!!
Yummy! Delicious, my kids will love this!
Thank you! I hope you all enjoy!
These are so cute! My kids would love this. Thank you!
Thank you!
So delicious! Love how cute this dessert looks.
Thank you!