Learn how to render tallow from beef fat that’s perfect for cooking with and using in homemade skincare products!
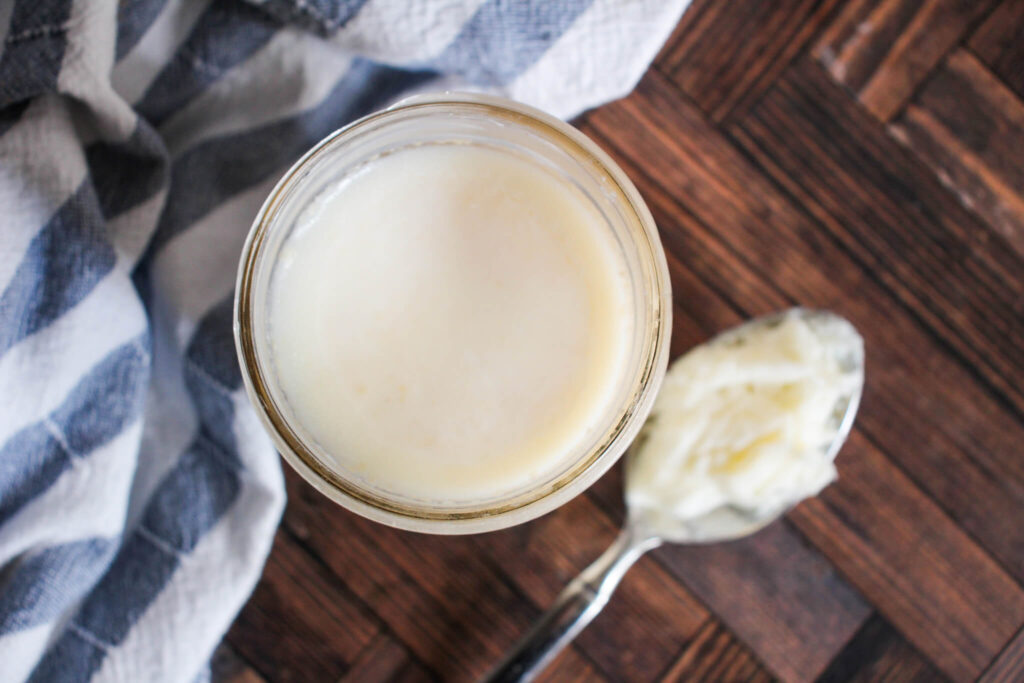
Tallow is all the hype right now and making a comeback for good reason. I love that it’s made from fat that would otherwise be discarded, thus not wasting any part of the animal because around here, I try to limit waste as much as possible. The process of rendering tallow is really easy and the end result can be easily stored for up to a year. You can use tallow to cook with and in your skincare products because it’s fully of really great vitamins for your skin and body. And although it’s purely a saturated fat, it’s a type of saturated fat that’s actually not as bad for you as most. Let’s dive in deeper on tallow, its benefits and the different ways to render it down!
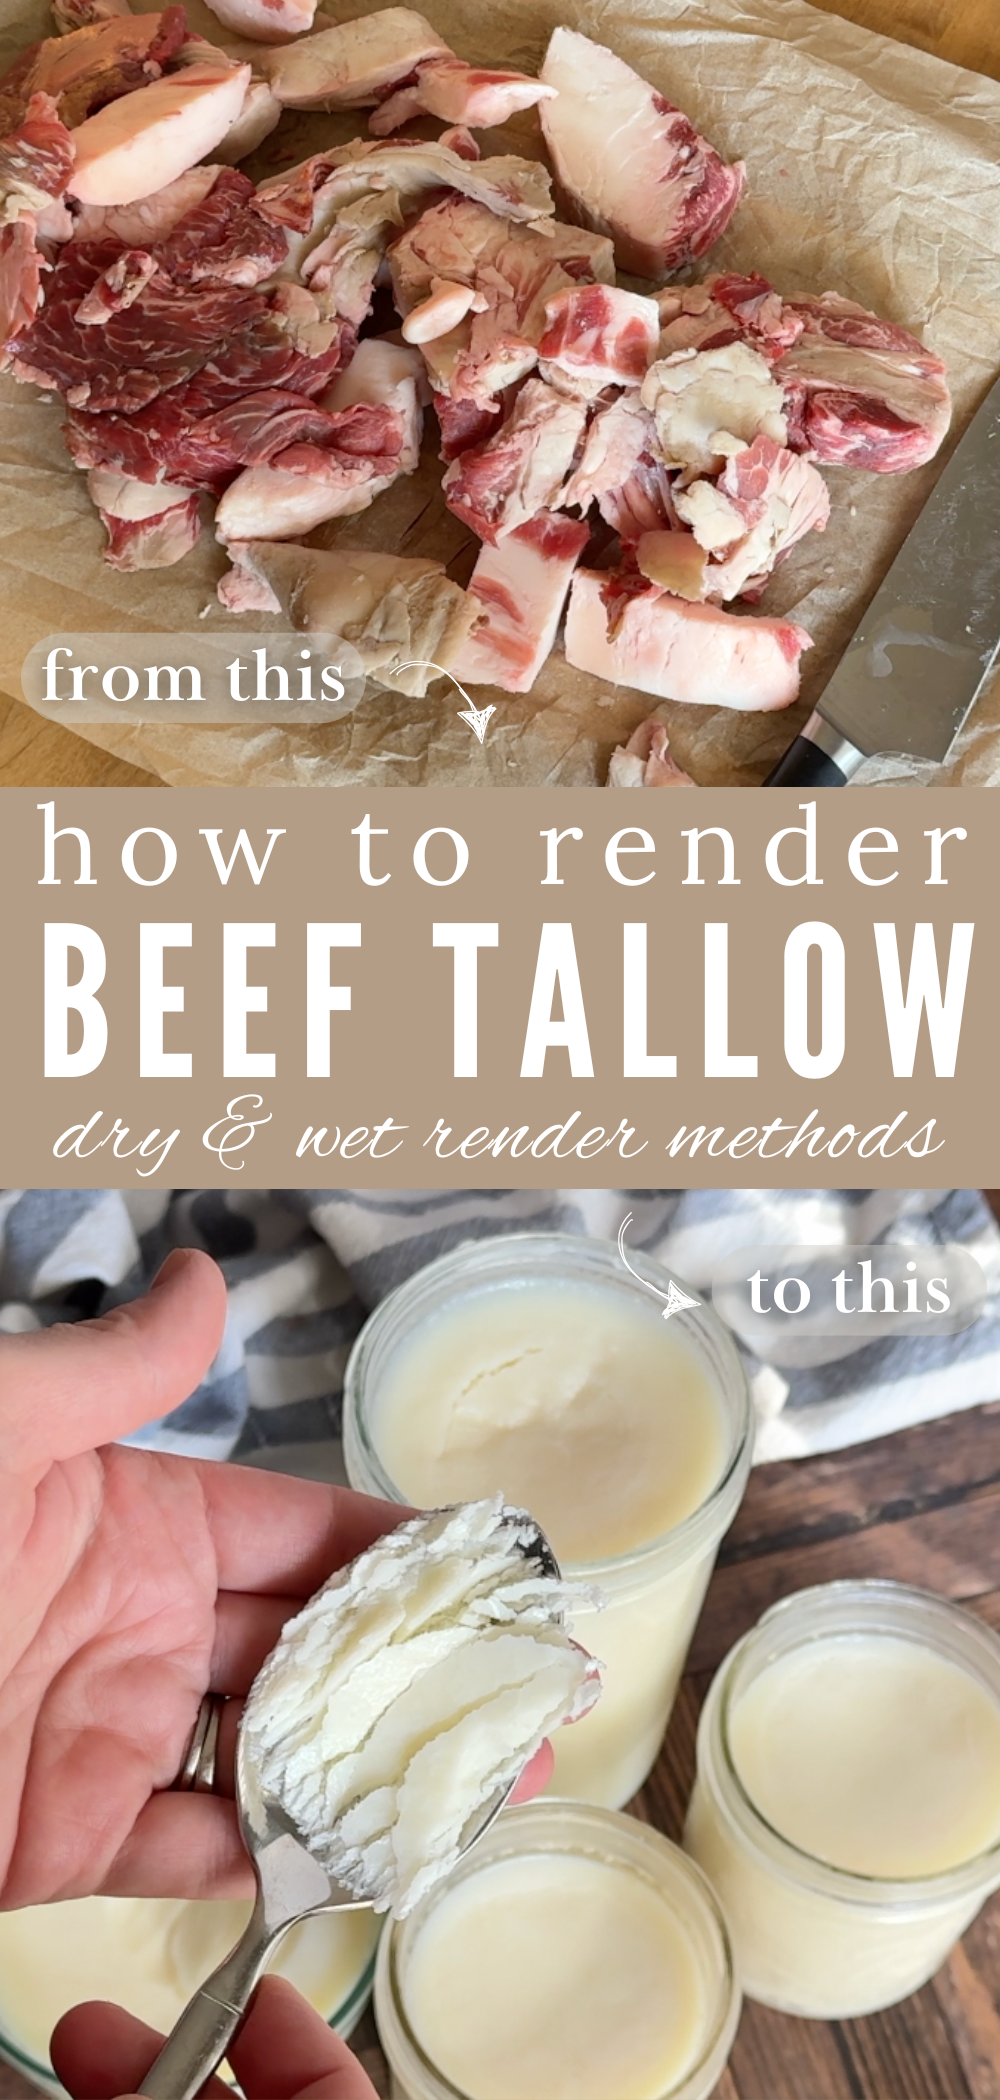
PIN FOR LATER!
This post may contain affiliate links, which means I may receive a commission, at no extra cost to you, if you make a purchase through a link. Please see our full disclosure here for further information.
YouTube Video
COMMON FAQs
What is tallow?
Tallow is essentially fat from a ruminant animal, typically cattle, that has been rendered, or slowly melted, and purified to remove tissue and other debris and impurities. What’s left is a solid at room temperature fat that is useful for cooking and making skincare products.
What are the benefits of cooking with tallow?
Tallow has many amazing benefits when it comes to cooking. The smoke point of beef tallow is around 400°F, making it perfect for cooking at high heat, whether that’s frying or searing. I especially love using tallow to make homemade french fries. Did you know that McDonald’s used to fry their famous french fries in tallow? That should tell you everything about how good it is!
Additional benefits of tallow include its properties. Tallow is made mostly of saturated fat. Typically saturated fats are fats we tend to avoid because they can raise cholesterol levels. However, tallow also contains something called stearic acid which is a type of saturated fat that does not raise cholesterol. Also found in tallow is conjugated linoleic acid, which can possibly prevent the build up of plaque in the arteries, vitamin A, D, E and K, all of which are great for the body in different ways.
What are the benefits of using tallow on the skin?
While tallow is a great cooking fat, it also has amazing benefits for the skin. First off, it’s non-comedogenic, which means it will not clog pores, making it perfect for use on the body and face. It’s also full of vitamins, including vitamin A, that are great for anti-agin. Tallow is incredibly moisturizing and hydrating for the skin, can help regulate oil production, reduces irritation and is nourishing. I love using it to make this homemade whipped tallow body butter that’s great for dry skin.
Where can I find beef fat?
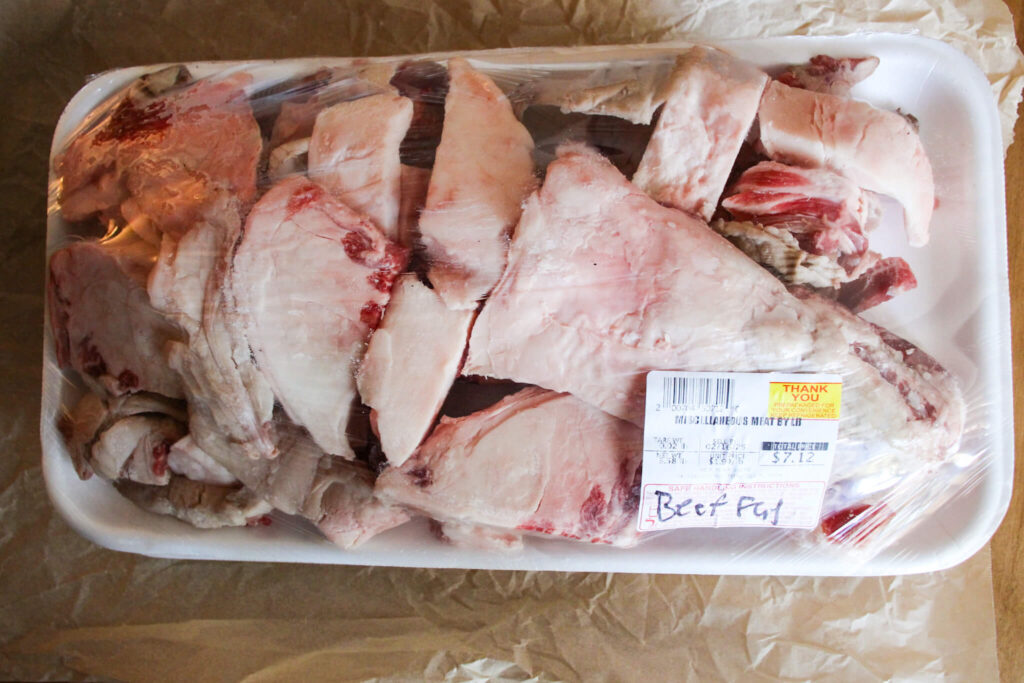
There are many places you can source beef fat. If you’re someone who purchases a quarter, half or whole beef cow, you can request to receive the beef fat from the butcher. You can also find it or request it from your local butcher shop, regardless if you’re purchasing a beef or not. I was able to find mine in the freezer section of my local butcher for a decent price. If you’re not interested in rendering your own beef fat into tallow, you can purchase tallow from many places, including here on Amazon.
How to Render Tallow
Wet Rendering
Wet rendering is a method of rendering tallow that incorporates involves slowly melting down beef fat with water and salt. The water and salt help to “wash” or purify the tallow and also reduces or removes the beefy smell that beef fat has. Tallow made using wet rendering method is best for making homemade skin care products, but can also be used in cooking.
Dry Rendering
Dry rendering is a method of rendering tallow that involves slowly melting beef fat, then straining the fat to remove impurities. Tallow made this way is best for cooking.
How to Store Tallow
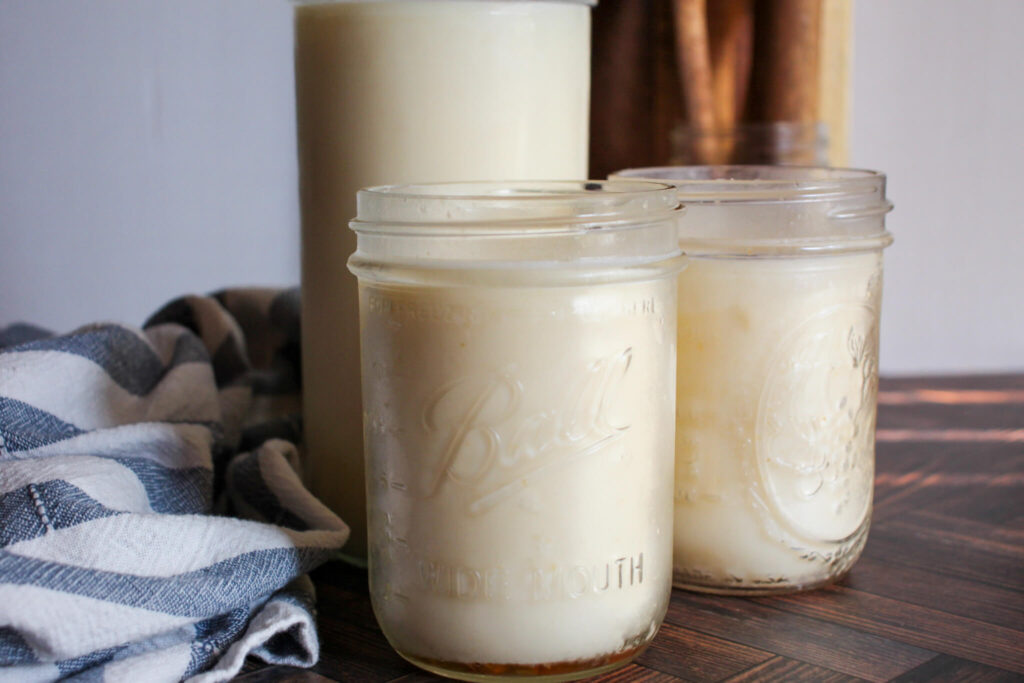
Store tallow in an airtight container in a cool dark place at room temperature for a few weeks, in the refrigerator for a few months or in the freezer for up to a year. I like using mason jars with these lids for storage.
How to Render Tallow
Tools You May Need:
- CrockPot, InstantPot or Large Pot
- Cutting board and sharp knife
- Ladle
- Fine mesh strainer
- Cheese cloth or coffee filters
- Mason jars and airtight lids
Materials Needed:
- Beef fat
- Water
- Salt
Directions
If the fat is frozen, allow the fat to thaw in the refrigerator.
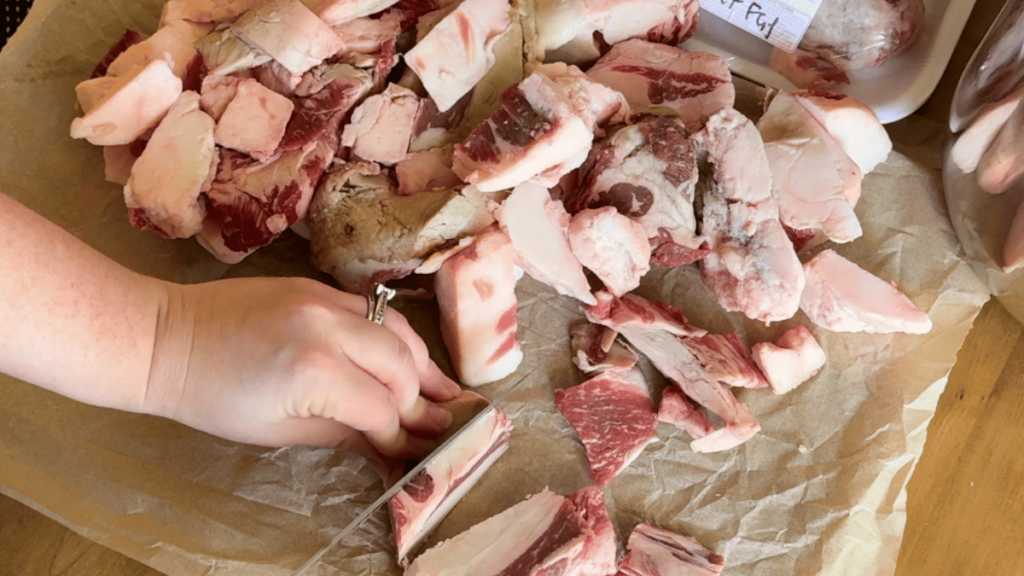
Cut the fat into small chunks, the smaller the better.
Add the pieces of fat to a slow cooker or InstantPot and set to low.
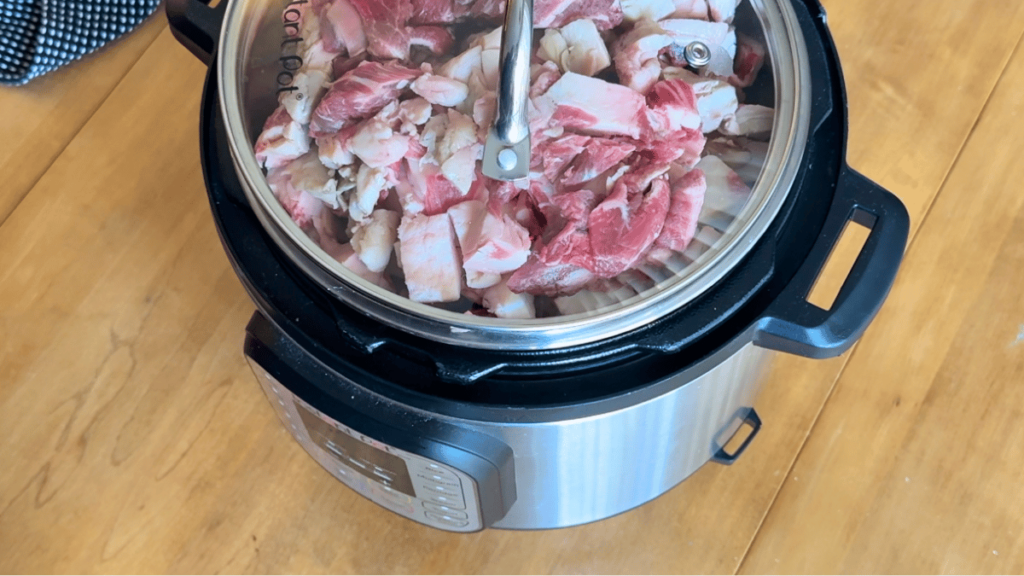
Allow the fat to melt down completely. This may take several hours depending on how much beef fat you begin with.
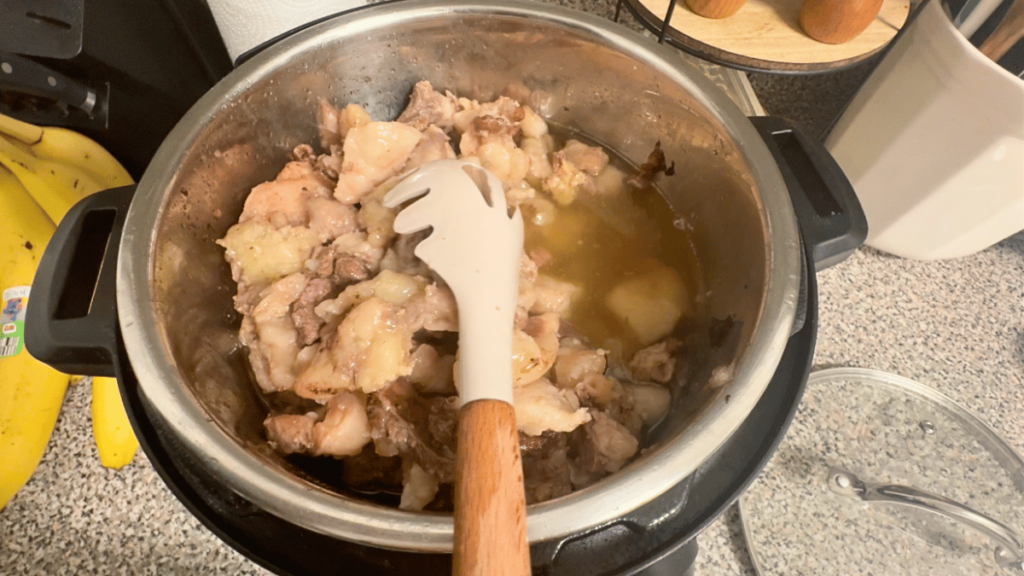
How to Render Tallow Using the Dry Render Method
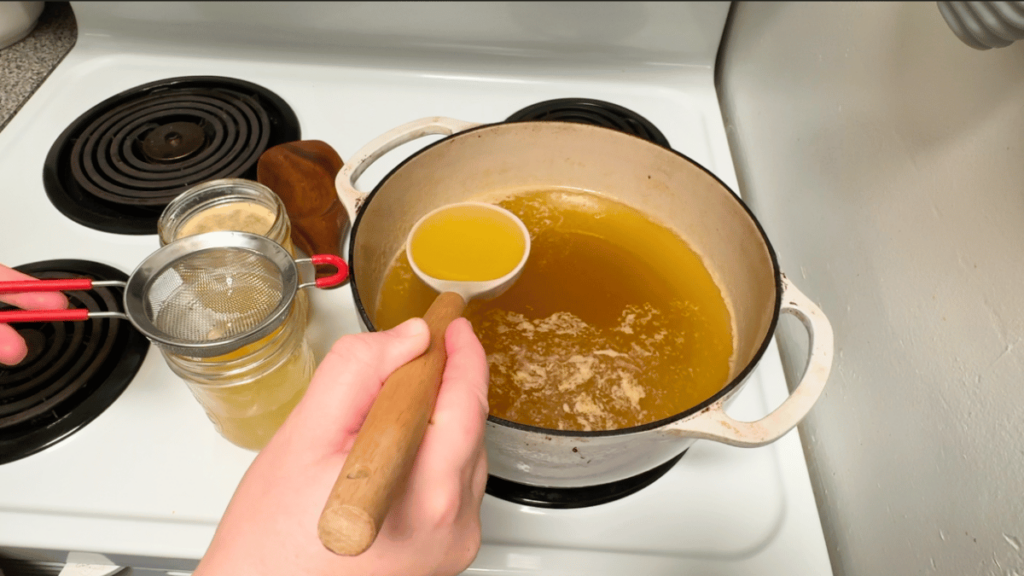
Once the fat is melted, strain the tallow into a jar using a fine mesh strainer that’s lined with a cheesecloth or coffee filter.
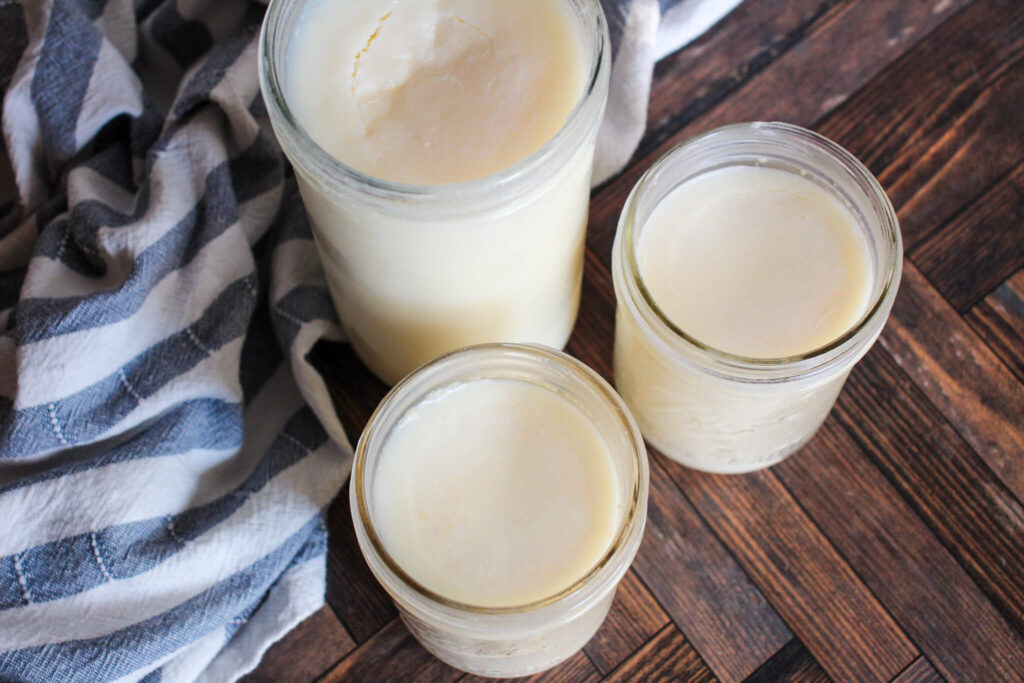
Allow the tallow to cool then add an airtight lid and store on the counter, refrigerator or freezer.
How to Render Tallow Using the Wet Method
Melt the chunks of beef fat on low with 4-6 cups of filtered water and 1-2 tbs of salt in a large pot.
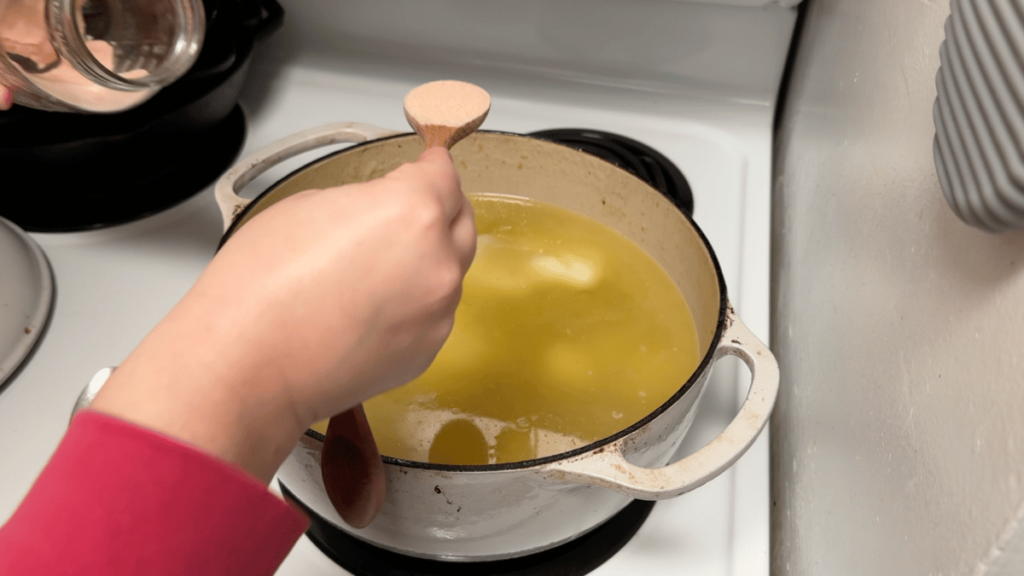
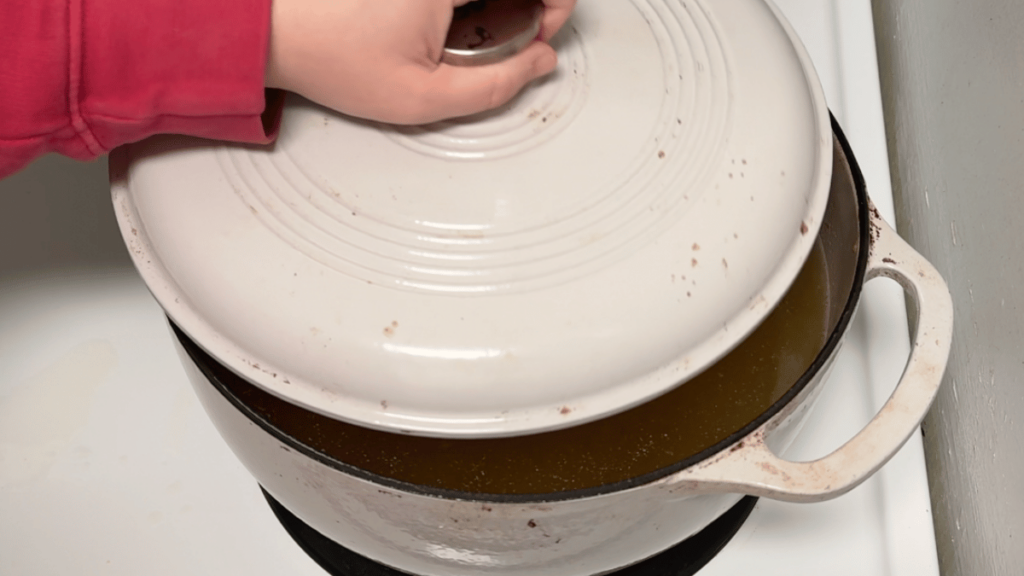
Once the mixture is melted together, remove the pot from the burner, allow it to cool completely, then place it in the refrigerator for 4-6 hours or until it’s completely solidified.
Remove the pan from the refrigerator and use a butter knife to scrape any debris from the top of the tallow.
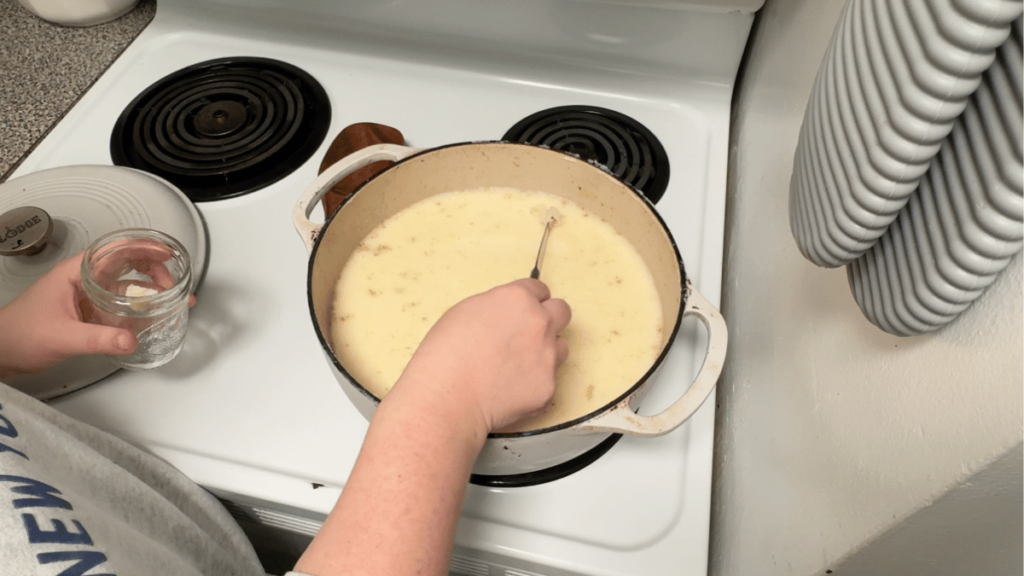
Run the butter knife along the sides of the tallow to remove it from the pan. Continue scraping until all the debris is removed.
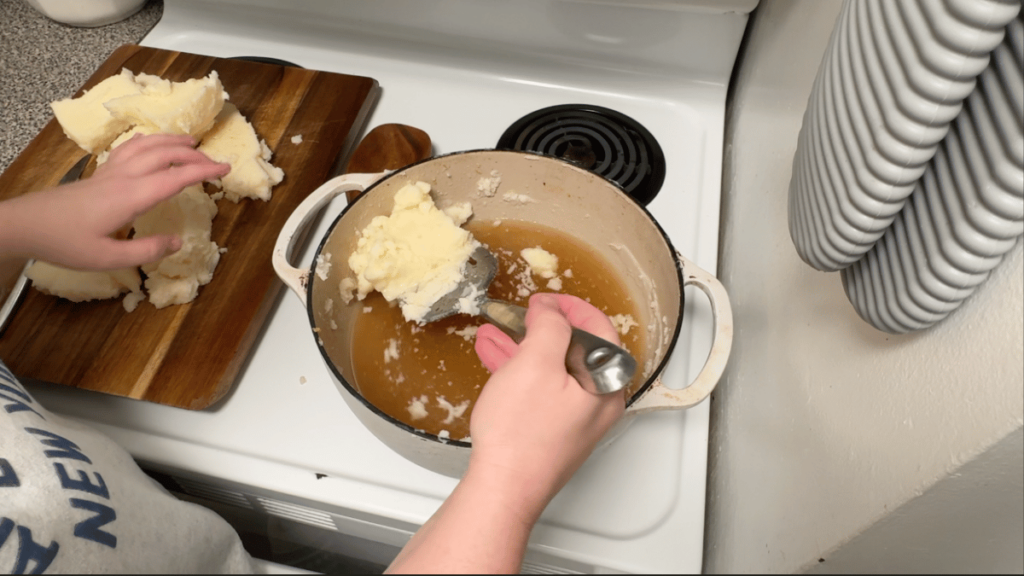
Cut the tallow into small chunks and add it into a clean pot and repeat the previous four steps 2 more times or until the water runs clean.
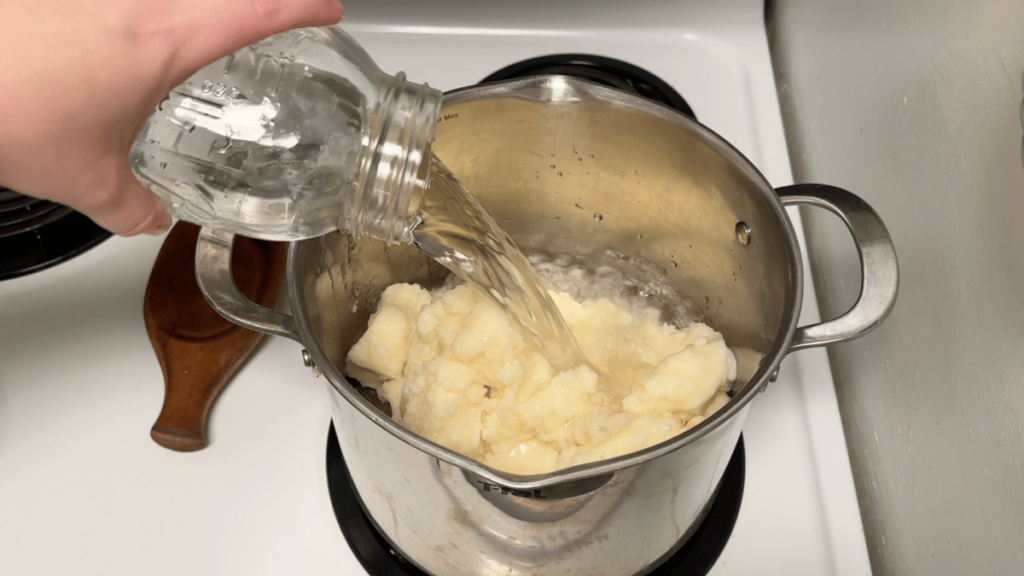
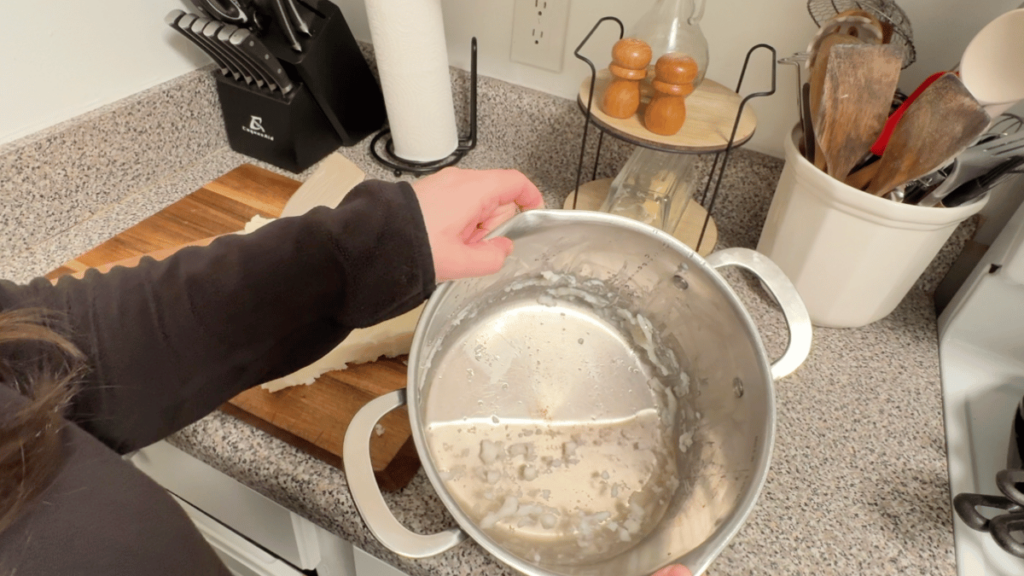
Once the tallow is free of debris, melt it down once more in a clean pot and simmer for 1 hour.
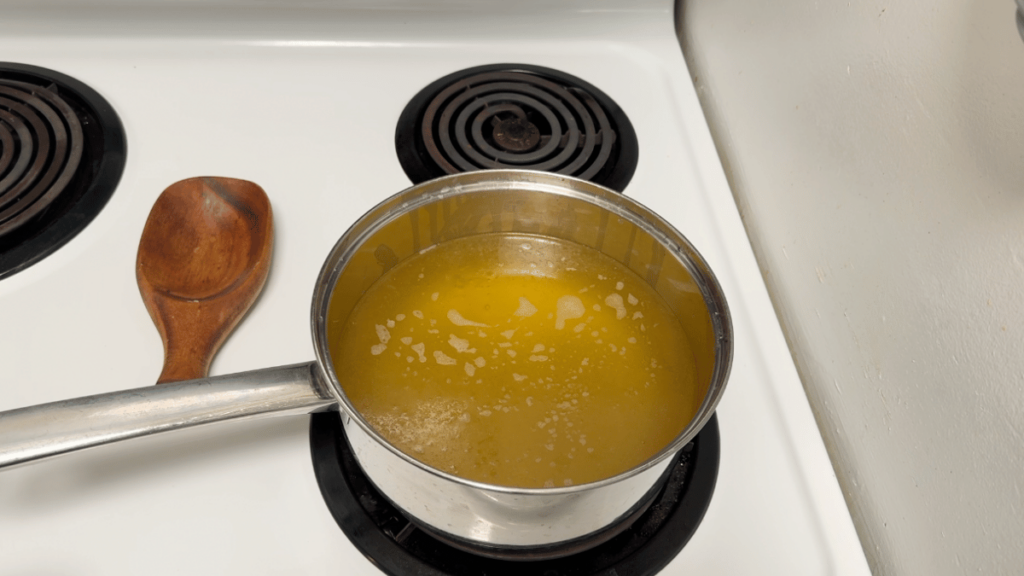
Remove the pot from the stovetop, allow it to cool slightly so the water separates to the bottom, then strain the tallow using a fine mesh strainer lined with cheesecloth into glass jars.
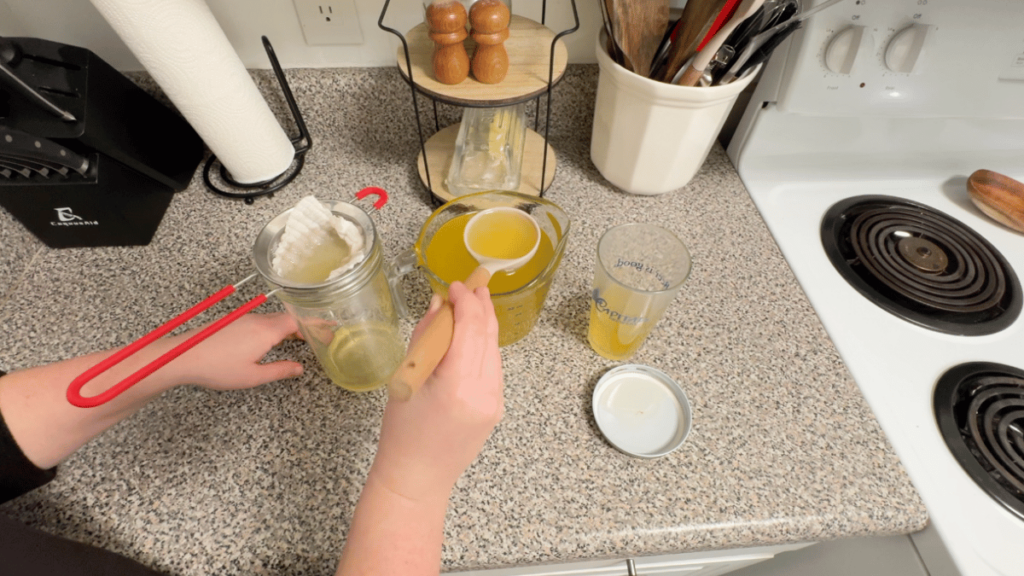
Allow the tallow to cool completely, then add a lid and store on the counter for a few weeks, in the refrigerator for a few months or in the freezer for up to a year.
Notes
- Beef fat melts faster the smaller the pieces are, so I suggest cutting the fat into small pieces or using a food processor to shred it into chunks.
- The dry rendering process is quicker and works best for use in cooking.
- The wet rendering process is more time consuming, but yields a less beefy smelling tallow that’s perfect for use in skincare products.
- Tallow can be made from any fat that comes from a ruminant animal, but if you want higher quality fat, look for leaf fat that is found around the kidneys.
Looking for more cooking basic tutorials?
Looking for more cooking basics tutorials like this one? Check these out:
- How to Make Homemade Pumpkin Puree for Baking
- Homemade Whipped Cream Recipe
- Easy Homemade Bone Broth
- How to Roast a Whole Chicken in the Oven
Did you try rendering your own tallow? If you did, I’d really love to see it. Tag me on Instagram (@thesimplehomeplace) to show me your own recreation of this tutorial!


Leave a Reply