In this easy step-by-step tutorial, learn how to refinish a vintage side table and restore it to its original beauty.
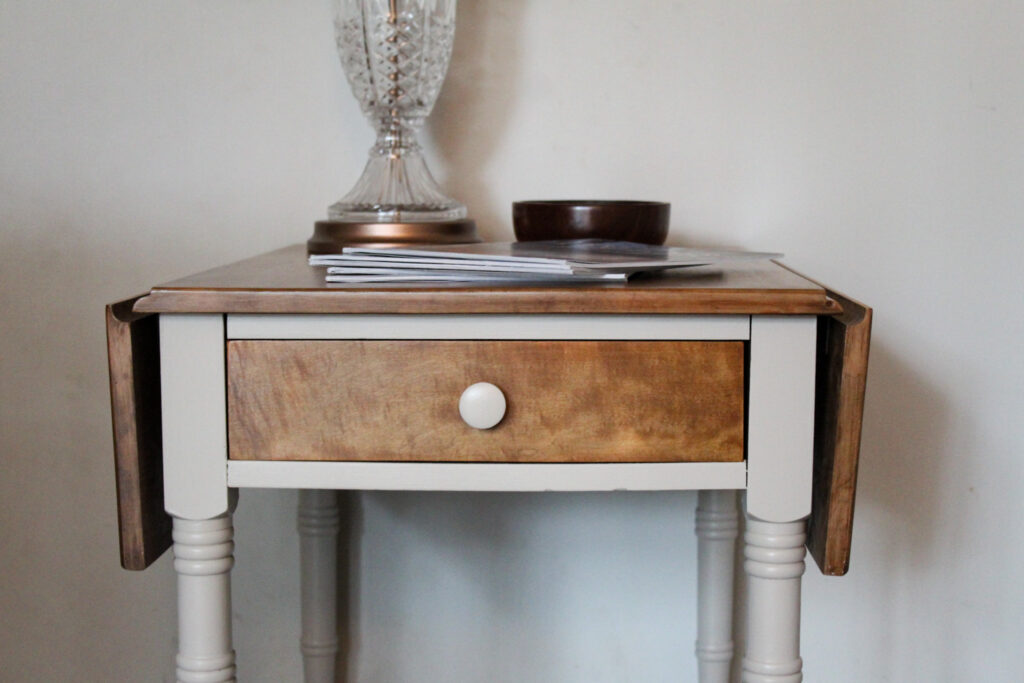
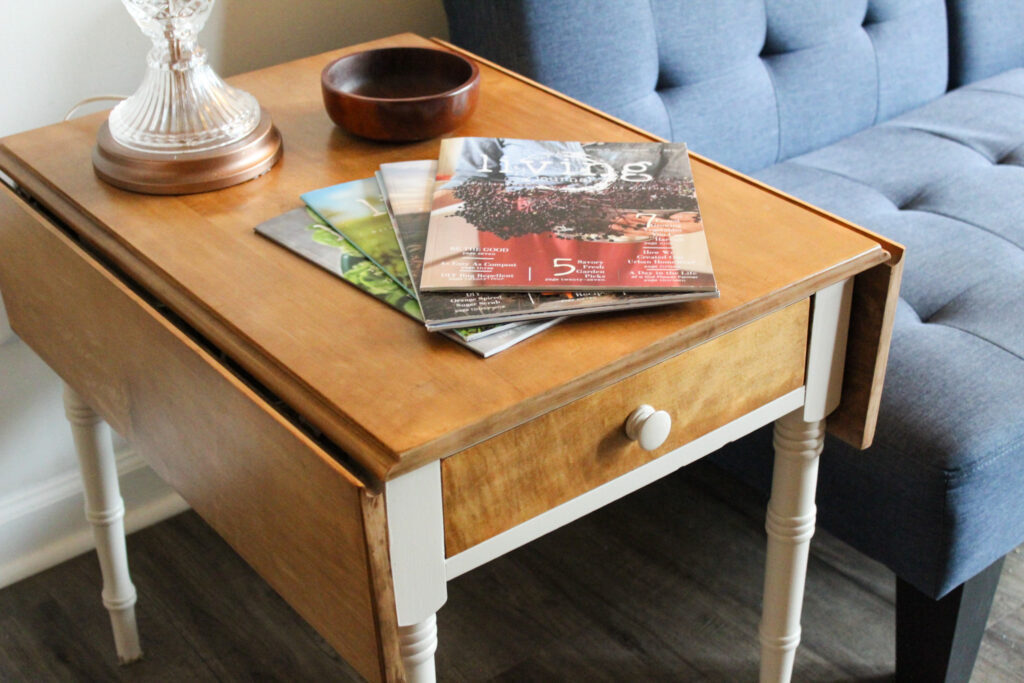
A few months ago, I was on the hunt for a side table for our living room. I really wanted a solid wood piece that was affordable and went with our style. I happened to check out an antique/consignment shop near me and found this cute drop leaf table. It needed a bit of work, but was something I could put to use right away and was the perfect size. It only cost me $55, which honestly is a really good deal for a solid maple table that is vintage no less, which I didn’t know at the time.
Upon further inspection this vintage side table was manufactured by Conant Ball, which was a furniture manufacturer that was founded in the late 1800s and specialized in maple colonial reproductions. My guess is this side table was probably manufactured mid-century, but I really have no way of telling. I do know that Conant Ball furniture can be sold for a decent price, so again, I think this was a real bargain. Structurally, this side table was in really good condition and just needed a refresh. I originally went in wanting to strip it completely and just seal it with no paint, but the legs proved to be a challenge. That being said, I’m over the moon with how this piece turned out and I’d love to show you the steps I took to refinish this beautiful vintage piece!
PIN FOR LATER!
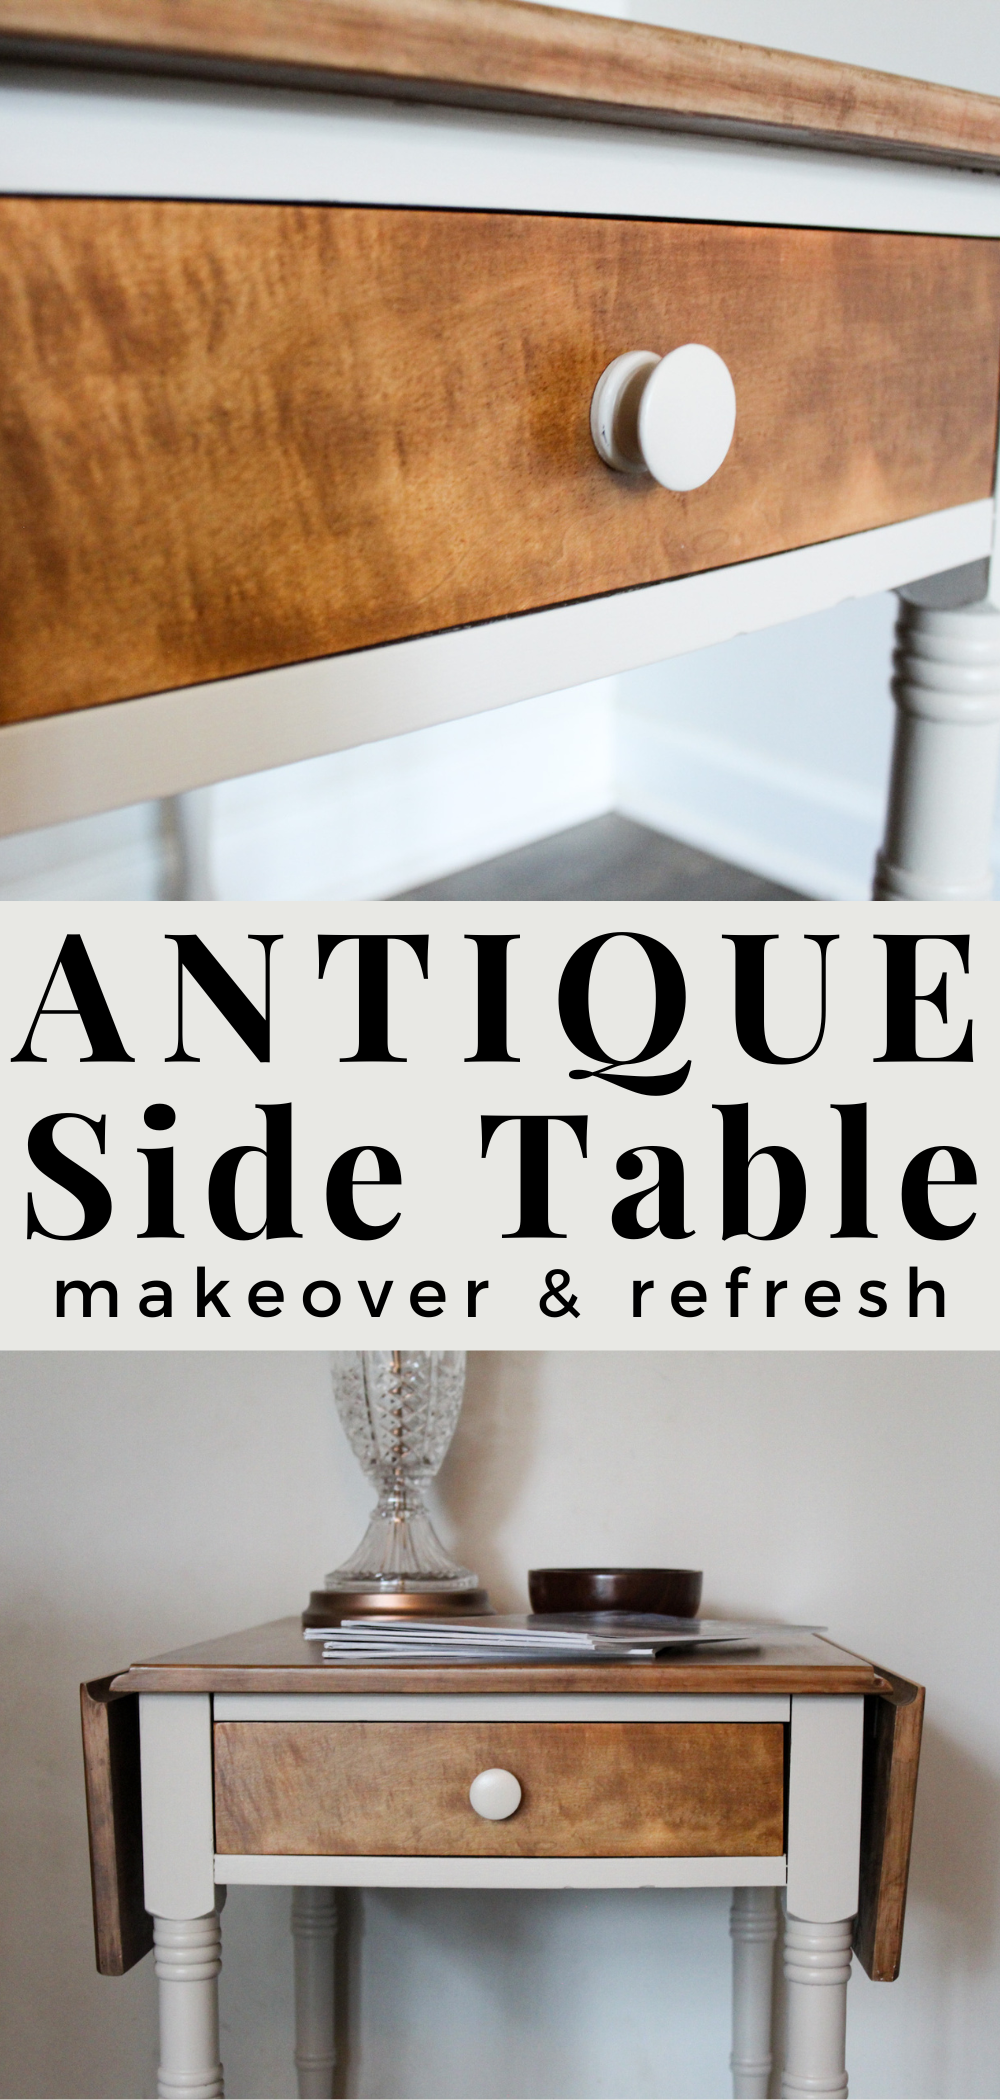
VIDEO
BEFORE & AFTER
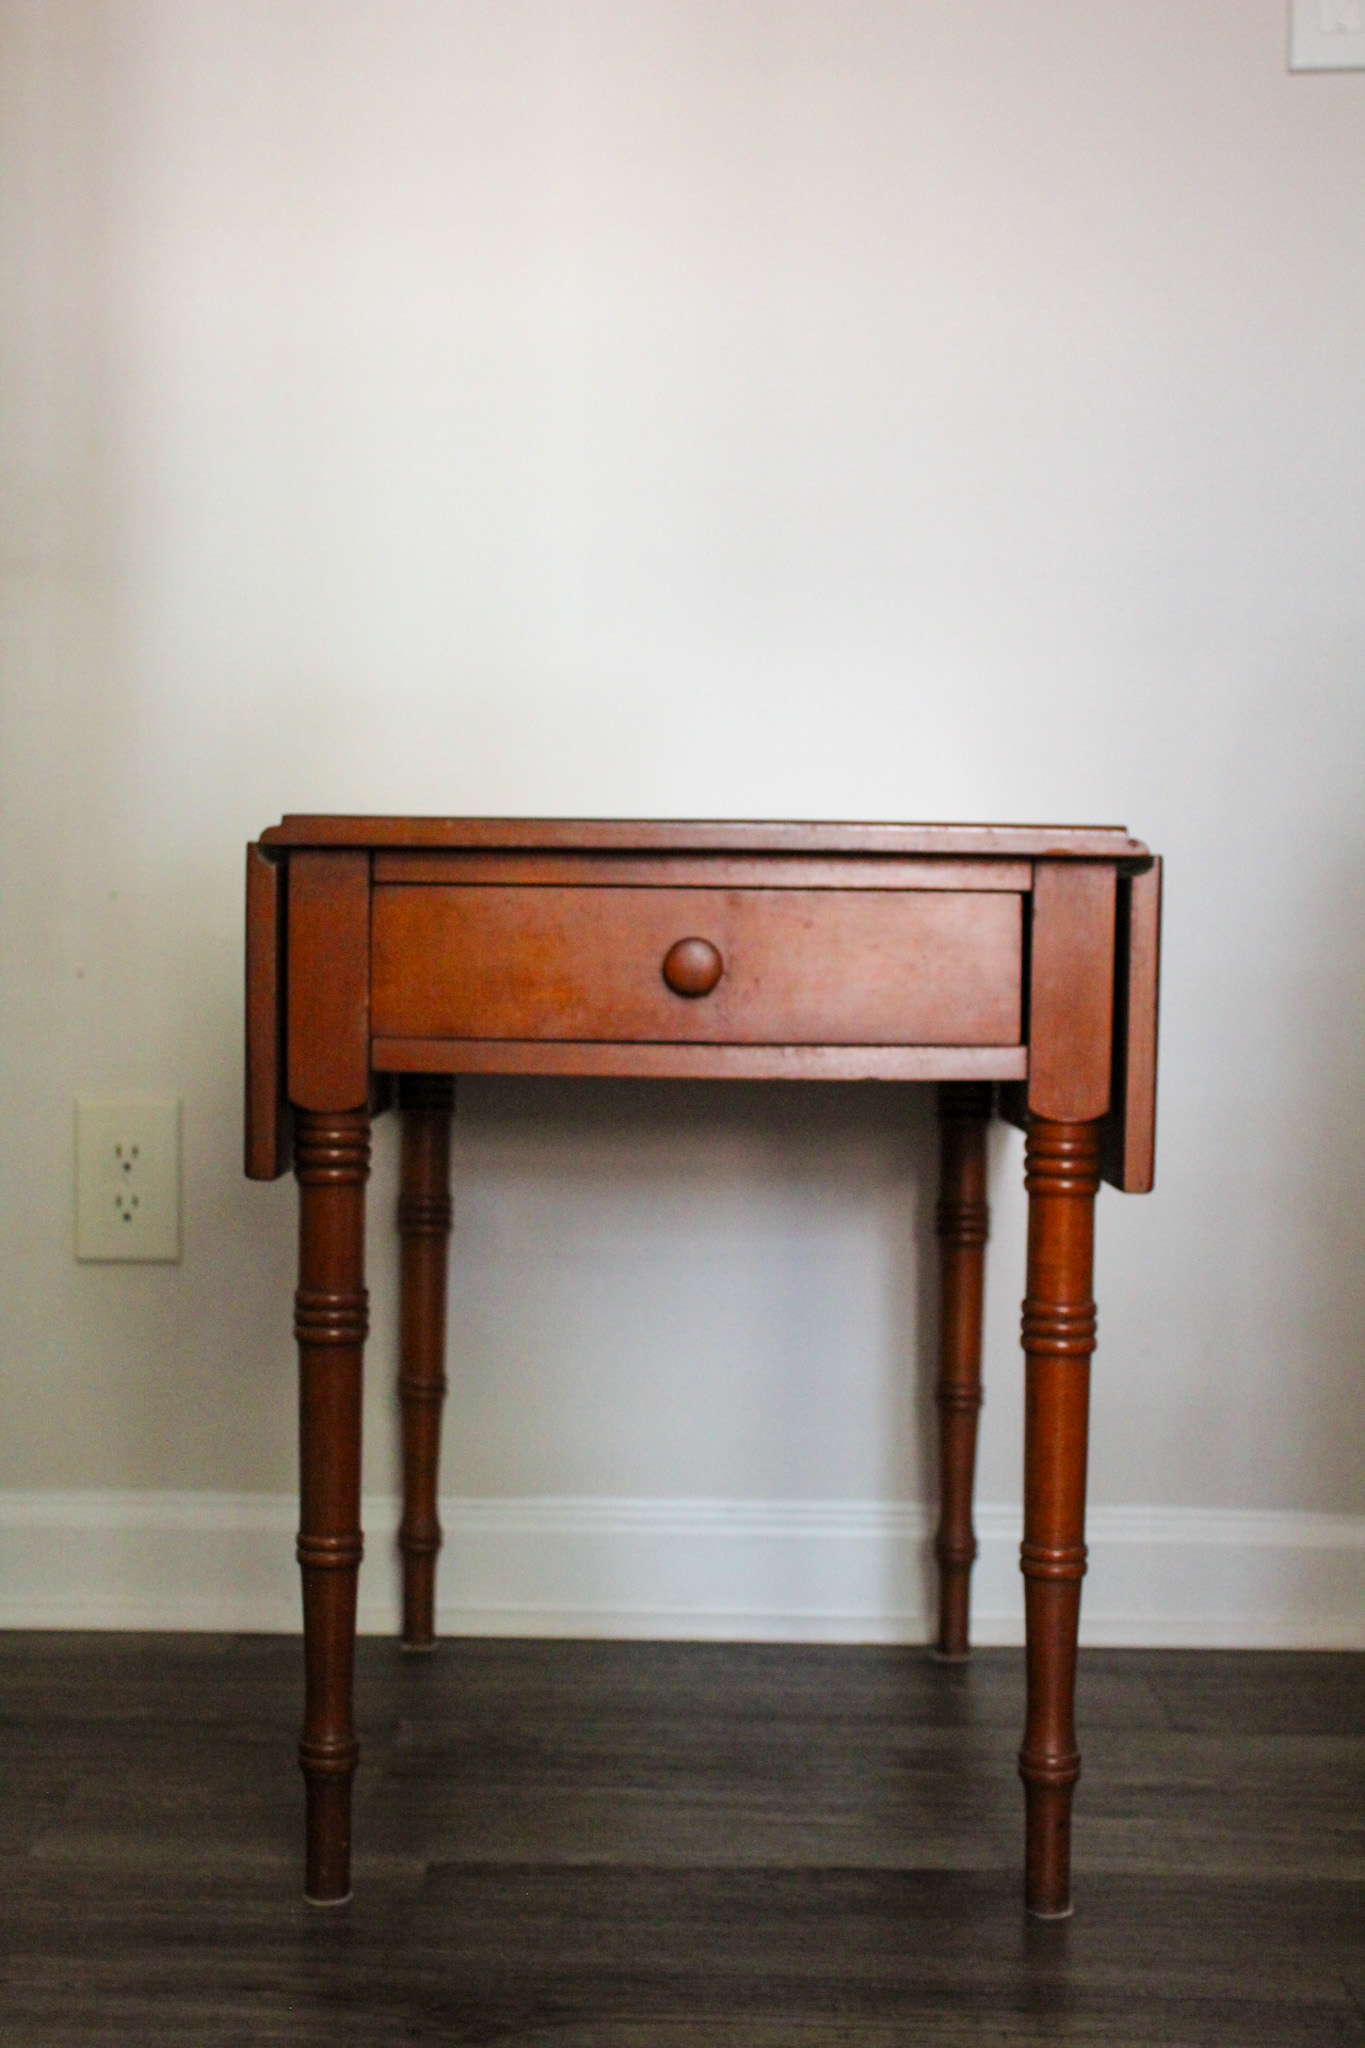
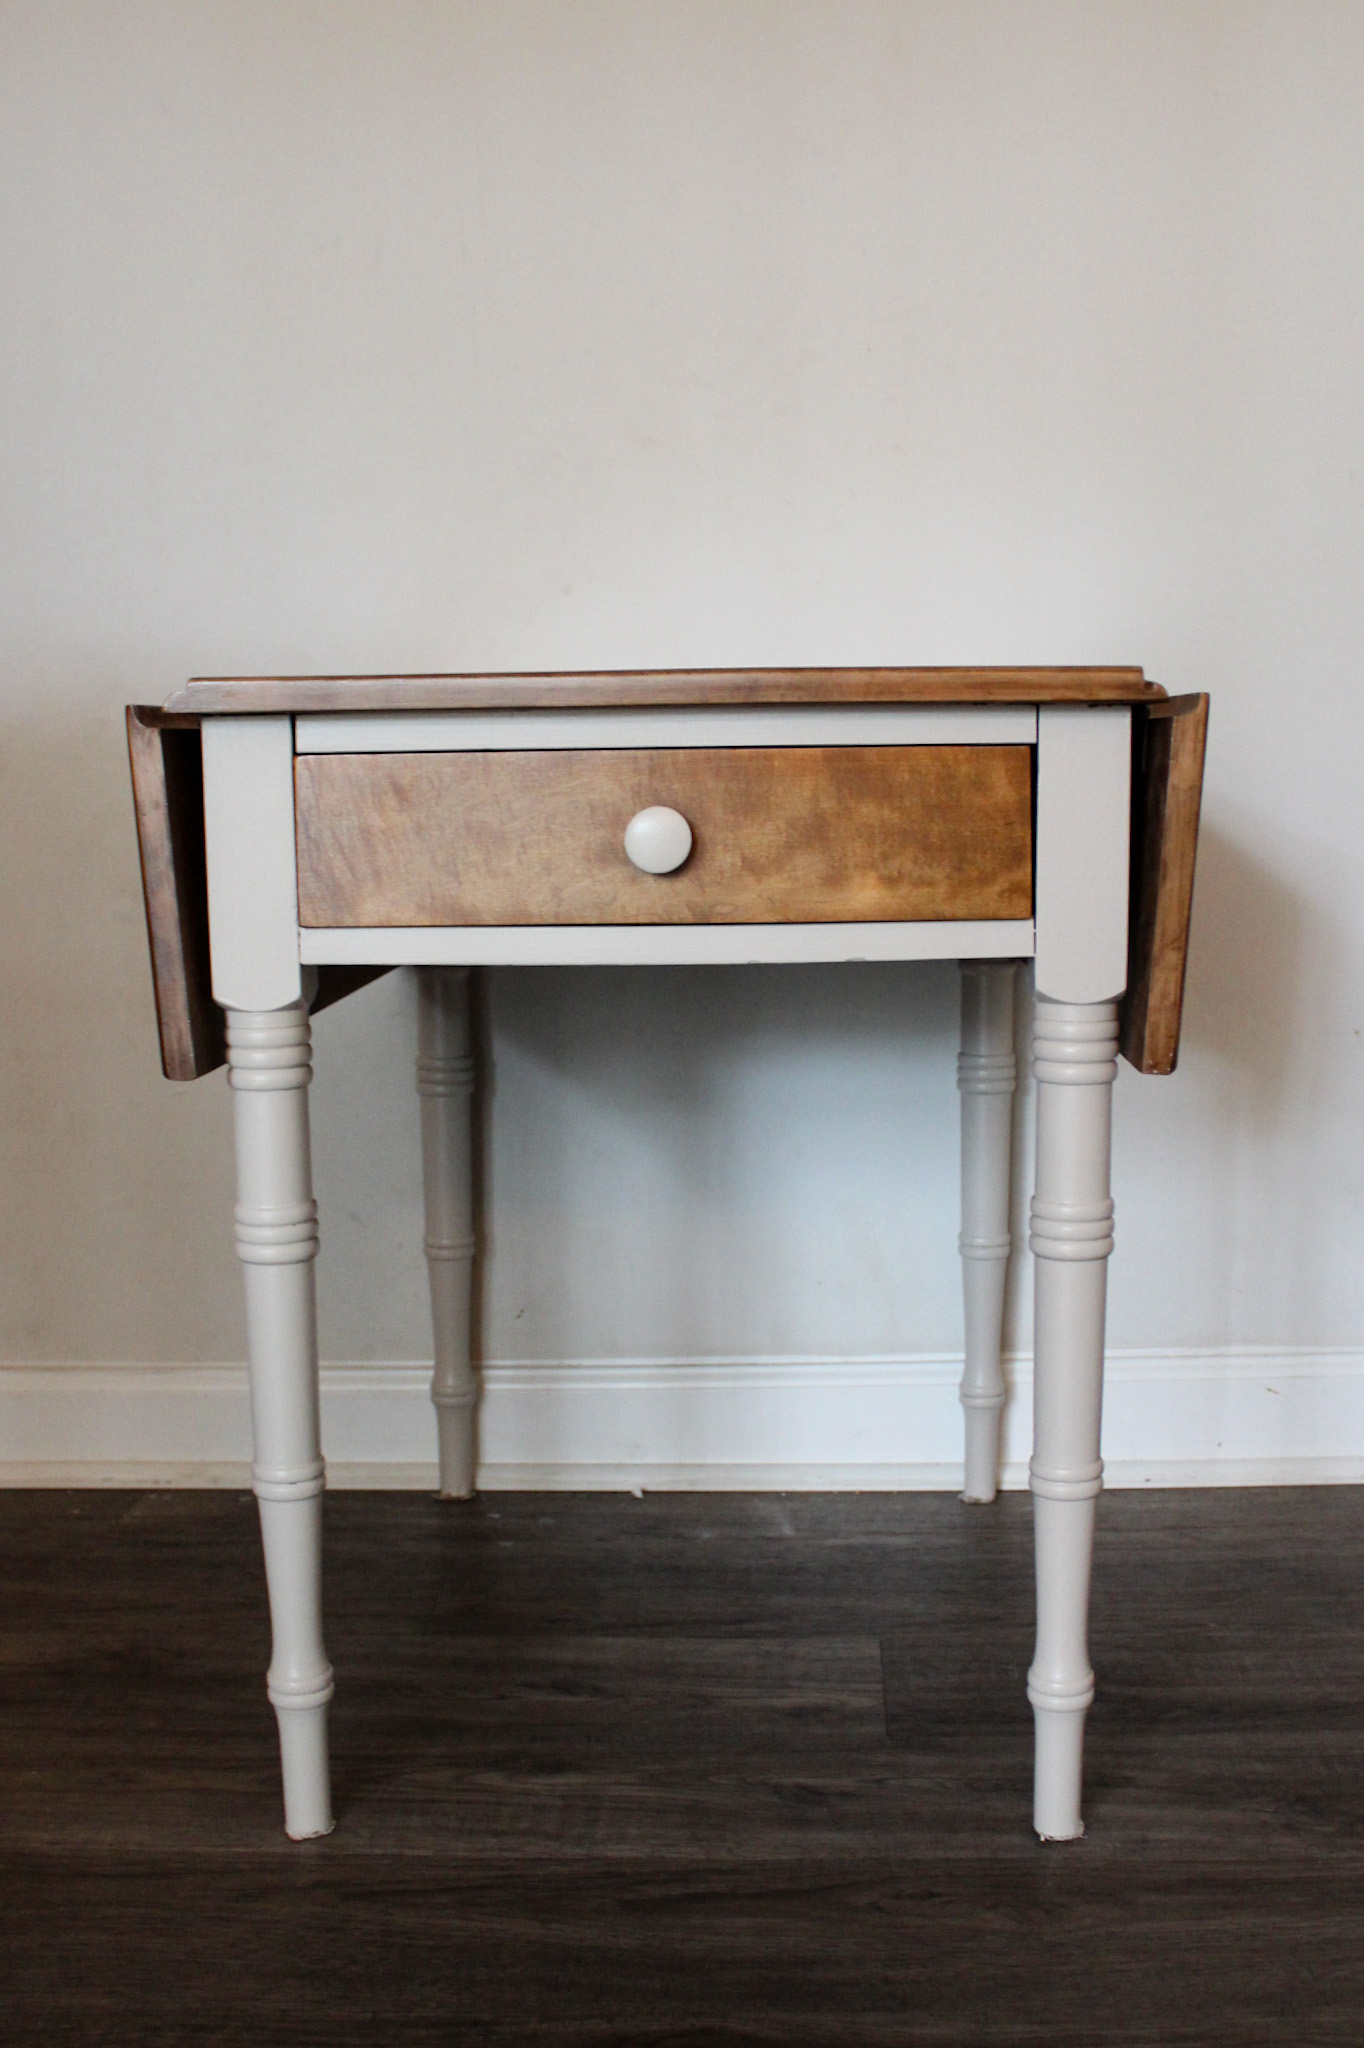
Here’s a quick before an after so you can see the pretty dramatic difference!
HOW TO REFINISH AN VINTAGE SIDE TABLE
This post may contain affiliate links, which means I may receive a commission, at no extra cost to you, if you make a purchase through a link. Please see our full disclosure here for further information.
TOOLS YOU MAY NEED
- Screw Driver
- Gloves
- Carbide Scraper
- Bucket and sponge
- Paint brushes
- Foam Brushes
- Old rag
MATERIALS YOU MAY NEED
- Citrus Strip or Oven Cleaner
- 400 grit sand paper
- 200 grit sand paper
- Painter’s tape
- Polyurethane
- Paint (Behr in Creamy Mushroom)
- Feed n’ Wax
DIRECTIONS: HOW TO REFINISH AN VINTAGE SIDE TABLE
How do you prep wood for refinishing?
Assess your piece to determine if you plan to strip the finish or lightly sand, then paint. In this case, the finish on the top was chipping pretty severely so my plan was to strip all of the finish and start with bare wood.
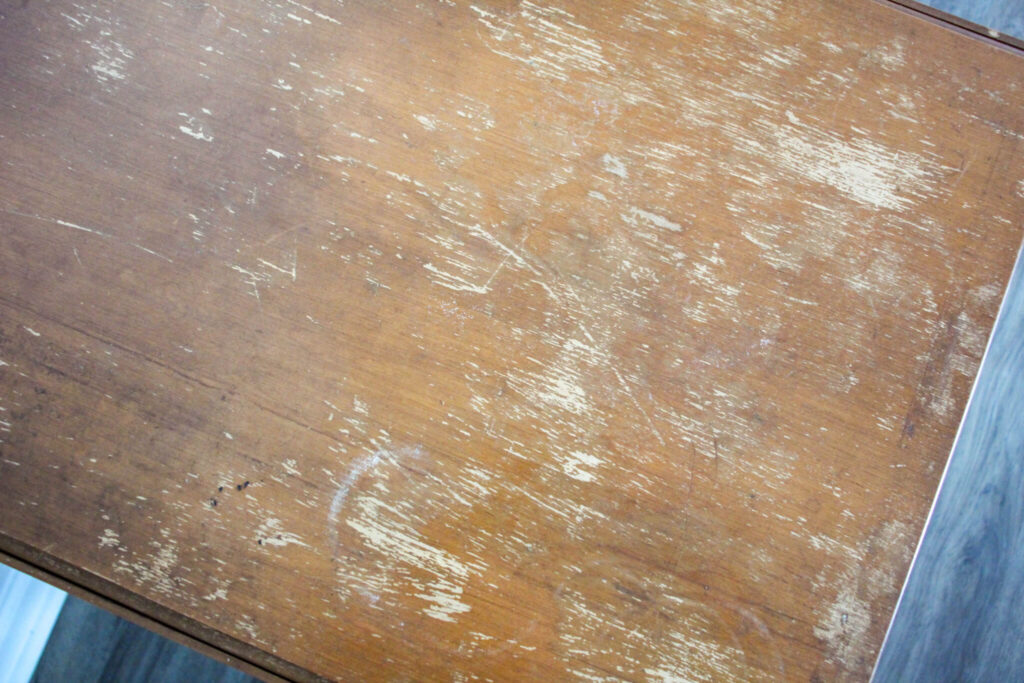
Remove the drawer pulls and the hinges from the drop down sides of the table.
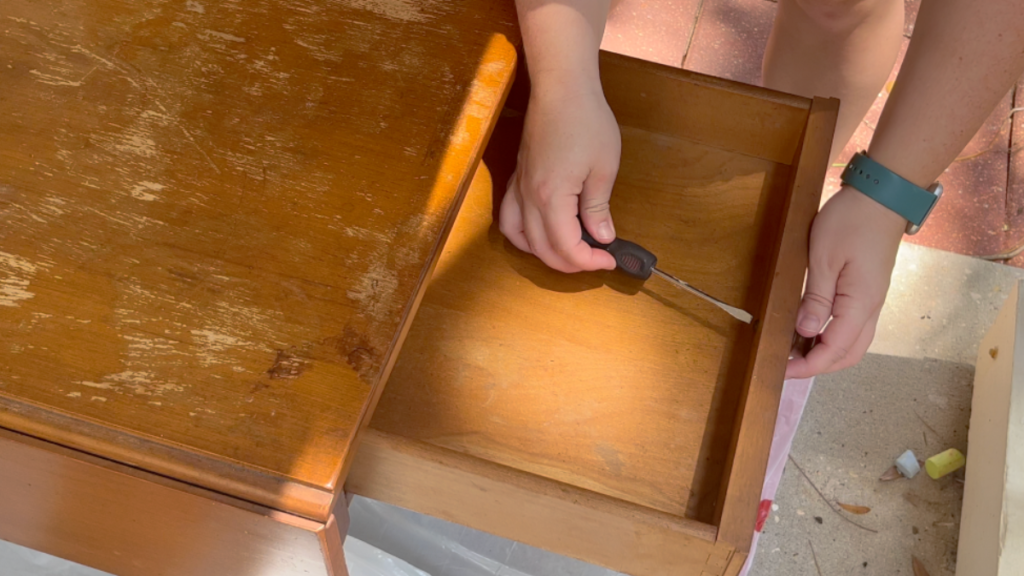
Apply a thick layer of oven cleaner to the entire side table and allow it to sit for 30 minutes.

After 30 minutes, use a plastic scraper to remove as much finish as possible, then use soap and water to clean the table. After allowing the side table to dry, repeat the process until you’ve removed most of the finish.

Allow the table to dry overnight, then use a carbide scraper to remove the remainder of the finish.

Using 200 grit sand paper, sand the table until you’ve removed any more finish and reach the desired smoothness. I like to go in, especially on the top, with a 400 grit for an extra smooth finish.

How do I paint vintage furniture?
Using a clean cloth, wipe your table off completely to remove any dust or dirt. Then using a foam brush, apply polyurethane. See notes for info on staining. Allow the poly to dry according to the directions on the can, then use 400 grit sand paper to smooth out any imperfections before cleaning and applying a second coat.
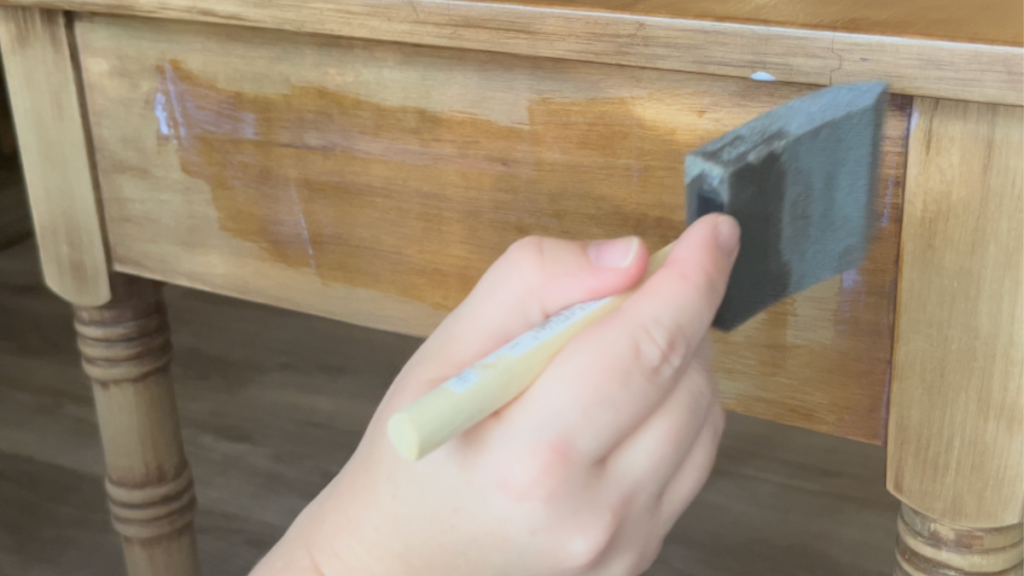
Using a high quality paint and primer combo like Behr and paint the legs and sides of the table, allowing the paint to dry according to the directions on the can between coats. I applied two coats, then touched up any imperfections

Apply Feed n’ Wax to the inside of the drawer and any unfinished wood.

Once the table is completely dry, reassemble it and put it to good use!
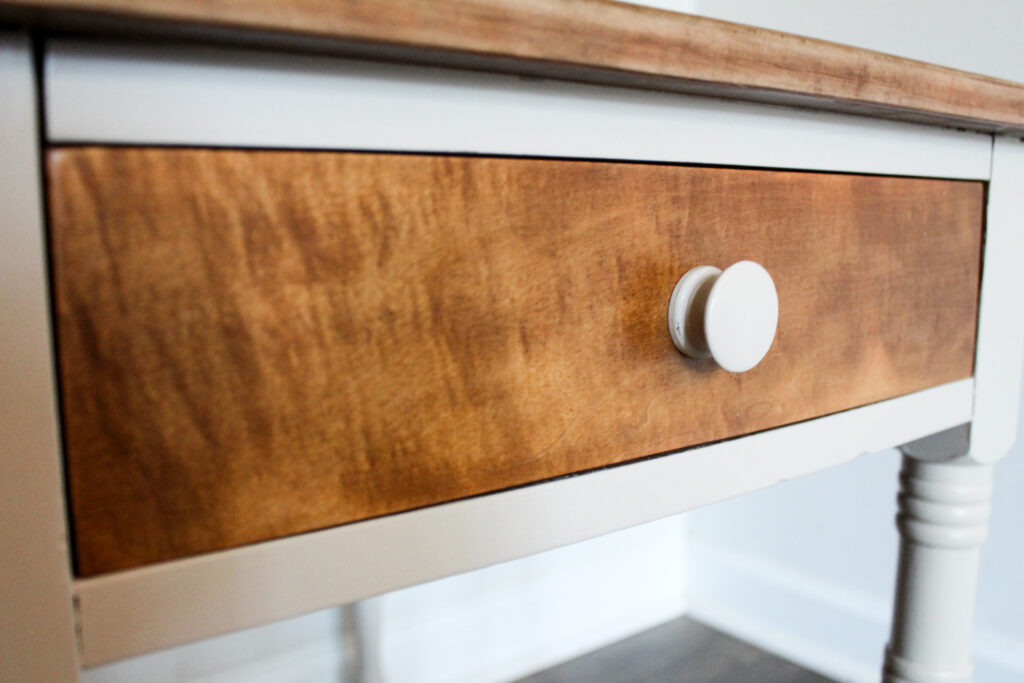
NOTES
- Oven cleaner can make wood very dry, so I recommend using a wood conditioner before applying stain or poly. I did not do that for this piece, but definitely will in the future!
- If you’re staining any portion of your piece, apply the stain, allow it to dry according to the directions on the can, then apply poly after.
- If you feel it necessary, after painting, you can add a clear gloss protective coat.
LOOKING FOR MORE FURNITURE PROJECT IDEAS?
Looking for more DIY project ideas like this? Check these out:
- Easy DIY Barstool Makeover
- How to Paint a Laminate Dresser
- How to Paint a Wooden Bed Frame
- How to Refinish an Antique Desk
Did you give this tutorial a try? If you did, I’d love to see how it turned out! Tag me on Instagram (@thesimplehomeplace) to show me your own recreation of this recipe!


Leave a Reply