Are you a yogurt lover? Do you want to stop buying store-bought yogurt and have a continuous supply of healthy yogurt instead? Try making your own! Homemade yogurt only requires two ingredients, contains lots of beneficial bacteria, is inexpensive to make and tastes amazing!

Growing up, I had some favorite yogurts, which included frozen yogurt in a tube that tasted like cotton candy, as well as Boston cream pie and key lime pie flavored yogurts. You know, the ones with loads of sugar, dyes and other junk. As I’ve grown older, and after becoming a mother, I’ve leaned more toward organic and healthier yogurt. Even still, regardless of if you buy yogurt that is organic or that you find to be “better,” it usually includes extra ingredients and lots of sugar.
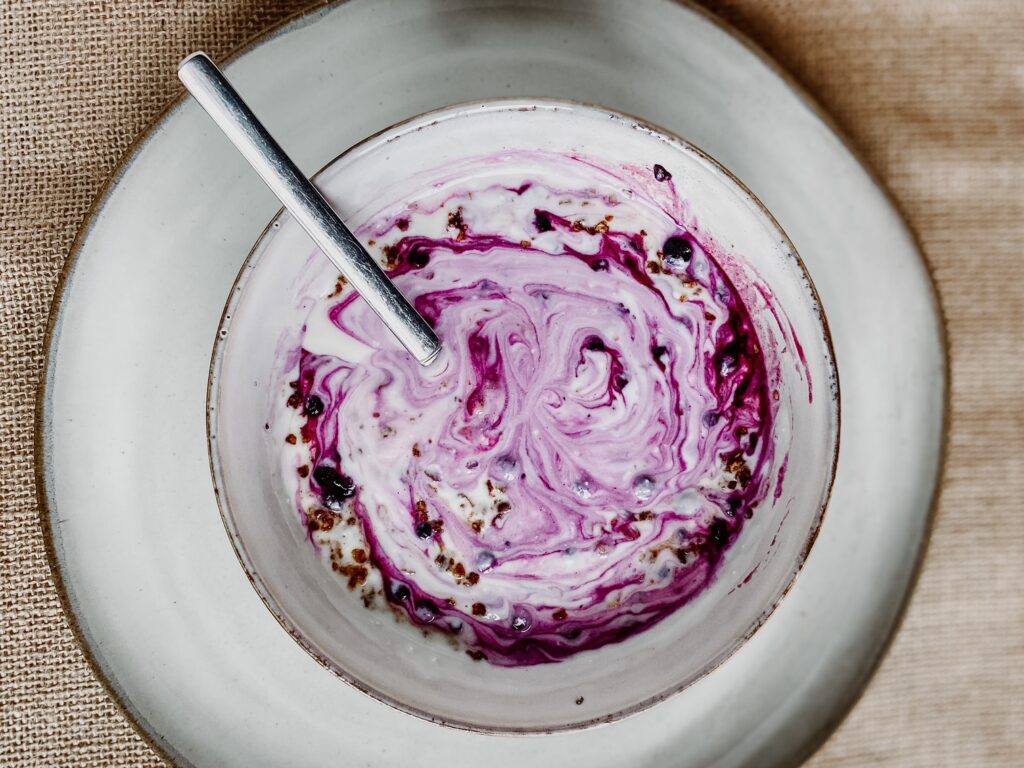
Homemade yogurt is different because you get to control the ingredients! The only two required ingredients are milk and probiotic-rich yogurt. You get to choose what, if any, sweeteners you add, as well as what flavors! You could add in homemade strawberry preserves, maple syrup or leave it plain to use in more savory dishes or recipes. The sky really is the limit when it comes to flavoring and sweetening your homemade yogurt!
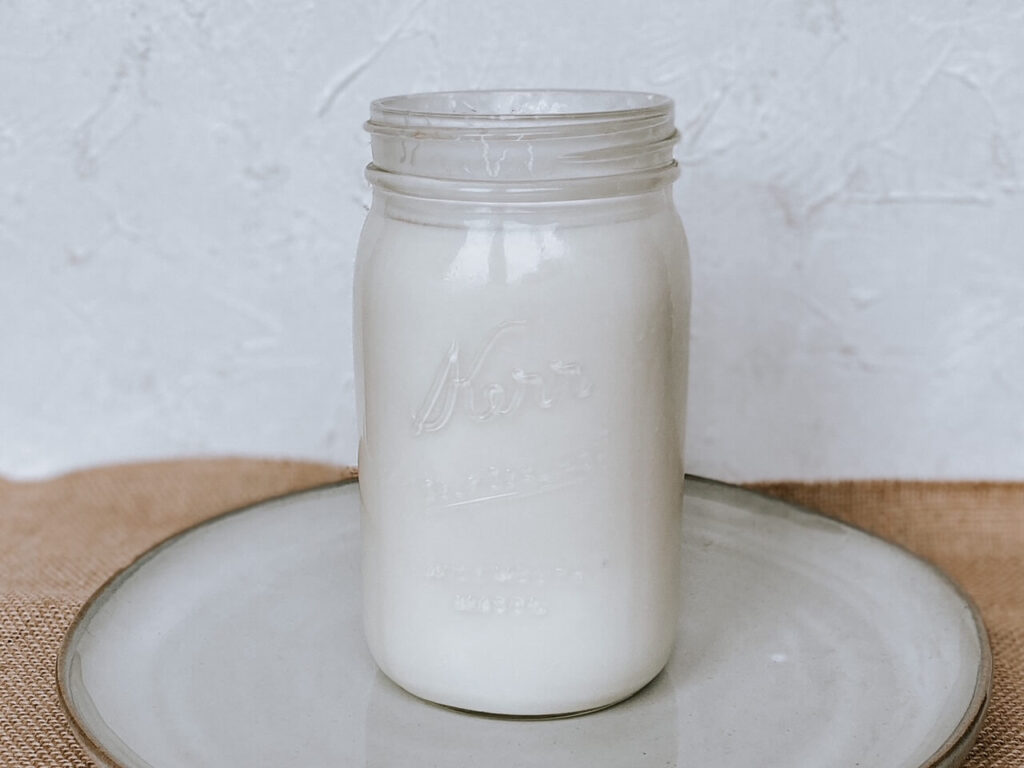
Another great benefit of homemade yogurt is, it’s virtually zero waste, so it’s great for those who want to reduce their waste and plastic use. Once you’ve made your first batch, theoretically, you should never have to buy another tub of yogurt again. All you need to do is, instead of using a store-bought probiotic, you can just use some homemade probiotic yogurt from your last batch! And to store it, simply use reusable containers like mason jars or even old yogurt containers!
PIN FOR LATER!


BENEFITS OF HOMEMADE YOGURT
Homemade yogurt is essentially fermented milk. It’s great because it contains lots of good bacteria that is beneficial for gut health! In fact, one cup of homemade yogurt could contain as much beneficial bacteria that is in the probiotic pills you take! So what are those strains of beneficial bacteria? They could be cultures such as streptococcus thermophilus, lactobacillus acidophilus and more. If you’re curious about the benefits of those cultures are, a quick Google search can help you out!
During fermentation, the yogurt culture(in our case, probiotic yogurt) will use the lactose in the milk as a fuel. That means that by the time fermentation is over and you’re ready to eat your delicious homemade yogurt, the amount of lactose present in the yogurt will be drastically lower, if not almost completely gone. Therefore, homemade yogurt is easier to digest! Because dairy is hard for the body to digest in general, this is great for everyone, regardless of if you think you’re sensitive to dairy or not!
Another fermented food we love is sourdough! If you’re interested in incorporating more fermented foods into your diet, sourdough is another great one! Check out this tutorial if you want to learn how to create your own sourdough starter. I also have a whole post about how to feed and maintain your sourdough starter!
TOOLS YOU MAY NEED
- 7 quart Crockpot
- Spoon
- 1/2 cup measuring cup
VIDEO
HOW TO MAKE HOMEMADE YOGURT IN A CROCKPOT
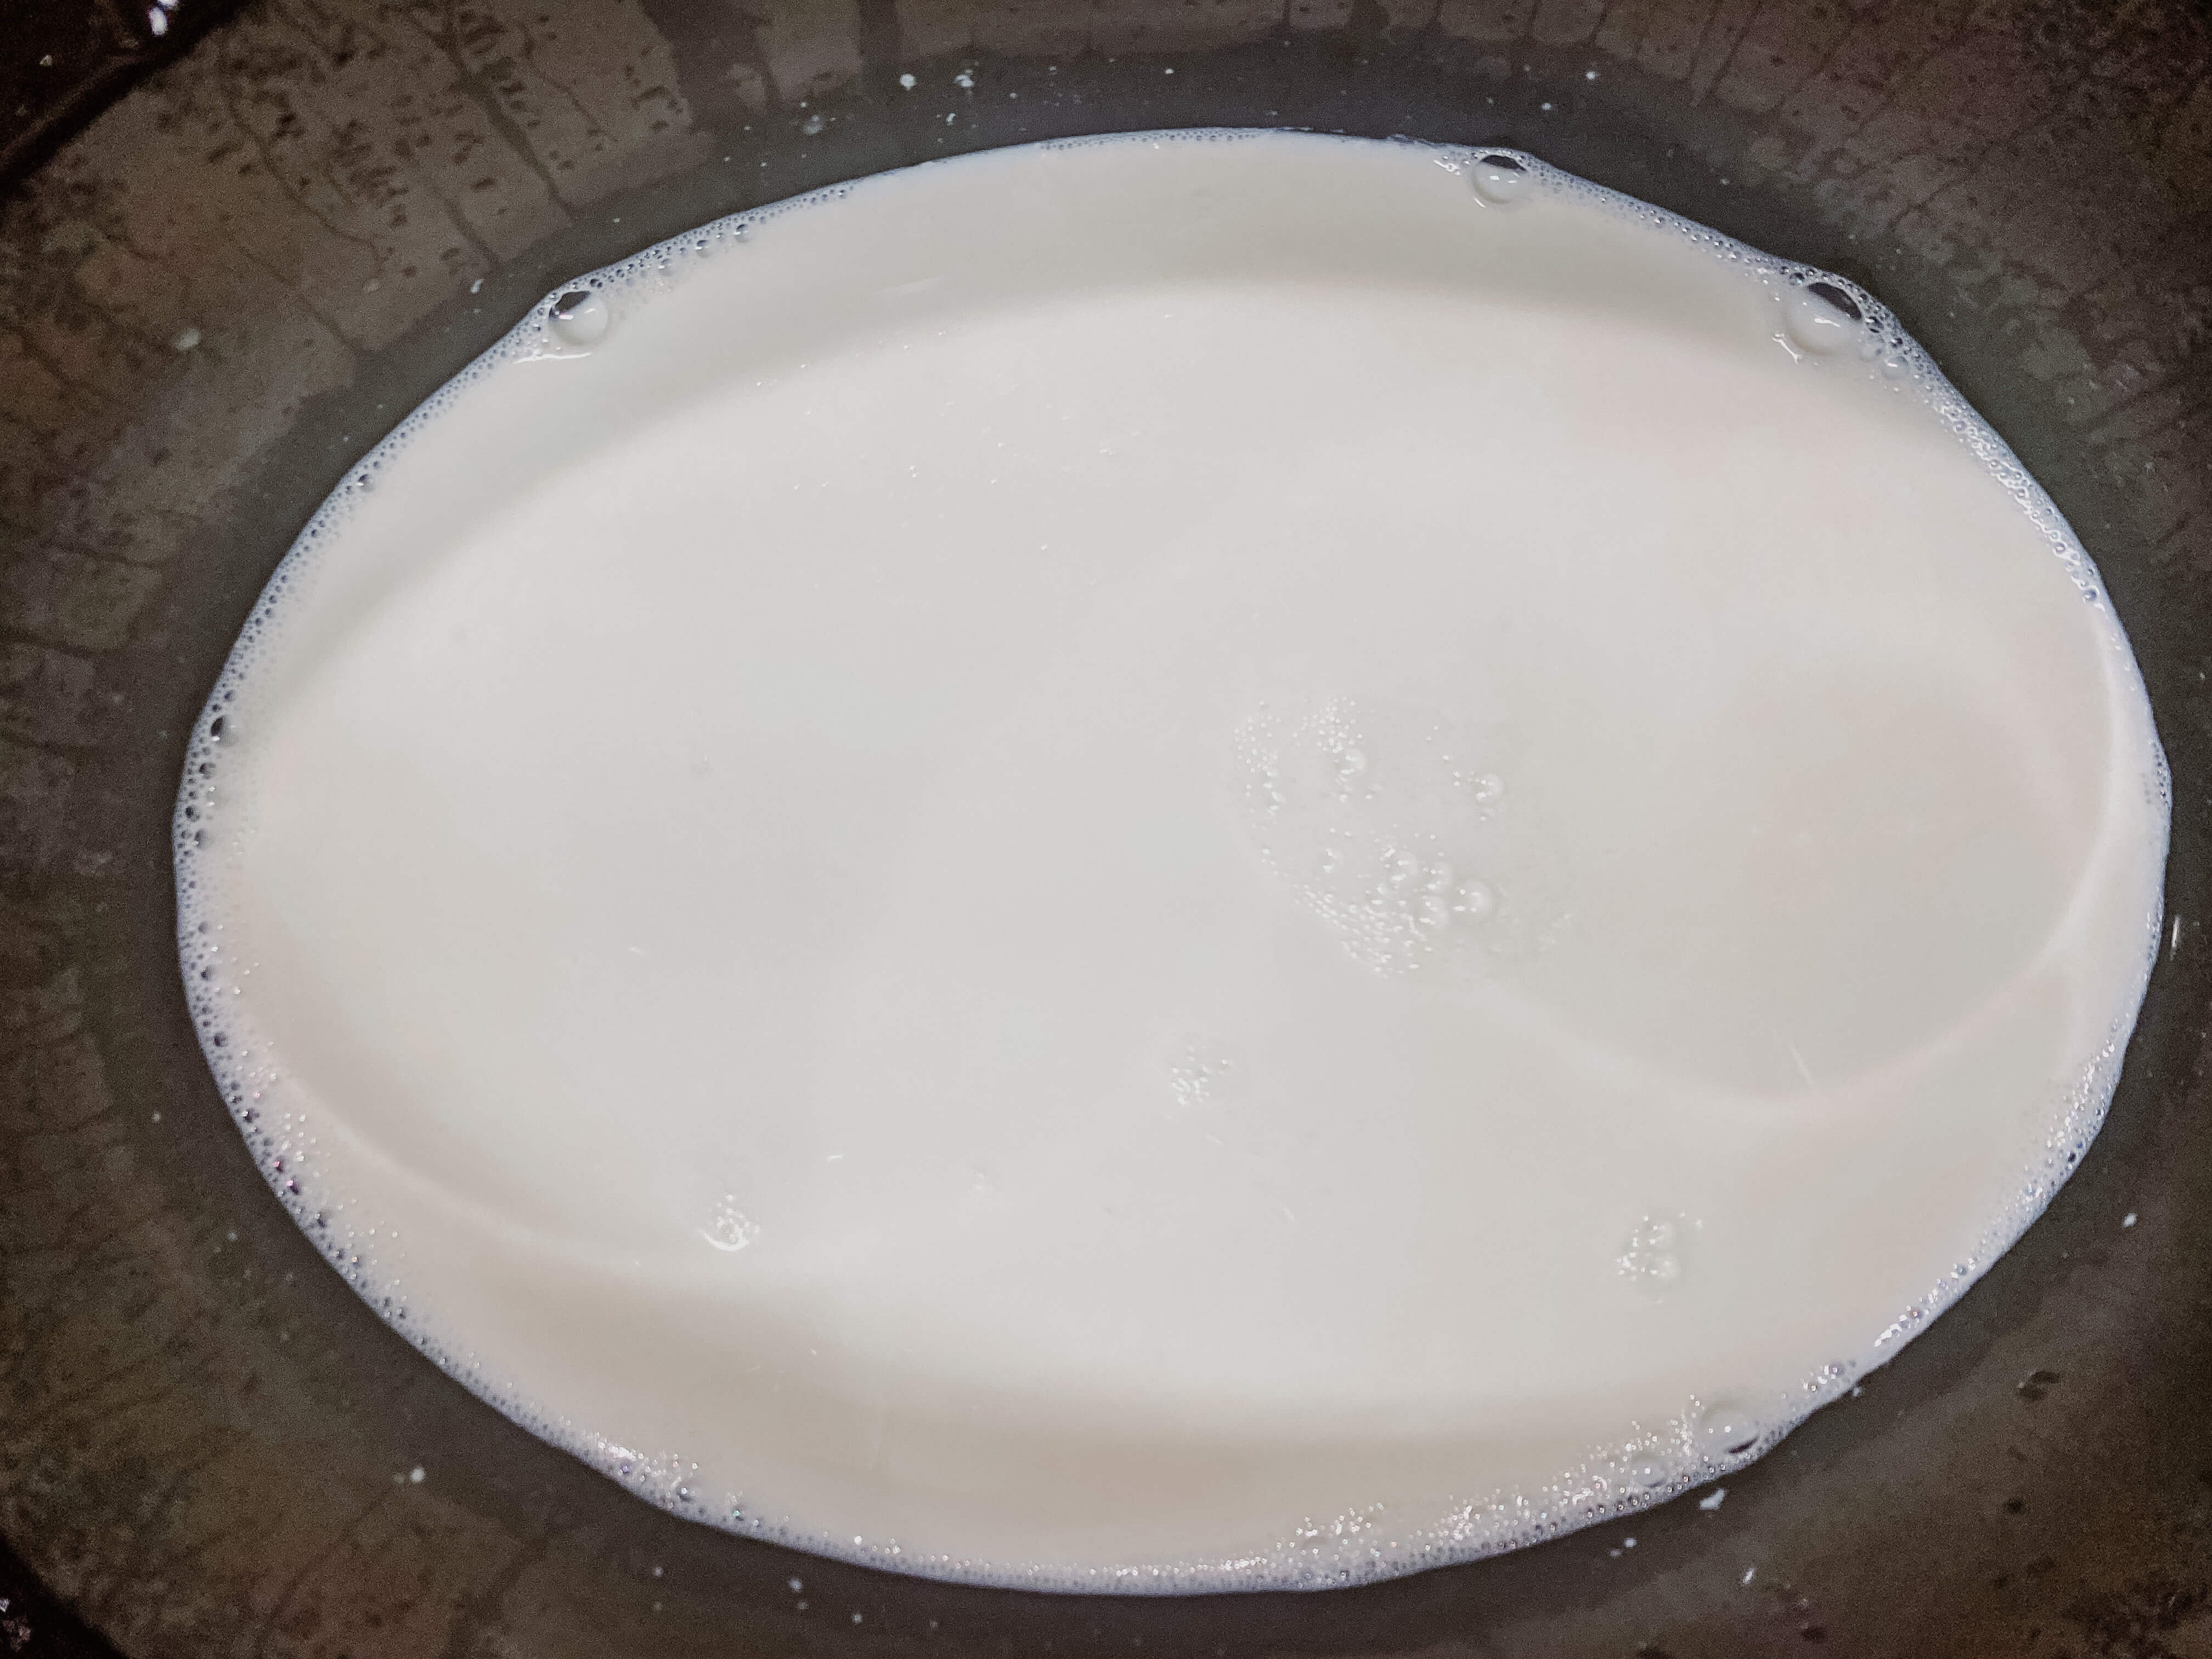
Pour milk (I use whole milk) into your crockpot, add the lid and turn it on low. Allow the milk to heat for 2.5 hours. Set a timer so you don’t forget!
Once the 2.5 hours are up, turn the crockpot off and allow the milk to cool for 3 hours. Again, be sure to set a timer.
After 3 hours, add in the probiotic yogurt (either plain from the store like this, or from a previous batch of homemade yogurt). Be sure to stir thoroughly.

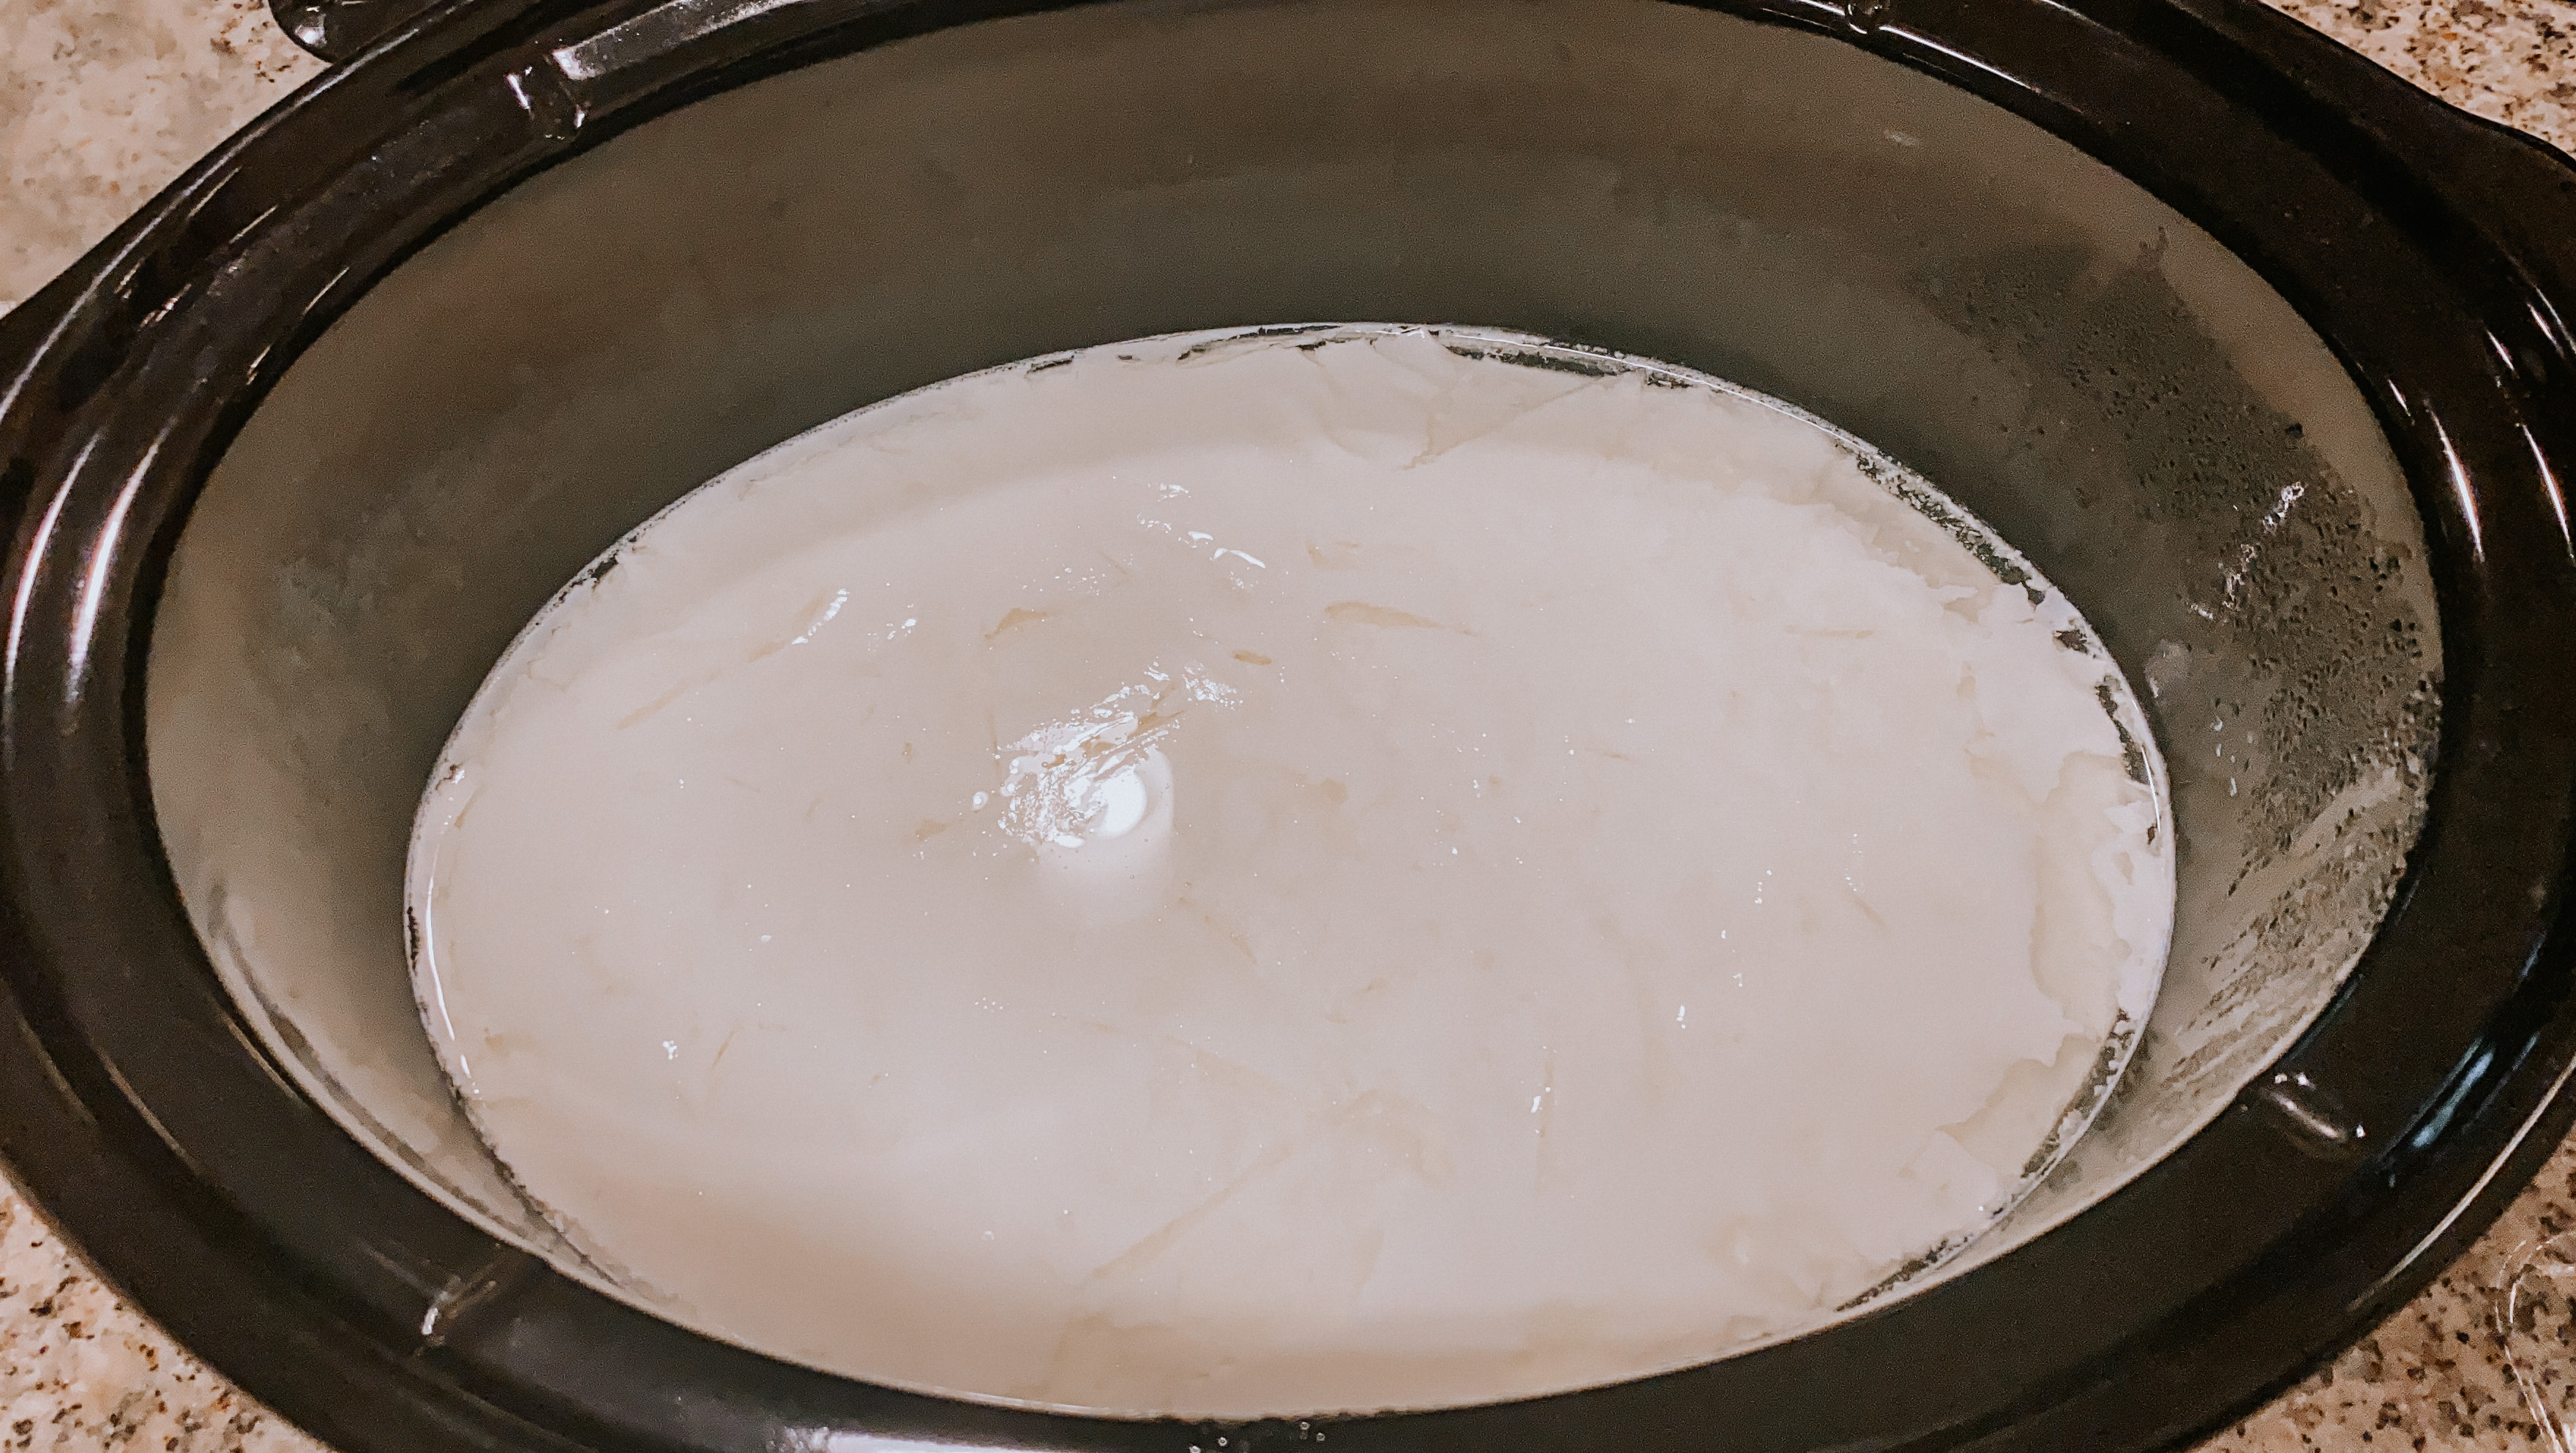
Place the crockpot with the lid on into the oven, close the door and turn on the oven light. If you want, prior to Allow the yogurt to sit in the oven a minimum of 8 hours, or up to 24 hours. The longer you let it ferment, the thicker it will be.

Once you’ve allowed the yogurt to ferment, remove the crockpot from the oven and strain the whey (the liquid that accumulates on top).
At this point, you can add in any sweeteners you’d like, or leave it plain. Place in the refrigerator to cool completely and enjoy!

NOTES
- If you’re starting from scratch, use a plain yogurt that has live cultures in it. Often times, it will say probiotic on the packaging and then list the live cultures in the ingredients section. The probiotic part is important because this is what is going to turn your milk into yogurt.
- Prior to placing your milk and yogurt mixture into the oven to ferment, turn your oven on the lowest temperature (for me that’s 170 degrees) and then shut it off. Then turn the oven light on to maintain warmth in the oven.
- To strain the whey off your yogurt, either take a ladle or spoon and get as much as you can out, or line a strainer with coffee filters and drain it away.
- Once you’ve made one batch of homemade yogurt, save 1/2 cup (if making 1/2 gallon) to use for the next time. Be sure to reserve the yogurt prior to adding any sweetener or other ingredients.
- If you’re making a gallon of yogurt use anywhere between 3/4 cup and 1 cup of yogurt as a starter.
- Liquid sweeteners are best for this yogurt. I like to add about 1/2 cup of maple syrup, but you can use honey (just be sure not to use for kids under 1 year of age), or any other liquid sweetener. Or leave it plain if you plan on using it for something savory.
HOW DO I MAKE HOMEMADE GREEK YOGURT?
If you want to take things a step further and make homemade Greek yogurt, there’s only a few extra steps you have to take! Here’s how to do it:
- BEFORE adding sweeteners, drain the whey left on top after the yogurt is done.
- Grab a large bowl, a large strainer and some coffee filters or a cheese cloth.
- Place the strainer inside the large bowl, then line the strainer with coffee filters.
- Add your homemade yogurt on top of the coffee filters, cover it with a towel, then place in the refrigerator for 4 hours.
- After four hours, drain the whey that has collected in the bowl. Place the strainer back in the bowl, then allow the yogurt to refrigerate and continue draining for another 20 hours.
- After a total of 24 hours, remove the homemade Greek yogurt from the refrigerator, reserve 1/2 cup to make your next batch, then stir in any desired sweeteners!
Homemade Yogurt in the Crockpot
Equipment
- 7 quart crockpot
- Spoon
- 1/2 cup measuring cup
Ingredients
- ½ gallon whole milk
- ½ cup plain probiotic yogurt
Instructions
- Pour milk (I use whole milk) into your crockpot, add the lid and turn it on low. Allow the milk to heat for 2.5 hours. Don't forget to set a timer.
- Once the 2.5 hours are up, turn the crockpot off and allow the milk to cool for 3 hours. Again, be sure to set a timer.
- After 3 hours, add in the probiotic yogurt (either plain from the store like this, or from a previous batch of homemade yogurt). Be sure to stir thoroughly.
- Place the crockpot with the lid on into the oven, close the door and turn on the oven light. Allow the yogurt to sit in the oven a minimum of 8 hours, or up to 24 hours. The longer you let it ferment, the thicker it will be.
- Once you've allowed the yogurt to ferment, remove the crockpot from the oven and strain the whey (the liquid that accumulates on top).
- At this point, you can add in any sweeteners you'd like, or leave it plain. Place in the refrigerator to cool completely and enjoy!
Notes
- If you’re starting from scratch, use a plain yogurt that has live cultures in it. Often times, it will say probiotic on the packaging and then list the live cultures in the ingredients section. The probiotic part is important because this is what is going to turn your milk into yogurt.
- Prior to placing your milk and yogurt mixture into the oven to ferment, turn your oven on the lowest temperature (for me that’s 170 degrees) and then shut it off. Then turn the oven light on to maintain warmth in the oven.
- To strain the whey off your yogurt, either take a ladle or spoon and get as much as you can out, or line a strainer with coffee filters and drain it away.
- Once you’ve made one batch of homemade yogurt, save 1/2 cup (if making 1/2 gallon) to use for the next time. Be sure to reserve the yogurt prior to adding any sweetener or other ingredients.
- If you’re making a gallon of yogurt use anywhere between 3/4 cup and 1 cup of yogurt as a starter.
- Liquid sweeteners are best for this yogurt. I like to add about 1/2 cup of maple syrup, but you can use honey (just be sure not to use for kids under 1 year of age), or any other liquid sweetener. Or leave it plain if you plan on using it for something savory.


Homemade yogurt is the best!! Love how easy it is too. Thanks for sharing this information and recipe!
Thank you, Alexis!
I am not good at following recipes, your yogurt recipe seems easy to follow and looks delicious. Thanks for sharing.
Thank you, Pam! I’m glad you found it helpful 🙂
I’m a huge fan of homemade yogurt! This looks like a great recipe to try! Thanks.
Thank you, Tim!
This has been on my bucket list for years!!! Thanks for the clear instructions!
You’re welcome! Glad you found it helpful! I’d love to hear about it if you try making your own 🙂
I’ve never tried making homemade yogurt before. Can’t wait to try something new. Looks delicious!
Thank you! I hope you enjoy 🙂
Wow, this homemade yogurt looks amazing! I definitely do not use my crockpot to its full capacity haha. I will be trying this recipe this week!
Thank you! I hope you enjoy 🙂
I love this! What a great way to know exactly what goes into your yogurt!
Yes! I love being able to control the ingredients!
Oh man I didn’t even know this was possible. Thank you so much such an education and money saving recipe.
You are so welcome 🙂
Wow I love this! I had never thought of making yogurt before but this recipe was so easy and delicious! IT was super creamy and paired well with granola.
I’m so glad you enjoyed it!!
I’ve been wanting to make homemade yogurt. This recipe is right on time. It’s so easy to follow and such a healthy breakfast and snack.
I’m so glad you found it helpful! Hope you enjoy your yogurt!
Easy and straight to the point! Thank you!
Thank you!
I love plain yogurt and I used to make it all the time. So, this is a great reminder of how good it was and I could eliminate more plastic from our lives if I went back to making it. I didn’t realise that you could do this in a crockpot, that is definitely a better method than struggling with saucepans getting the right temperature for the milk etc. Thank you for sharing this I think I need to get back to making my own.
Yes, so much easier in the crockpot! I hope you enjoy it 🙂
You’ve made this look easy! Thank you, I pinned for later.
Thank you! I hope you enjoy it if you make it 🙂
Thank you for this! So helpful!
I’m so glad!
Such a perfect homemade breakfast idea! I love how simple this was!
I’m so glad you enjoyed it!
Perfect for an healthy breakfast or snack; it’s really good!
Yes! I’m glad you enjoyed it!
Loved this homemade yogurt! So creamy!
I’m so glad you liked it!
Loved making this homemade yogurt so much! Thanks for the tutorial. Way simpler than I thought!
I’m so glad you enjoyed it!
I love that you can control the amount of sugar and other ingredients that go into the yogurt. Also, fun to play around with mix-ins!
Yes, that’s the best part is being able to control what goes into it!
Interesting! I never considered making my own yogurt but I would be interested to give it a try! Thanks for sharing!
Absolutely!
Yum!! I’ve been wanting to try making homemade yogurt for a while now! Thanks for the recipe and tips!
You’re welcome! I hope you enjoy 🙂
This looks so good… can’t wait to try!
Thank you! I hope you enjoy!
yes! so glad i found this! people always ask me how to make home made yogurt but i 100% depend on my instant pot. I cant wait to try this method out then send it along to my friends and family who dont want to make the instant pot purchase.
Thank you! I hope you like it and find it easy to do!
This looks so delicious and easy to make! I can’t wait to try it. Thank you so much for sharing!
Thank you so much!
Never thought to use the crockpot before. Brilliant!
Thank you!