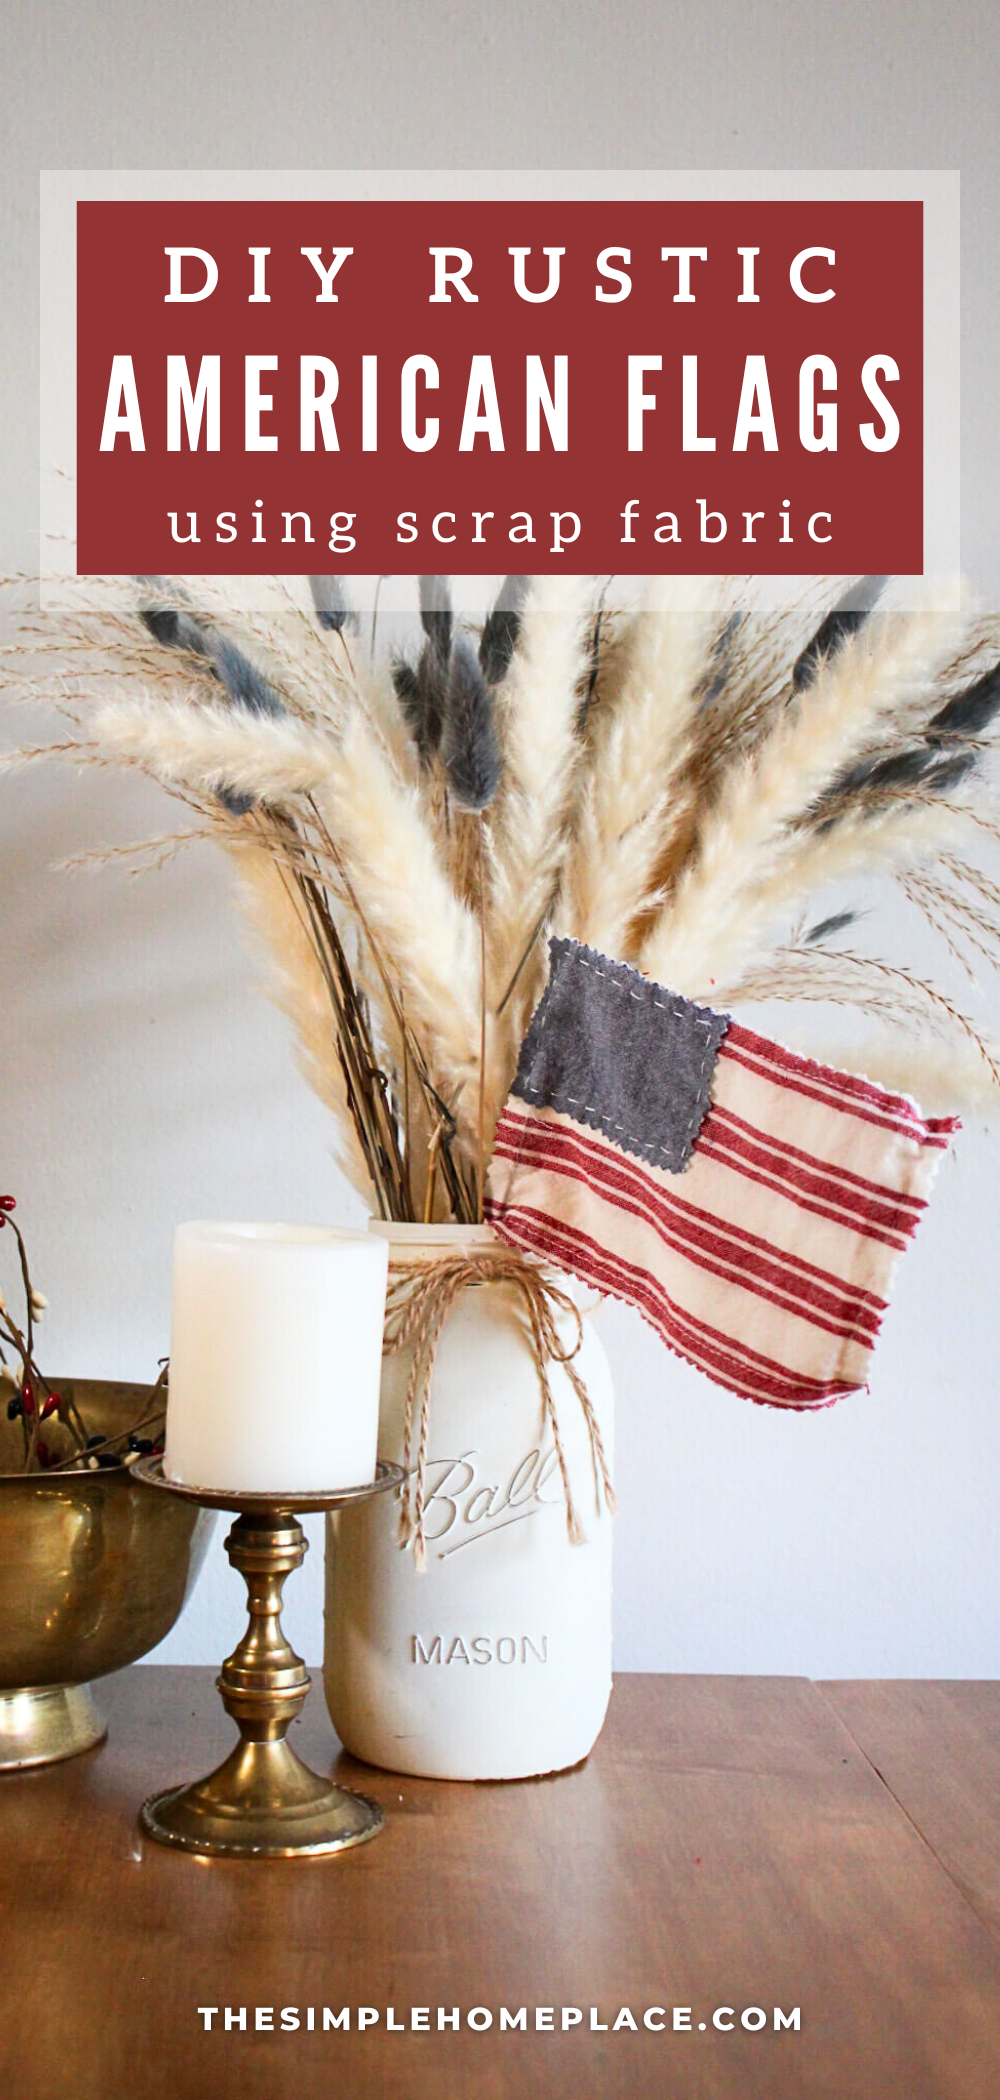
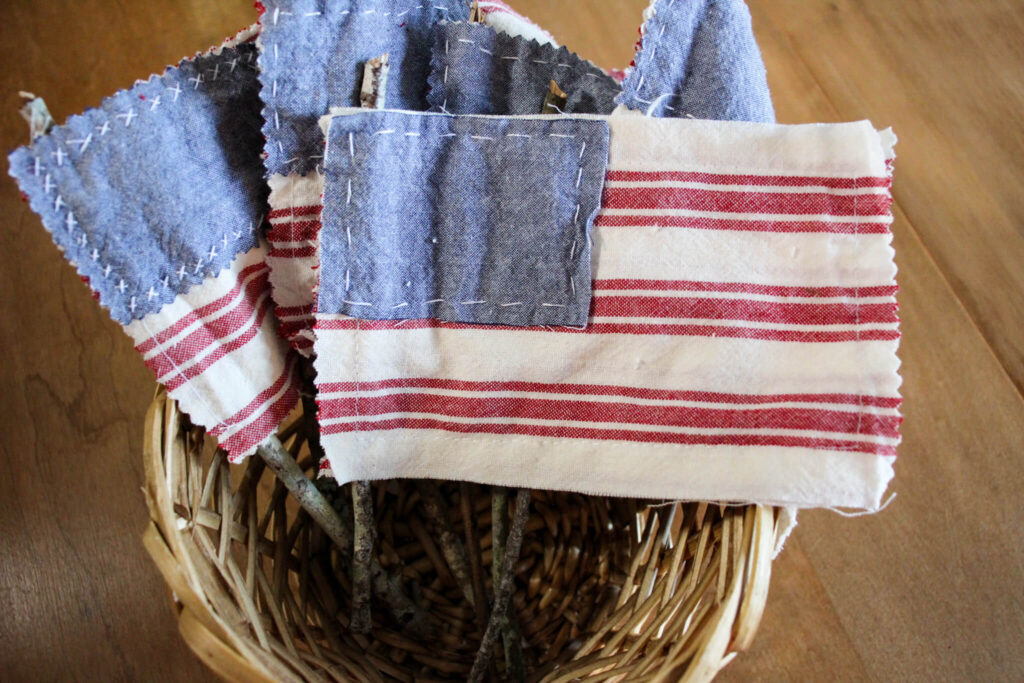
Create DIY rustic American flags using scrap fabric and a stick found in nature to add a little patriotic charm to your home decor!
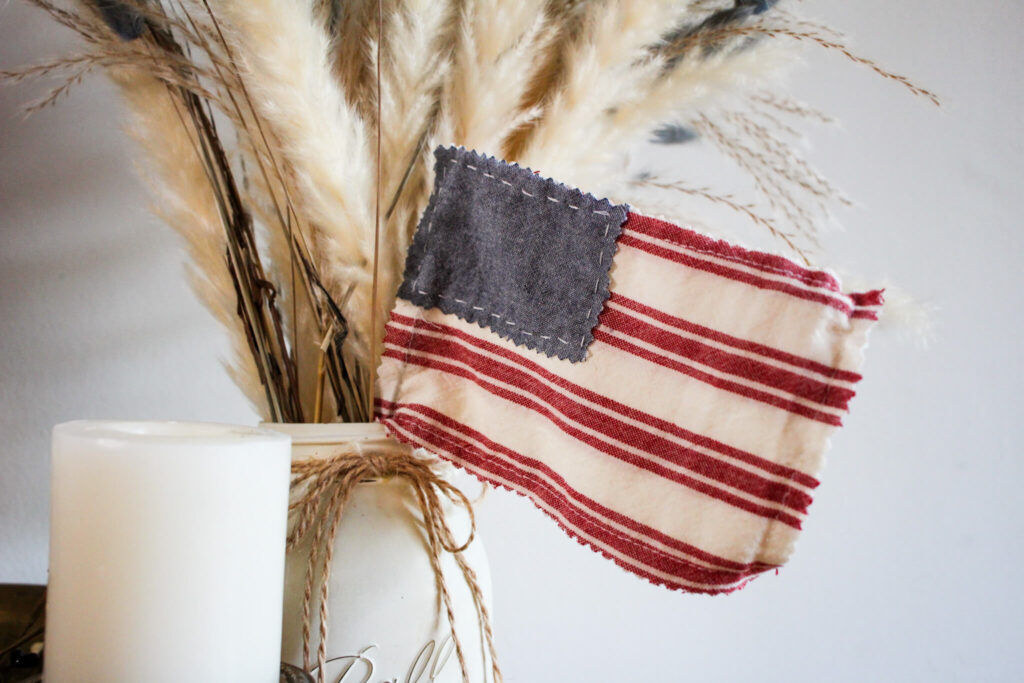
If you ask me, here in the US the best summer holiday is the 4th of July. It’s fun to dress up in a little red, white and blue, stay up late, light a few sparklers, be with your friends and family, then top the night off with a beautiful fireworks display. It truly feels magical and I look forward to it every year. Over the last year or so, I’ve been more intentional with my home decor and have tried to lightly decorate for each season/holiday. My kids are no longer little so adding a touch of fun decor here and there adds a little extra life to my home and it’s something my kids enjoy too.
I’ve recently been seeing some adorable handmade American flags all over my Pinterest and decided it was the perfect decoration for the summer. It goes with both Memorial Day and the 4th of July, so we can really leave them up all summer. What I love is that these can be totally imperfect and any interpretation that you come up with. If you’re someone who has scraps of fabric laying around, see what combinations you can come up with. Otherwise, I recommend searching for remnants at fabric stores like Joann’s and Hobby Lobby. You can even check thrift stores too. Of course, if all else fails, you can totally buy your favorite fabric to make these flags. Either way, they’ll turn out amazing!
PIN FOR LATER!
VIDEO
HOW TO MAKE DIY RUSTIC AMERICAN FLAGS
Tools You May Need:
Materials Needed:
Directions
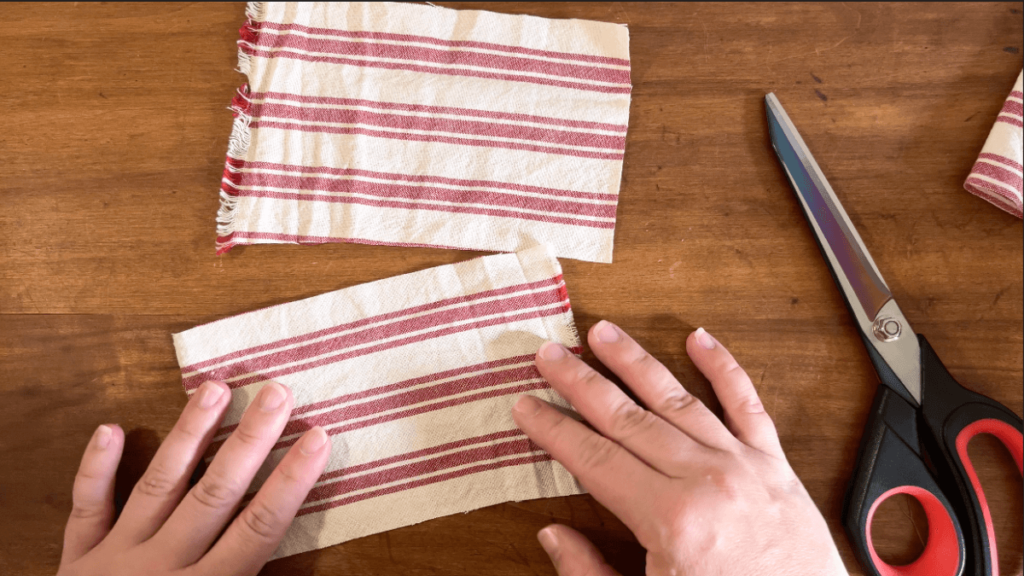
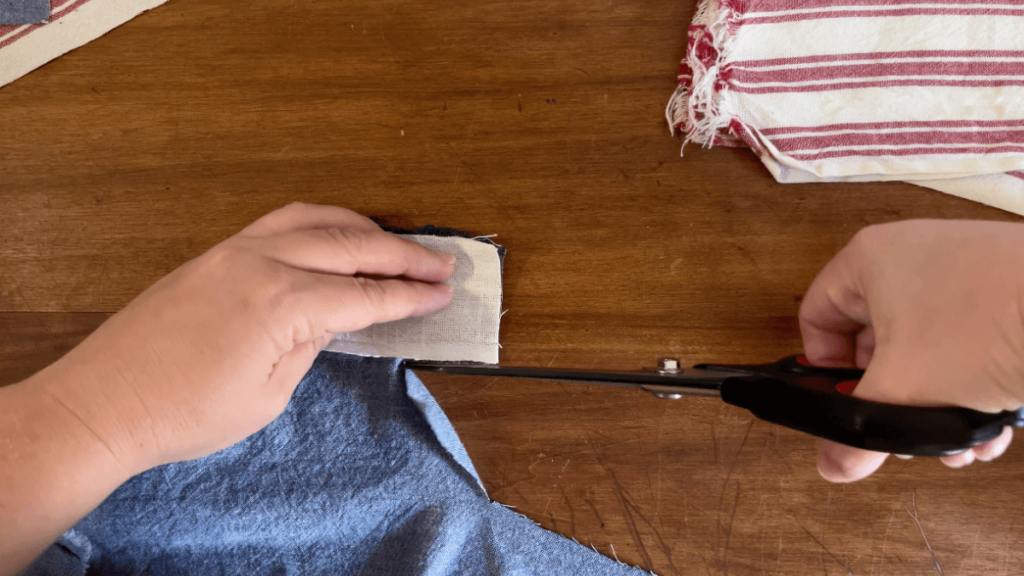
Cut 2 pieces of your main flag fabric (red and white stripes portion) approximately 7″ long by 4″ wide.
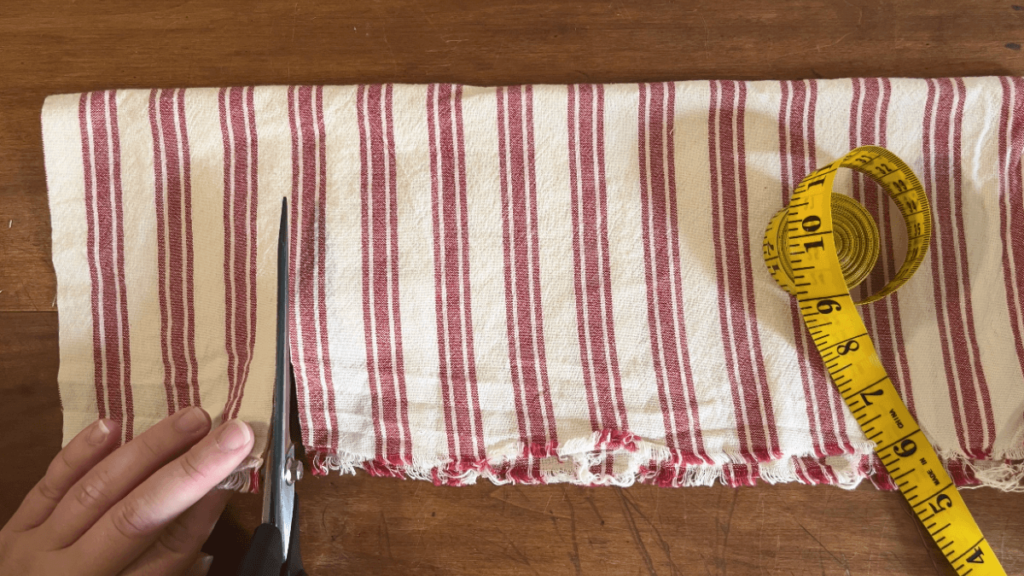
Cut a piece of your other fabric (blue and stars) approximately 3″ long by 2″ wide and set aside.
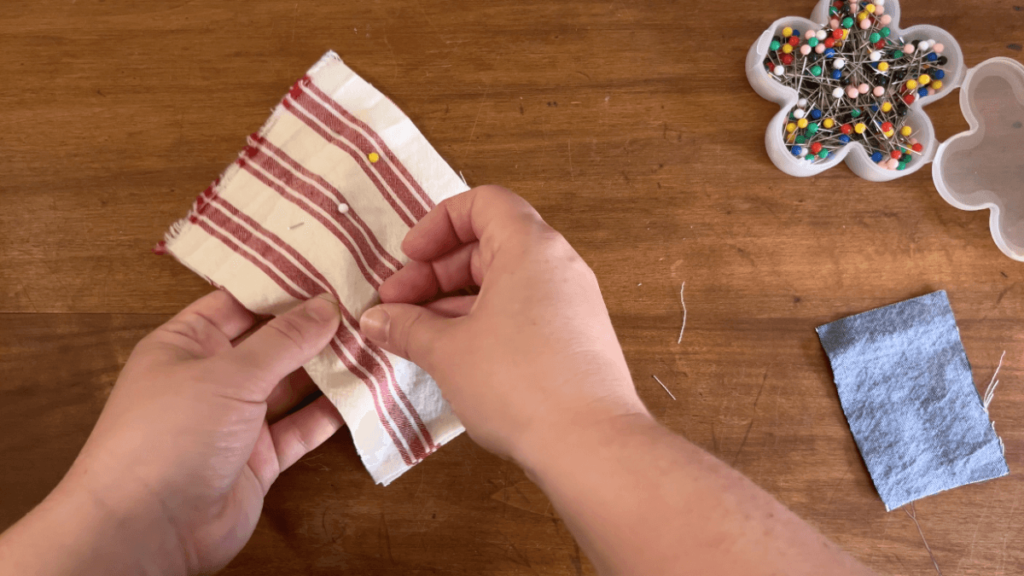
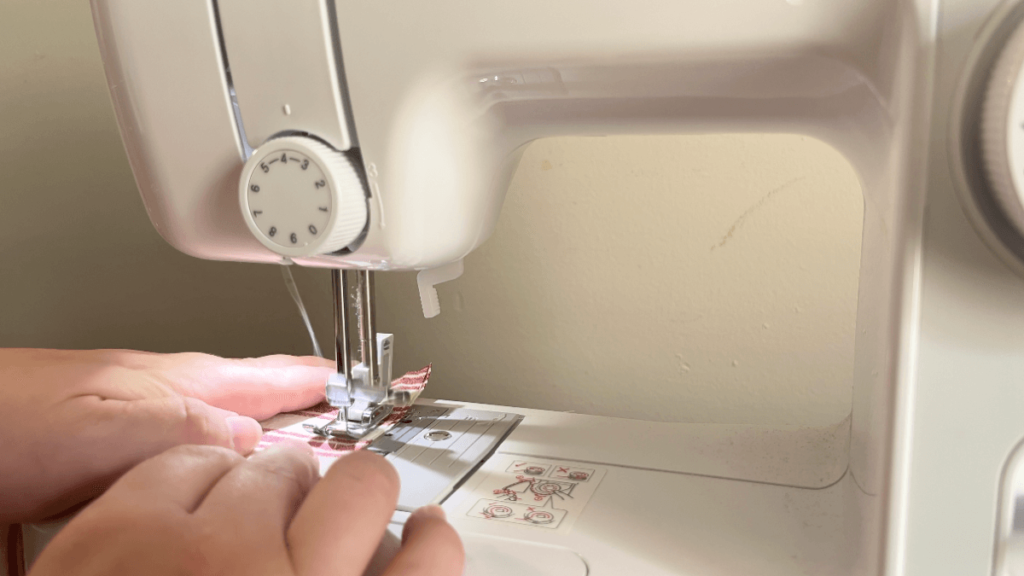
Pin the two pieces of fabric together, right sides facing out, then sew them using a 1/2″ seam allowance. Be sure to start sewing down 1/2″.
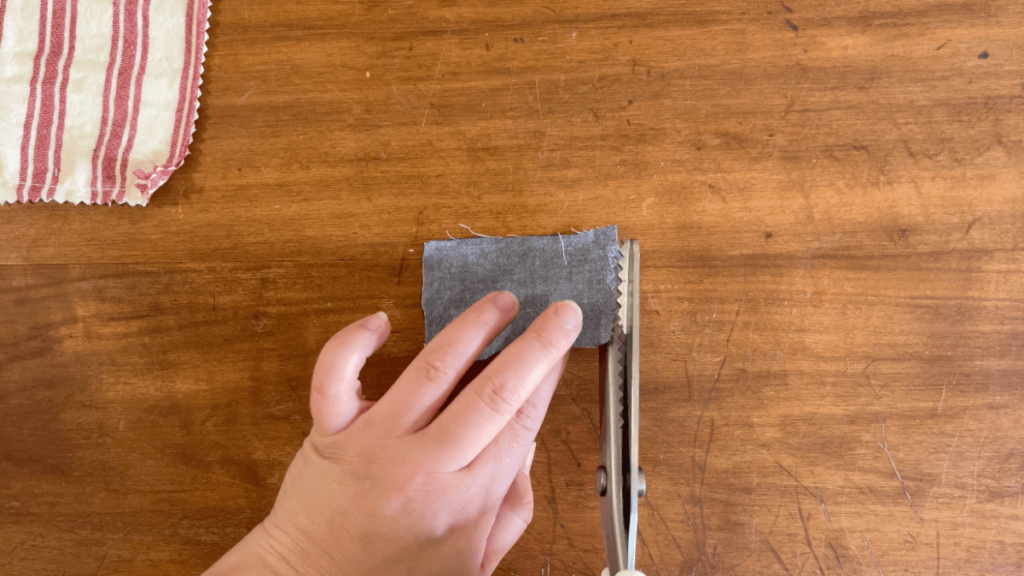
Trim the edges of the main flag and blue star portion with pinking sheers or rough them up a bit to give them a more rustic, tattered feel.
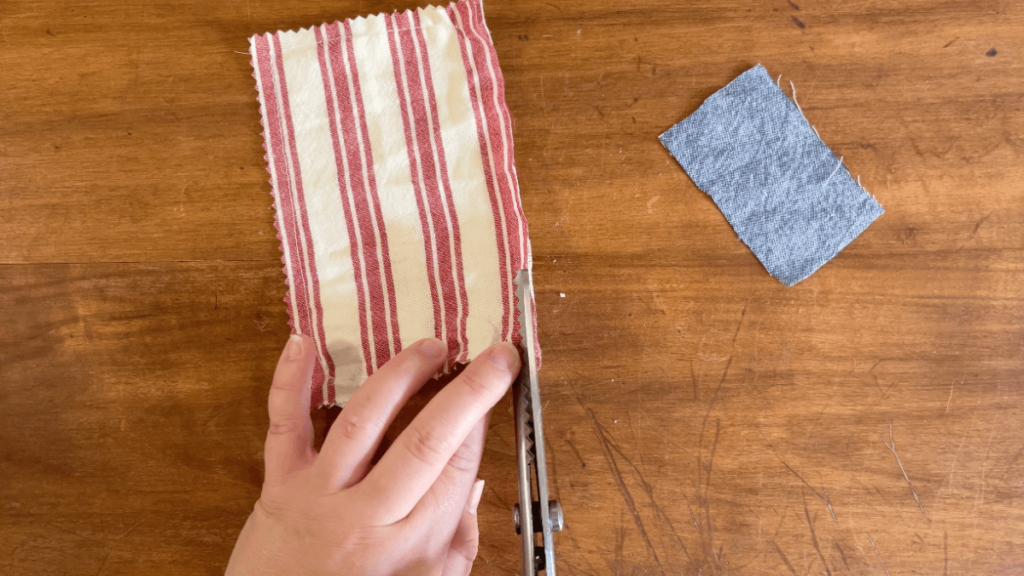
Place the small piece of fabric in the top left corner of the main flag and pin it, then cut a long piece of thread, thread the sewing needle on and move it to the middle of the thread. Fold the thread in half and tie the two ends together with a double knot.
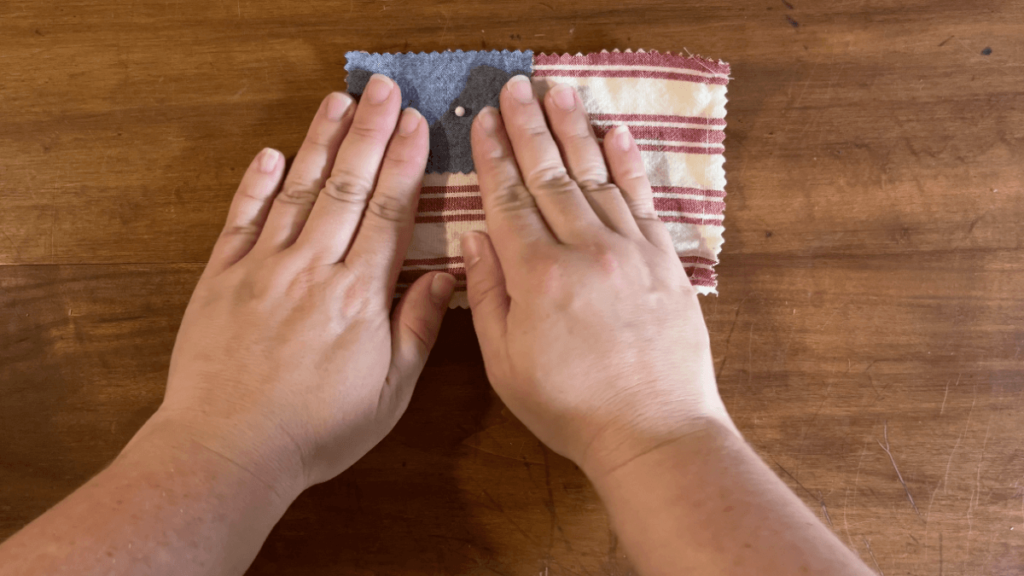
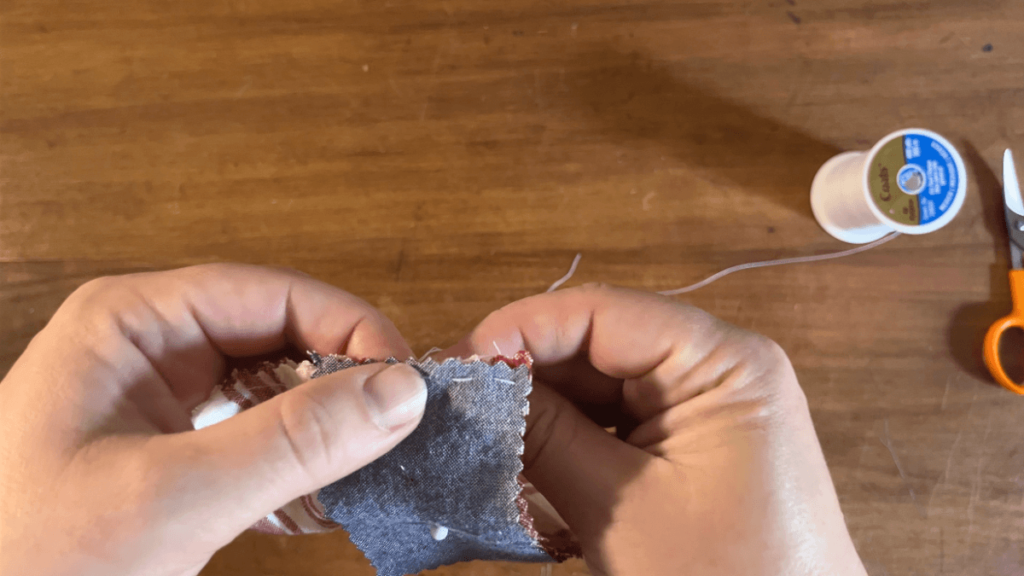
Starting from the back part of the flag, push the needle up into the fabric, through all three pieces, then push the needle back down through the three pieces of fabric. Repeat this process until you’ve sewn the small piece of fabric onto the flag. End your stitches on the back of the flag, tie a knot in the thread and clip it with scissors.
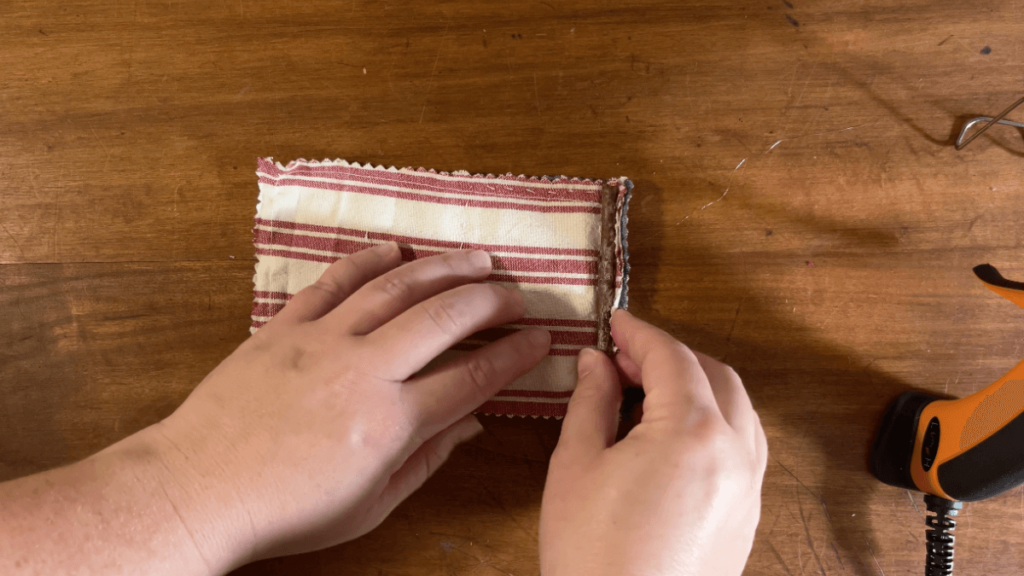
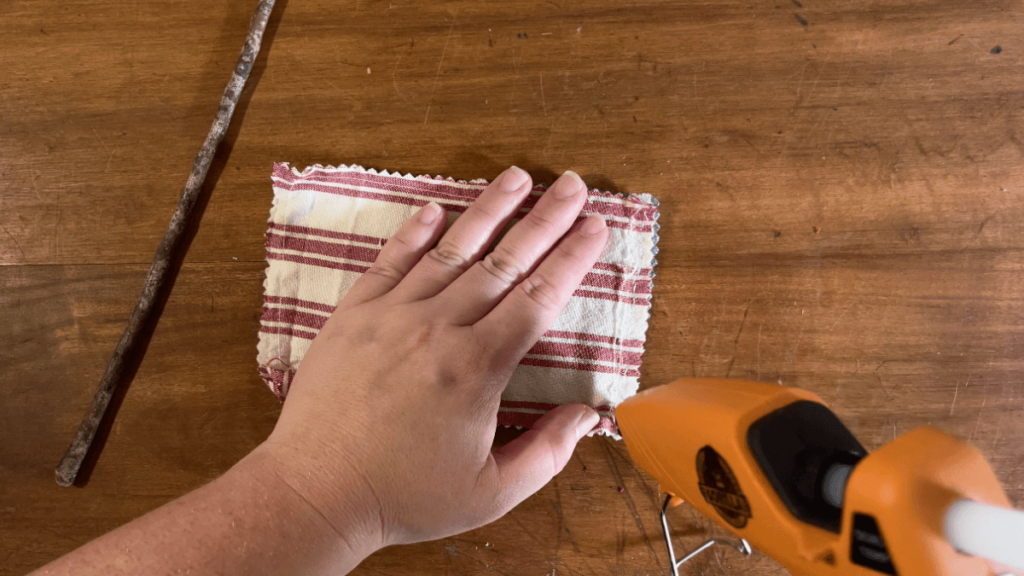
Hot glue the left side of the fabric to the top of a stick and you’ve got a mini DIY rustic American flag decoration!
Notes
- To make these no-sew, just use fabric glue or hot glue instead of sewing.
- If you want to make these bigger or smaller, simply add or subtract a few inches from each measurement.
- Try using small dowels or wooden spindles in place of sticks for the flag pole.
- Cotton works the best for this project to create a rustic look, but you could use any fabric you choose.

DIY Rustic American Flags
Create DIY rustic American flags using scrap fabric and a stick found in nature to add a little patriotic charm to your home decor!
Materials
- Scrap fabric (1/2 yard makes several flags)
- Thread (I used white)
- Hot glue sticks
- Straight wooden sticks
Tools
- Sewing machine
- Sewing needle
- Scissors
- Hot glue gun
- Hot glue gun
- Pinking shears (optional)
- Pinking shears (optional)
Instructions
- Cut 2 pieces of your main flag fabric (red and white stripes portion) approximately 7" long by 4" wide.
- Cut a piece of your other fabric (blue and stars) approximately 3" long by 2" wide and set aside.
- Pin the two pieces of fabric together, right sides facing out, then sew them using a 1/2" seam allowance. Be sure to start sewing down 1/2".
- Trim the edges of the main flag and blue star portion with pinking sheers or rough them up a bit to give them a more rustic, tattered feel.
- Place the small piece of fabric in the top left corner of the main flag and pin it, then cut a long piece of thread, thread the sewing needle on and move it to the middle of the thread. Fold the thread in half and tie the two ends together with a double knot.
- Starting from the back part of the flag, push the needle up into the fabric, through all three pieces, then push the needle back down through the three pieces of fabric.
- Repeat this process until you've sewn the small piece of fabric onto the flag.
- End your stitches on the back of the flag, tie a knot in the thread and clip it with scissors.
- Hot glue the left side of the fabric to the top of a stick and you've got a mini DIY rustic American flag decoration!
Notes
- To make these no-sew, just use fabric glue or hot glue instead of sewing.
- If you want to make these bigger or smaller, simply add or subtract a few inches from each measurement.
- Try using small dowels or wooden spindles in place of sticks for the flag pole.
- Cotton works the best for this project to create a rustic look, but you could use any fabric you choose.
Looking for more easy sewing and DIY decor projects?
Looking for more easy DIY decor ideas like these DIY rustic American flags? Check these out:
- How to Sew a Basket Liner
- How to Sew a Flannel Throw Blanket
- Easy Washer & Dryer Makeover with Contact Paper
- How to Paint a KitchenAid Mixer
Did you try this tutorial? If you did, I’d really love to see it. Tag me on Instagram (@thesimplehomeplace) to show me your own recreations of these flags!


Leave a Reply