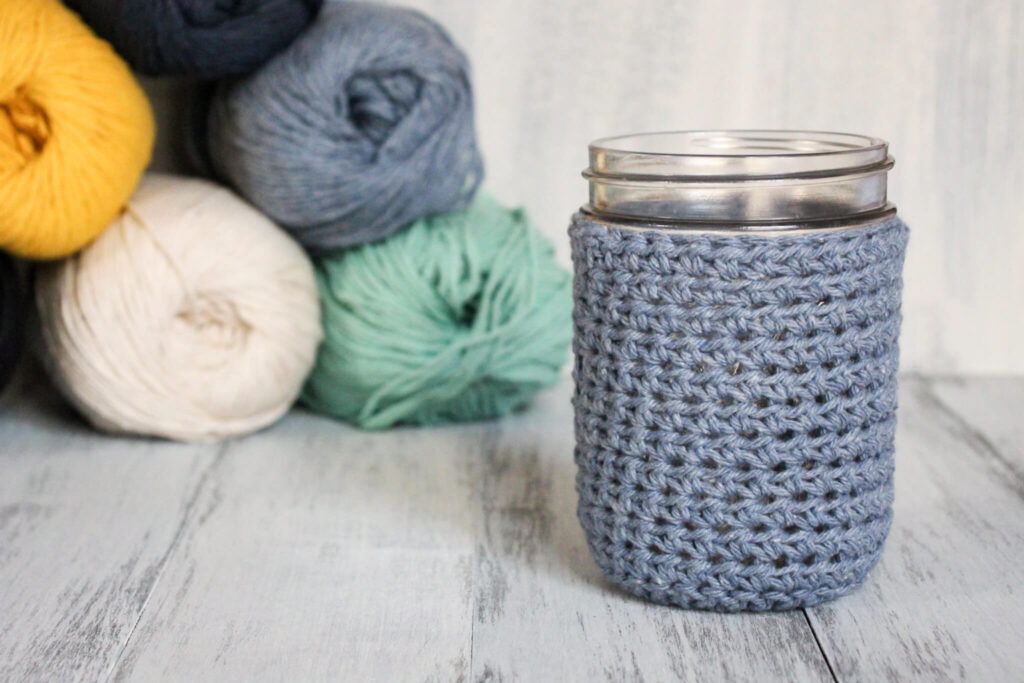
Learn how to crochet a mason jar cover with this simple tutorial. Mason jar covers enhance your drinking experience by providing a nice barrier between your hands and your drink!

Crochet mason jar covers are not only super cute, but also really practical. I love to use these mason jar covers especially in the summer when it’s hot and your drink tends to “sweat.” They help to absorb moisture from the outside of the glass and keeps your table free from sweat rings. These covers are also really great to use when you have warm beverages too.
If you’re semi-new to crochet or are looking for a fun crochet project, then I think you’ll love giving these a try. Make these to have on hand in your kitchen or to give as gifts. I even sell these and others like it in my Etsy shop!
PIN FOR LATER!

HOW TO CROCHET A MASON JAR COVER
This post may contain affiliate links, which means I may receive a commission, at no extra cost to you, if you make a purchase through a link. Please see our full disclosure here for further information.
MATERIALS
TOOLS YOU MAY NEED
STEPS FOR HOW TO CROCHET A MASON JAR COVER
Create a Magic Ring
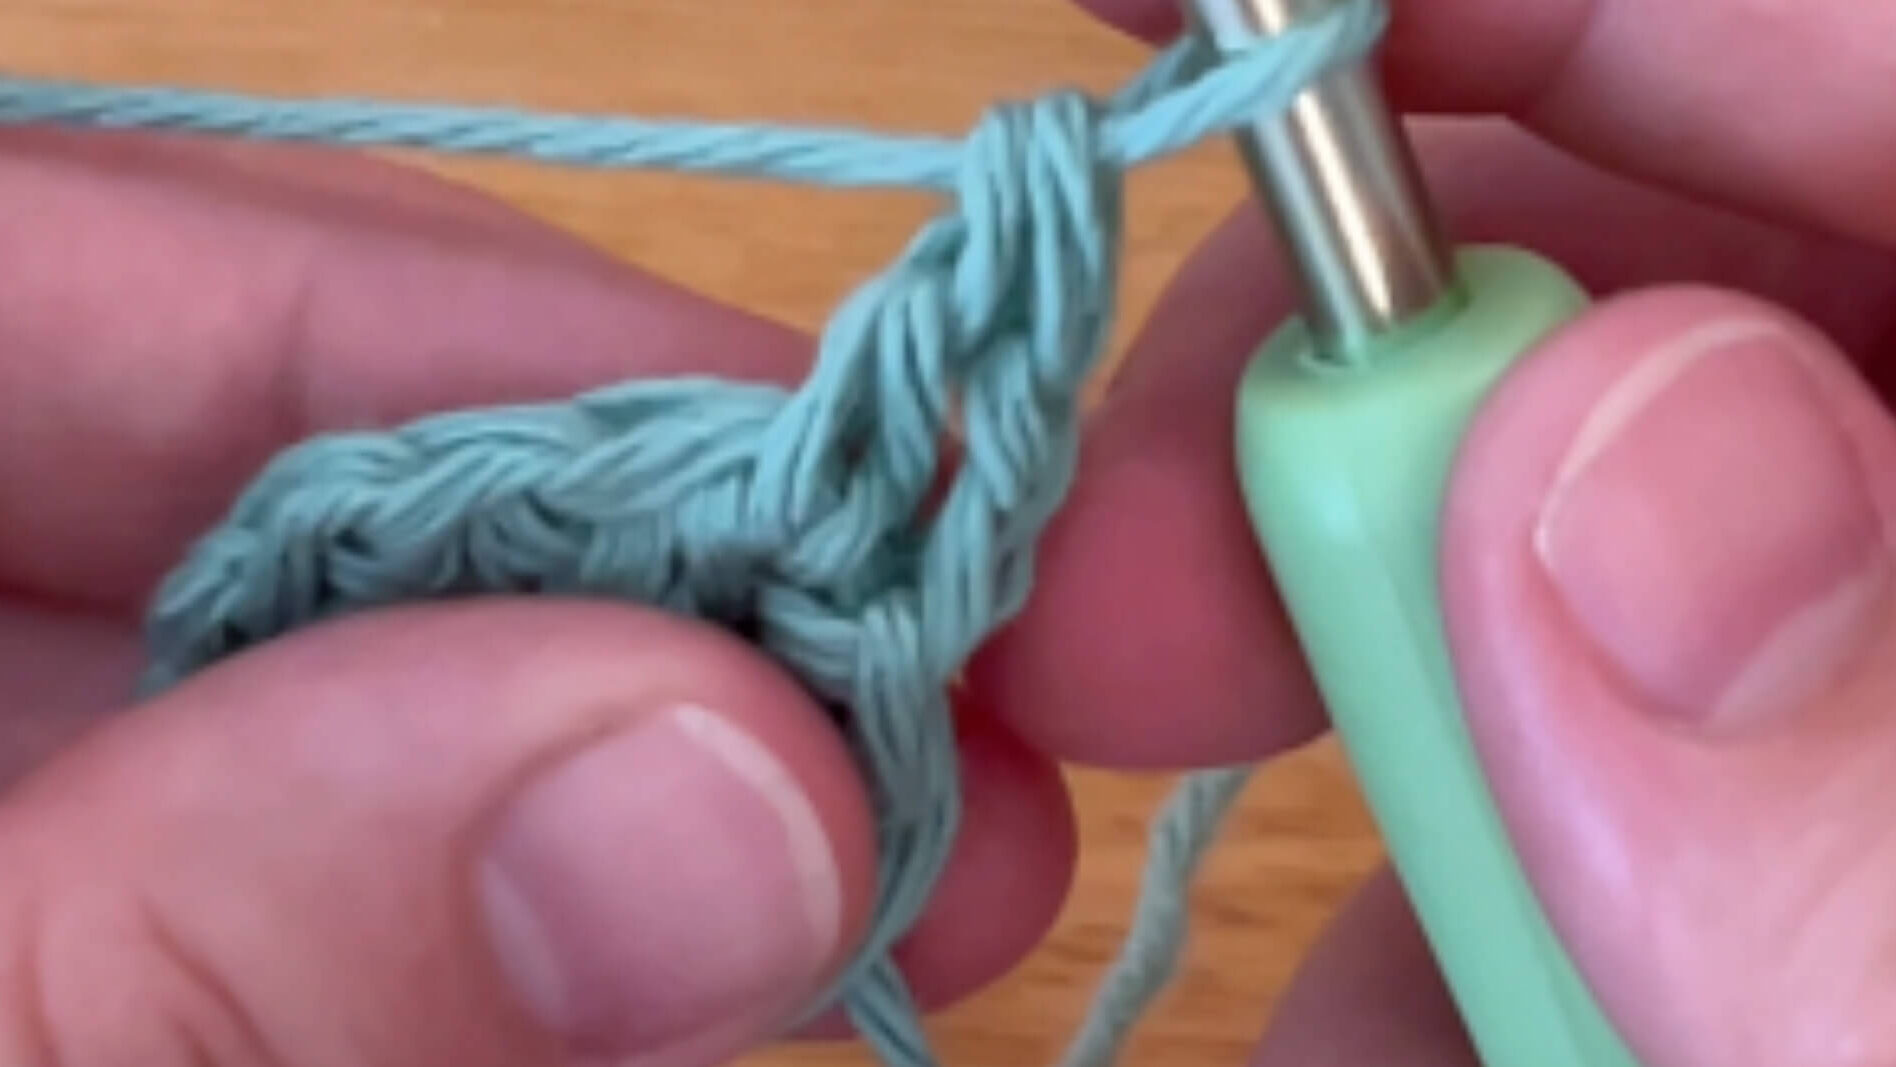
Create a magic ring by wrapping the yarn around your three fingers and creating an X.

Flip your hand over, the two strands of yarn should be parallel. Insert your hook under the first strand (one on the right), then hook onto the second strand of yarn (one on the left).

Twist your hook, then hook onto the yarn that is on the left and pull through the loop.

Crochet the Bottom of the Mason Jar Cover
Work 10 half double crochets into the magic circle.

Pull the tail end of the yarn tight, then slip stitch into the top of the first half double crochet.

Chain two, then work two double crochets into that same stitch.

Work two double crochets into each stitch around for a total of 20 double crochets. On last DC work two together then slip stitch into top of first DC, then chain two.

Work a double crochet into the same stitch (first double crochet from previous round). Then work two double crochets into the next stitch.

Repeat the pattern 1 DC, 2DC until you’ve gone all the way around for a total of 30 double crochets. On last DC work two together then slip stitch into top of first DC, then chain two.
Crochet the Sides of the Mason Jar Cover
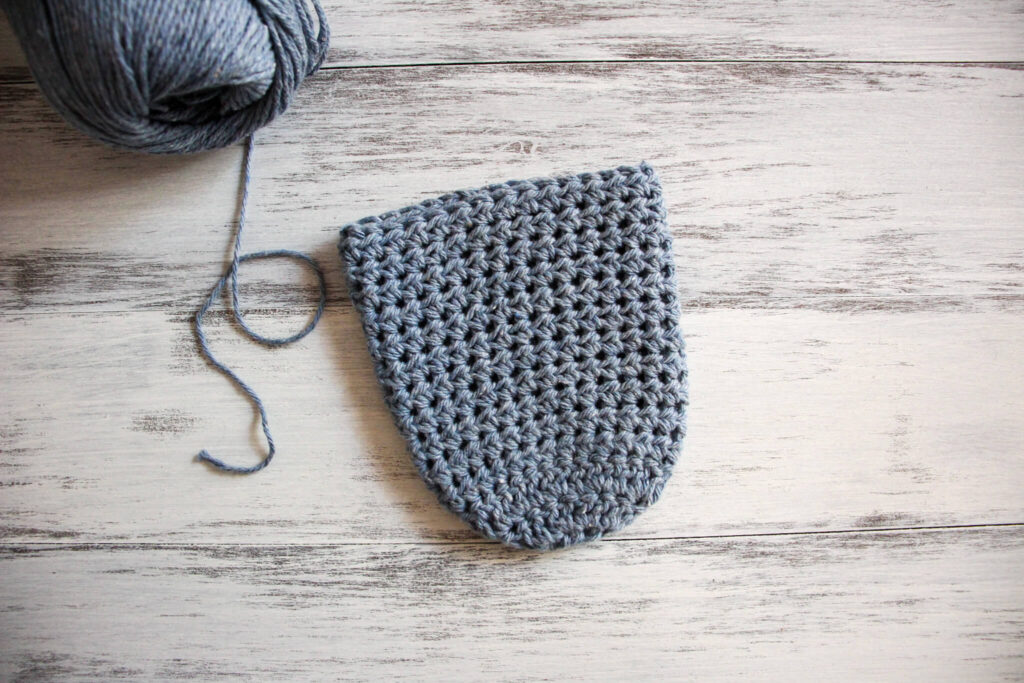
Place a half double crochet into each stitch all the way around. Slip stitch into the top of the first half double crochet, then chain two.

Repeat this pattern until you have a total of 9 rows of half double crochets. When you’ve come to the 10th row, switch to the 5.00mm hook, then create a final row of half double crochets.

Once finished, cut and tie off the tail and weave the top and bottom tail with a yarn needle.

NOTES
- I like to use cotton yarn for these, but you can use any yarn you prefer.
- This pattern works best for wide mouth pint sized mason jars.

LOOKING FOR MORE DIY TUTORIALS?
Looking for more easy DIY tutorials like this? Check these out:
Did you try making one of these crochet mason jar covers? Tag me on Instagram (@thesimplehomeplace) to show me your creations!


I’m a newer crocheter & want to make these for my sourdough starter jars; What adjustments do I need to make so it fits for a wider Wide Mouth QUART JAR.
Okay, so I’ve made this pattern once or twice for my quart size jars, but it’s been a bit. So for this pattern when you’re working on the bottom portion, I would repeat that last round once or twice more until the circle is the same size as the bottom of the quart sized mason jar. Then for the sides, the pattern would stay the same except instead of 9 rows, I have in my notes 15 rows with the 6mm hook, but you’ll have to double check that. Then for the last row, switch to the 5mm hook and tie off at the end. Hopefully that works and sorry for the somewhat vague instructions. Please let me know if you have any other questions!
Thank you Arica, I appreciate your quick response. It will be next week before I get to this project. Will let you know how it turns out.
Can’t wait to hear how it turns out 🙂